
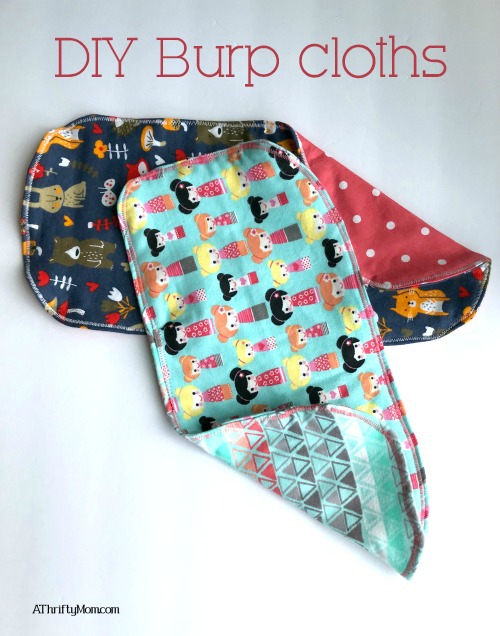
DIY burp cloths
Making DIY burp cloths is easier than you may think! All you need to know how to do is cut and sew a straight line.
Making your own burp cloths is so simple! If you can get your hands on a sewing machine and sew a semi straight line, you can totally make these! I am far from a pro and I make them for baby gifts all the time. I am linking up the supplies I used. Some of these are slightly different, but very close if the ones I used weren’t available.
Here is what you need:
a pattern
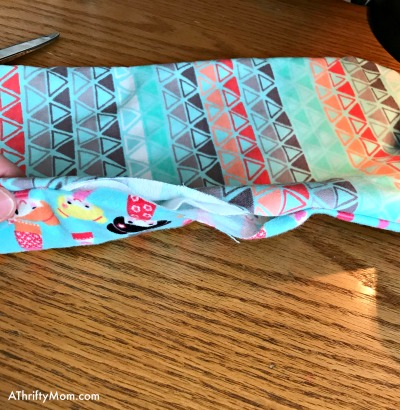
flannel fabric (I like to use 2 different designs for the front and the back. You will also need a layer in the middle for a little extra soaking up. I just used a solid white for this)
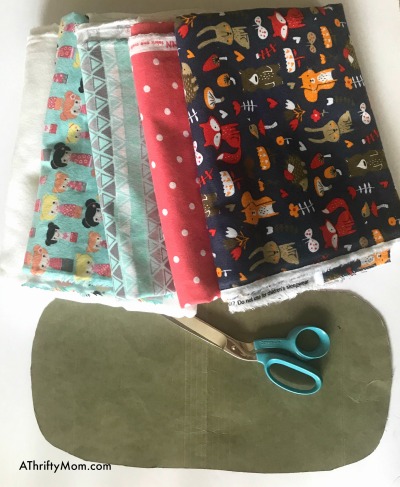
I didn’t include a pattern because the one I use has been around for a while. If you have one, take a heavy weight file folder for the pattern. If you don’t have any of those, card stock or even paper works. I just use it a lot and wanted it to last. I left the folder folded and created an arch on one side. then cut through both layers at the same time. That made them the same on both ends. Unfold, and you have a pattern. Size is up to you too, mine are about 14 inches long and maybe 8 inches wide. My babies have always been spitty, so I wanted as much surface area as possible with them.
Now that you have your pattern, cut your material. I bought a yard of each fabric and ended up with several, I believe it was 8. You can fold your fabric so you have to cut less, or layer multiple layers of fabric to cut more than one out at a time too if your scissors will go through it.
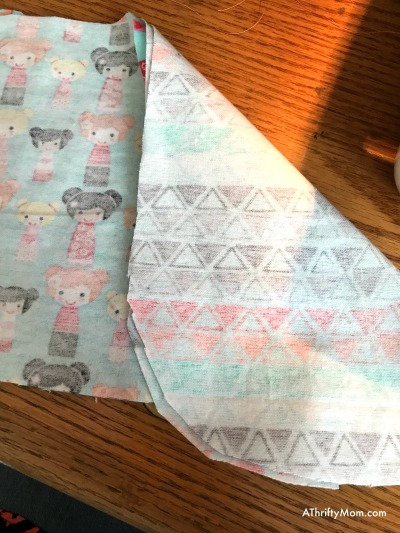
Once your fabric is cut, lay the outer layers together good side in. You want the patterns to be facing each other. Lay your inner layer piece on top. You can pin them to keep them together if you prefer. Make sure they are set so the edges are all together.
Put the fabric on your machine and begin sewing leaving about 1/4 inch for a seam allowance.
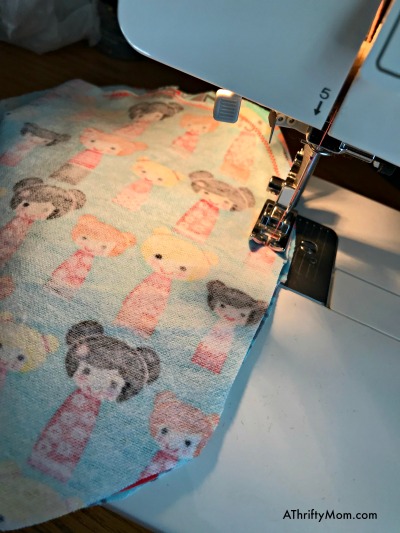
Leave a gap of a few inches in one of the long sides. You will need this to turn your burp cloth right side out.
Once you have sewn around the edge, turn your burp cloth right side out. Tuck the edges of the fabric on your opening in so that it matches up with the rest of the cloth and sew it shut. I also like to go around the cloth one more time, sometimes with a fun stitch, but usually at least with a zig zag stitch to help it hold together a little better.
That is it! There isn’t much to it. The hardest part for me is deciding on fabric! There are so many cute options. These are going to a local women’s shelter. I hope they enjoy them!

For more deals follow us on Pinterest!
***********************
You can take advantage of FREE Shipping with Prime and get it in two days… remember you can try prime for FREE for 30 days.
Try Prime for FREE!
Looking for More Online Deals? Click here for more THRIFTY DEALS. Please note that Amazon prices tend to change often so prices may be higher or lower without notice.
This post contains affiliate links.