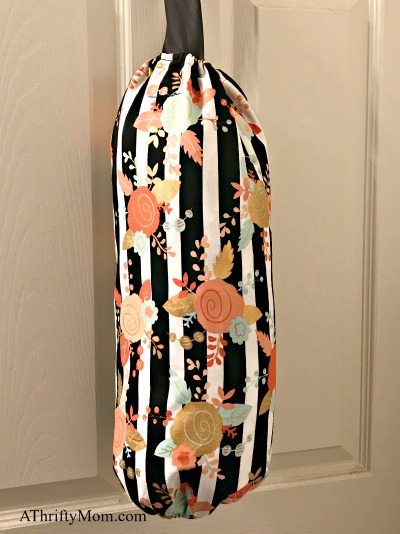
DIY plastic bag holder
Make your own DIY plastic bag holder out of your favorite fabric and organize your plastic bags.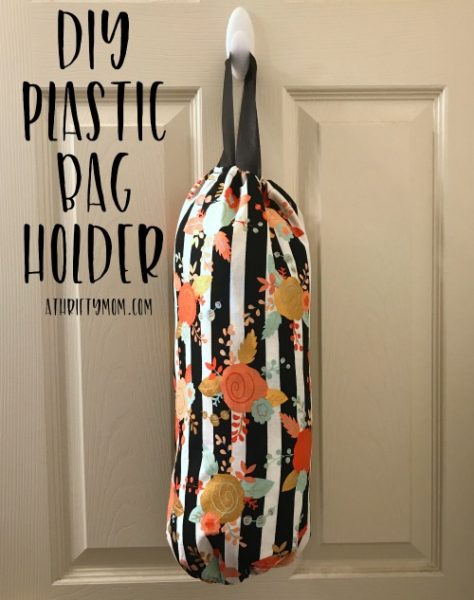
I got this gorgeous fabric at Hobby Lobby and I love it. I was going to make something out of it, and changed my mind. But I knew I had to do something with this fabric so I could see it every day. And then my plastic bag holder I have had for a million years and got as a gift fell apart. I knew I could make my own and use some of my beloved fabric so I could enjoy it always.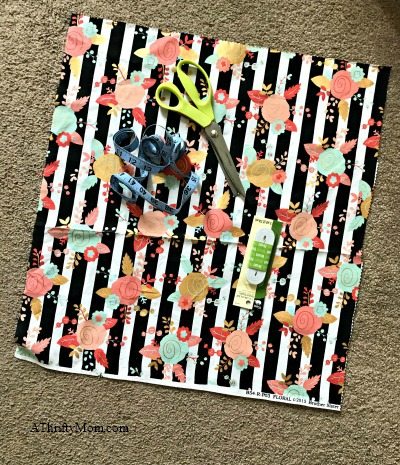
you will need:
sewing scissors or pinking shears (I used the pinking shears because it will keep the fabric from fraying)
fabric 22×20 rectangle
wide ribbon in coordinating color to your fabric
sewing machine or thread and needle
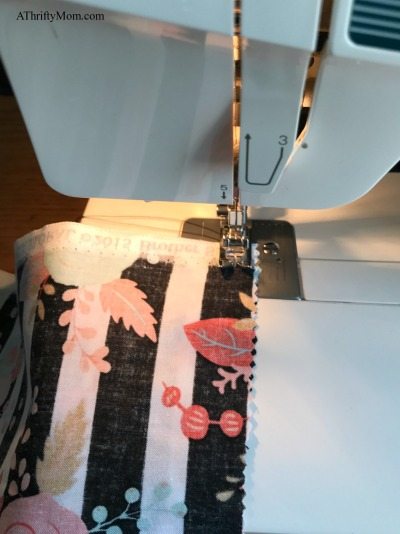
Begin by cutting your fabric into a 22×20 inch rectangle. Now sew it together with right sides together. That just means so it is wrong side out. I lined it up with the edge of my sewing machine foot to keep it nice and straight and didn’t pin it since I did it that way.
Once you have the edges sewed together, you will want to iron that seam flat, parting each section and ironing them flat down. While you are ironing, iron the top and bottom down 3/4 of an inch to make a casing for your elastic. After it is ironed flat, sew it shut leaving about an inch open to put your elastic in.
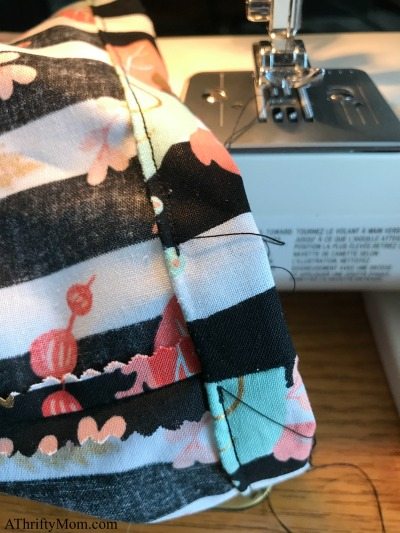
You will want to cut about an 18 inch piece of elastic for each end.
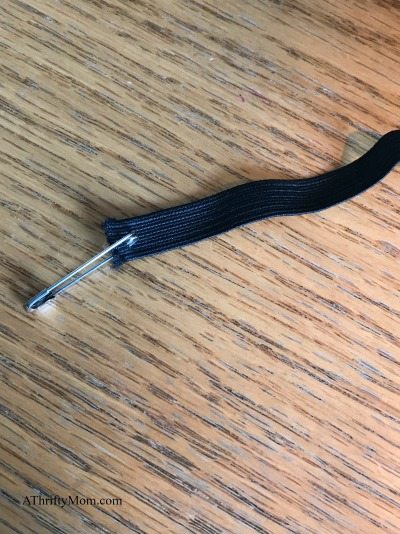
Putting elastic in can be tricky. It works best if you have something attached to the end that you can grab onto. I use a safety pin. Pin it to your elastic and then feed that through the casing area you made. Once it is through, make sure that it is tight enough that you will be able to keep the bags in. I made mine about 5 inches around. Once you have decided how big to make the opening, secure your elastic by sewing the ends together and trim off any excess. Do this on both ends.
Now that you have your ends ready you can decide which side is top and add your ribbon. I sewed about 6-8 inches of ribbon and secured it on both sides with my sewing machine. Now you can turn it right side out and hang it to gather all of those loose grocery and plastic bags. We use our bags as garbage can liners, for picking up dog waste, they are handy to have around. I know not everyone likes plastic bags, but I think the key is reusing and recycling them.
Now I get to enjoy my fabric every time I go into my pantry. That makes me happy. And the fact that this will last me many years makes me happy too.
you may also like:
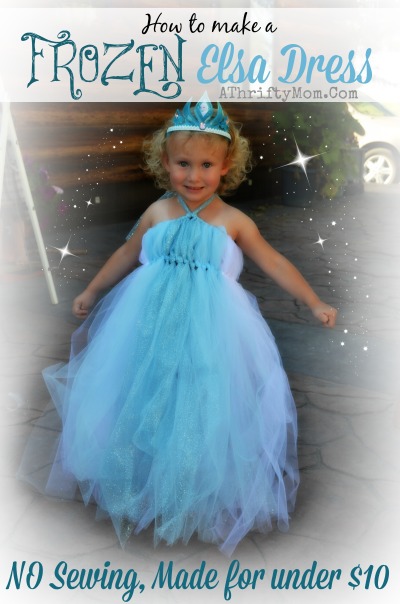
No Sew Frozen costume
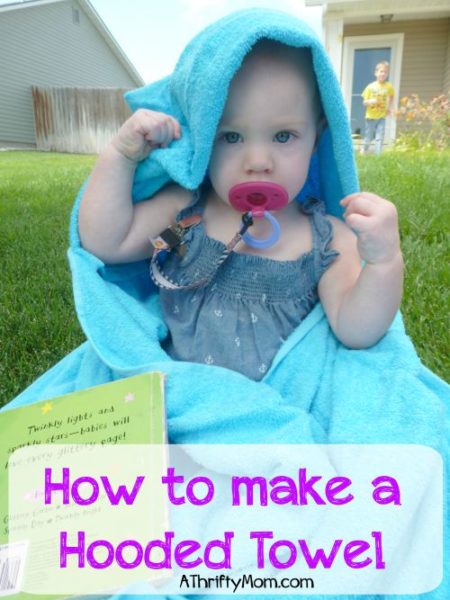
How to make a hooded towel
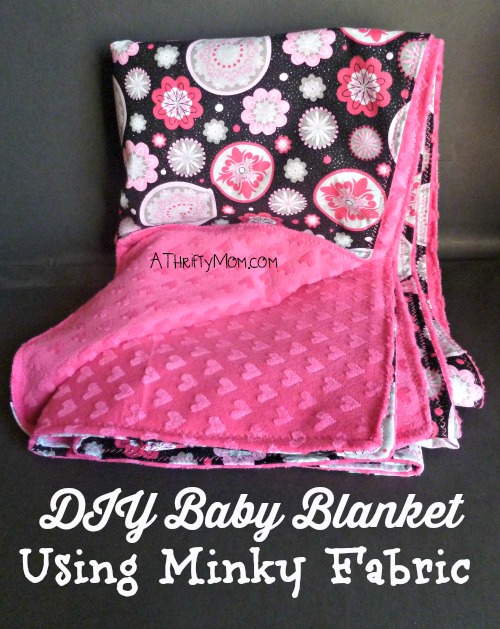
DIY baby blanket
For more deals follow us on Pinterest!
***********************
You can take advantage of FREE Shipping with Prime and get it in two days… remember you can try prime for FREE for 30 days.
Try Prime for FREE!
Looking for More Online Deals? Click here for more THRIFTY DEALS. Please note that Amazon prices tend to change often so prices may be higher or lower without notice.