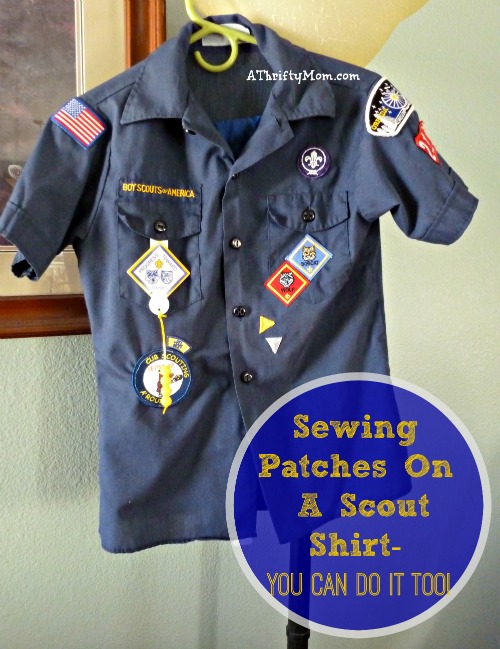
Sewing Patches On a Scout Shirt – Its Easier Than You Think!
If you are like me, and have a scout, you have likely had a pile of patches collecting because they are a bit of a hassle to sew them on. They take time, patience and you have to have some knowledge with sewing. Fortunately if you know what you are doing with a sewing machine, you can actually whip through them pretty quickly! The most troublesome part will be getting out your sewing machine! Sound good?
You will need
Sewing machine
Thread
Patches to be sewn on
Pins
Sewing scissors
Begin by pinning your patches on. I think the reason the task is so daunting for me anyway, is that I want them to be straight and attached well so that they don’t fall off. Plus, my sewing skills are not great and if it is on something like that everyone can see my mistakes! Ok, now that you know that I stress about really silly things… 😉 on to the tutorial!
Once your patches are pinned on, and your machine is thread with the correct color of thread, put your scout shirt in your sewing machine. Make sure that you line up the patch as close to the edge as possible. The great thing about scout patches is that most of them seem to have a rim around the outside that if lined up right, your machine will sort of use as a guide. Be sure to hold your patch and straighten the fabric of the shirt as you go along to avoid any puckers.
Another bonus is how stiff they are. That helps keep them in place somewhat. The biggest hassle with sewing multiple patches on is having to change your thread repeatedly. If you are like me and procrastinated, be sure to sew all of your patches that are the same color on at the same time so you aren’t changing when it isn’t necessary.
Don’t forget when you are sewing, to begin and end by locking your stitches. That just means to go back and forth with your machine so that the thread doesn’t come out, that would be frustrating!
You want to stay as close to the edge as you can without going off. Be sure to sew slowly and hold your patch and shirt so that it is steady.
Once your patch is sewn on, you can trim your threads as close to the patch as possible so there isn’t a strand hanging.
A new patch that I just recently learned about (I have been serving in my son’s scout troop for a while) are called Segment patches. They are so fun! You start with a circle patch that may differ depending on your council. That is sewn on on the right side of the shirt under the pocket. Leave it up far enough to still allow the shirt to be tucked in.
Once you have your round patch, each month the boys that participate get a small segment patch that is sewn on in a circle around the new patch. You continue to sew those around each month and there are so many different segments for different things! Seasonal, pine wood derby, service projects. There are tons! Not only are they cute, but then the boys that maybe haven’t earned any awards ares still being acknowledged and getting something for participating in the program.
So, are you into scouting? Are segment patches something you do? I have never seen them and I am interested in how many troops are using them!

I have four kids who were all scouts, so I’ve sewn hundreds of badges on and one trick is to use a stapler to staple badges in place while sewing it. I found that it’s easier than trying to pin (they move so easily) the badge because they are so thick. Use a staple remover the staples when you are finished sewing.
Share with anyone who has an adorable little scout…
Hey yes our troop does segment patches. They actually have a “brag vest” that we sew them on to. My son started scouts at age 6 he was a Tiger Scout.. He has several segments now at least 20 or more so they start to take over the shirts.