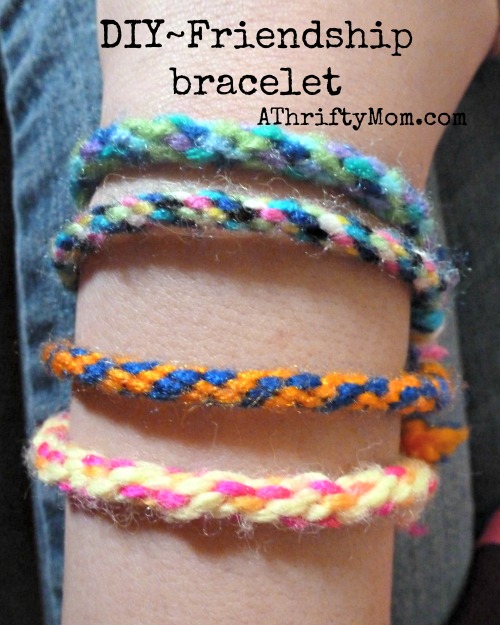
Friendship Bracelet~ Easy DIY
Friendship bracelets are always fun. Kids of all ages love getting them, and receiving them. My 10 year old was so excited to share this tutorial. She recently learned how to make these easy bracelets, and loves it.
You will need:
Yarn
Scissors
Cardboard (lightweight: cereal boxes, 12 pack soda boxes both work great)
To begin, you are going to cut your loom out of cardboard. make a 3 inch circle, and then cut a small hole in the middle. (a hole punch is the perfect size if you have one that will reach into the center of your circle). Now cut 8 small lines around the outer edge of your loom. They don’t have to be perfectly spaced, but you don’t want them all next to each other either. Cut them like this:
Now cut 7 lengths of yarn. Make them about 1 ft long. Put your yarn together, put through the hole in the center of your loom, and then tie them together in a knot on one end.
Once you have them in a knot, slide your knot so it is touching the loom and the strings are hanging on the other side. Make sense? Take each string and slide them into a slot on your loom like this:
You want the yarn to be in firmly, but don’t pull too tight and rip your loom.
You will have one empty slot in your loom. Put it at the top, like the 12 on a clock. Now count down 3 slots clockwise from that empty slot, grab that length of yarn, and slide it into the empty slot at 12 o’clock.
Once the string in slot 3 has been moved up to the empty slot, rotate your loom so that the new empty slot is at the top. Repeat that step by counting 3 down and moving the string to the empty spot. Continue doing so, while occasionally checking your hanging yarn lengths to make sure they are not tangled. Also remember to keep it tight to get a neater looking bracelet.
Once you have created the bracelet the length you want, remove it from the loom. Tie a knot in the end of the bracelet that you just removed from your loom. Measure a finger width from your new knot and knot again, leaving a space in between the knots.
Trim your ends and you are done. To put the bracelet on, take the space between the 2 knots you just made and slip the knot at the other end in between these 2 knots.
There you go! An easy activity your kid can do and feel the rewards of creating something unique and fun!
More activities, projects and fun things to do with your kids.
How To Make A Stress Ball ~ Kid Crafts perfect for boy scouts, summer camp or family reunions!
Dirt and Worms ~ Fun summer recipe for kids
Make your own Crayons ~ Activities to do with kids
Be a Back Yard Detective ~ Activities to do with kids
Wiggle Worm Game ~ Games to do with kids
Make your own Bean Bag Toss ~ Games to do with Kids
Watch a Local Race ~ Frugal Family Activities to do
Corn Starch Gak Science Project to do with kids
Color Collage with ads from the paper
DIY Chime Set ~ Music Fun For Kids
Recipe for Homemade Slime
Under the Sea Art Project for kids
Balloon Barrettes DIY Kids Fashion
Lady Bugs made out of an egg carton
Exploding Soap ~ Microwave Science For Kids
Horse made out of a pop bottle
Thanksgiving Crafts for Kids ~ Paper Turkeys
Easy Kid Games ~ Turn Easter Eggs Into Reading Games for Kids
Math Games For Kids
Learn to tell time ~ Time Games for kids

Ha! I made those in grade school! So much easier than the traditional knot tying ones…