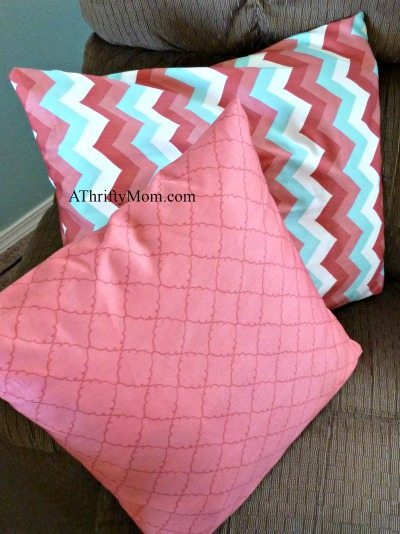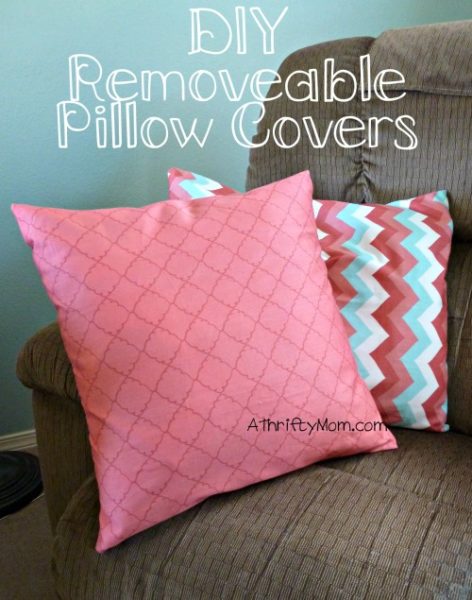
DIY Removable Pillow Covers, You won’t believe how easy these are to make!
You guys, really, you will not believe how fast these are to make! I just want to keep making them! There is also a little trick I will show you to save even more money!
You will need:
Fabric (I used a half yard for my pillow size)
thread
sewing machine (or sew by hand!)
scissors
pins
iron and ironing board
throw pillow forms
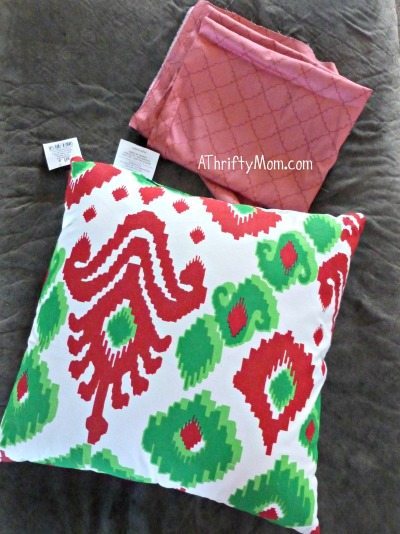
I am super cheap and won’t pay a lot for anything. Especially something that isn’t a necessity like throw pillows. Let me tell you, you don’t have to spend a ton to make your home look nice! If you don’t want to shell out the money for pillow forms, watch for inexpensive throw pillows that aren’t necessarily in the style you would want. I got this bright red and green one for 90% off at Hobby Lobby after Christmas! Not my style at all, but it was huge and had great thickness to it. I knew it had potential. So check out the clearance section and grab pillows that aren’t necessarily the style you would want because it is so easy to cover.
Once you have your supplies, iron your fabric. It is always best to start out with nice, flat material to make sure everything is even.
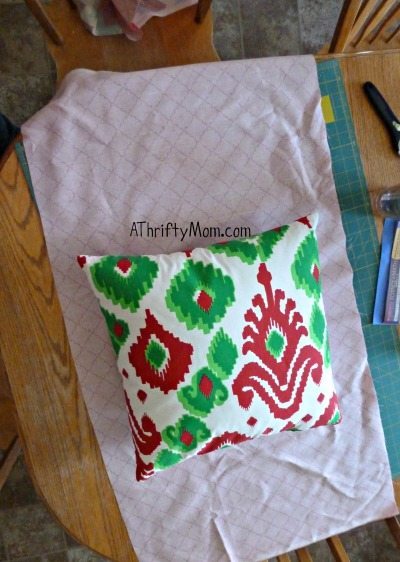
Once it is ironed, you will need to measure your pillow. Trim your fabric about 2 inches larger then your pillow. Make sure that you leave enough room for your pillow. If you sew the fabric right at the pillow edge, there won’t be room to get the pillow in.
Now that you have it trimmed, you are going to take your sides and sew about an inch under on each side. This is for the long side, and just on the ends. You will want to leave overhang on this part, so really just sew a small amount. This will be where you insert your pillow, so you really need the overhang.
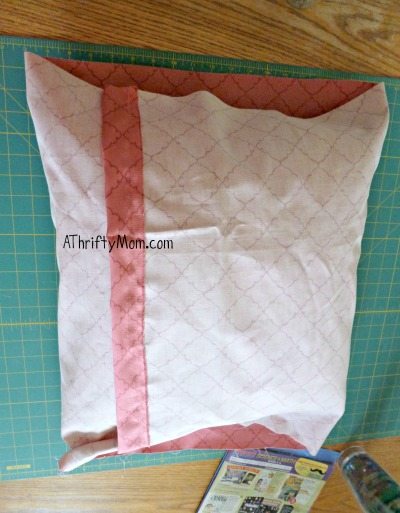
Once you have the ends sewed, take your pillow and lay it on the decorative side of the fabric. You will lay your pillow on the fabric and measure the sides to know where to pin them. (look at the photo above)
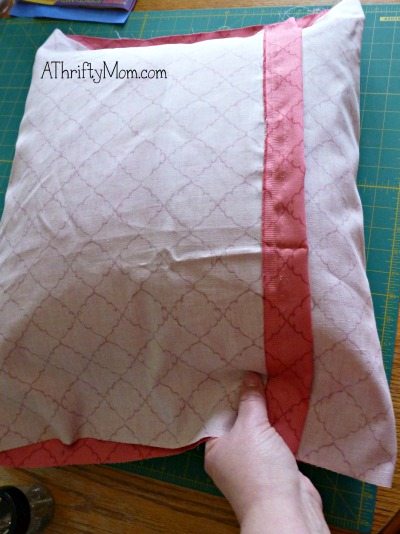
You don’t need to leave much extra room for this step, it will make your cover look baggy and sloppy if you leave too much. Pin snuggly on one side. Measure the other side and mark with a pin through only one layer of fabric so you can still get your pillow out. Remove the pillow and sew the sides all the way shut along your pin marks. Once you are done, turn it right side out.
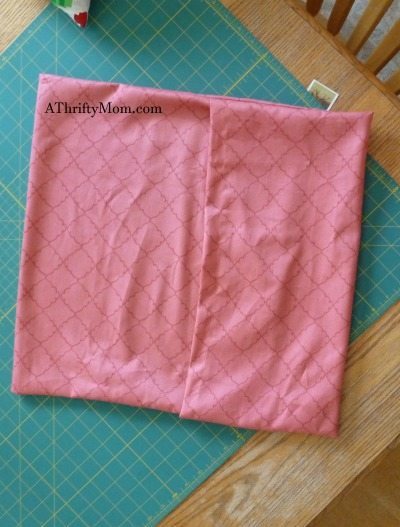
You will now be able to stuff your pillow into the cover through the back that is open. That is it! Wasn’t that quick? I think I threw the whole thing together in about 10 minutes,and that included interruptions!
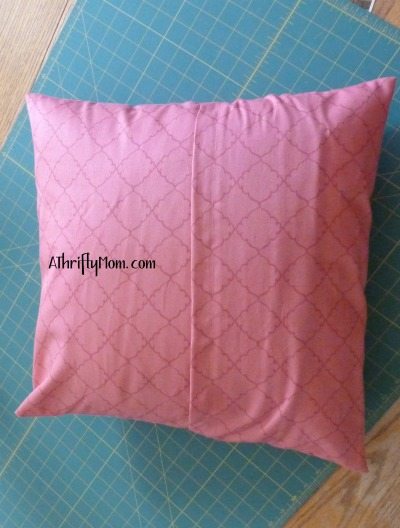
Now that you have it,you can remove your pillow whenever you want. This allows you to wash your covers if something were to get spilled on it. Or change it out when your style changes. Perfect right?