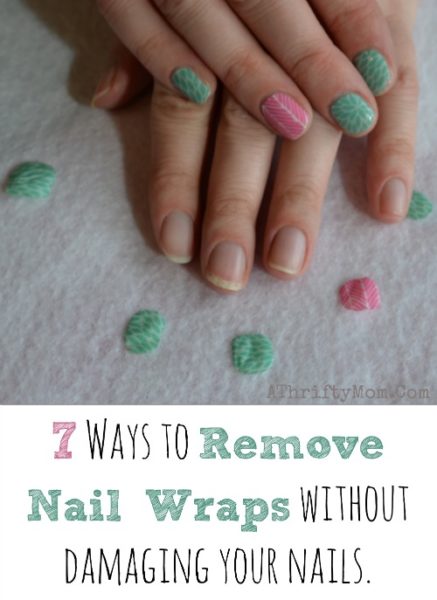
Today I am going to share with you 7 ways to remove your Jamberry nail wraps. It is important to learn how to properly take them off so you do not cause any damage to your nails. They stick well enough that after a few weeks you will need to gently take them off. This will allow you to keep your nails healthy and gets your hands ready for a new set of wraps. You can watch this short video on 7 tips for removing Jamberry Nail Wraps.
First you can just pick at your wrap and yank that sucker off… BUT DO NOT DO THAT. When you just yank your wrap off it might cause damage to your nail and take some of the nail surface with it, causing your nails to be weak and unhealthy.
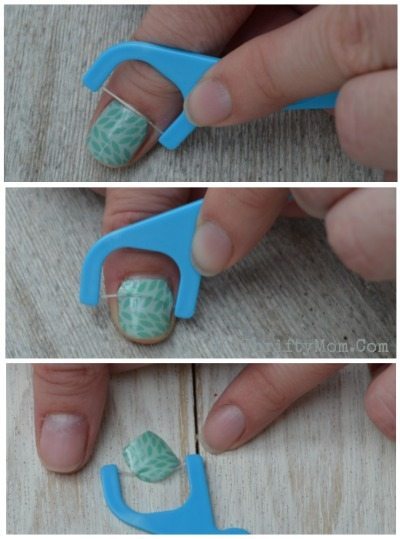 Floss Method ~ My FAVORITE WAY to remove my wraps is the “floss method”. You simply take a floss pick and start to wiggle it under your wrap and slowly floss it off your finger. Move the floss back and forth in a saw like motion to take it off your nail. To make this method even easier you can combine it with the hot water, oil or rice bag method that I will list below (which I suggest for best results). When properly removed your nails will be clean and healthy and ready for a new wrap.
Shower or Hot Tub Method ~ yes this is an excuse to take a hot and steamy shower and spend some time in the hot tub. While your nails and nice and HOT, use your finger to break the seal of the wrap to your nail. Gently work your finger nail going side to side under your wrap. As you do this it will slowing pull away from your nail.
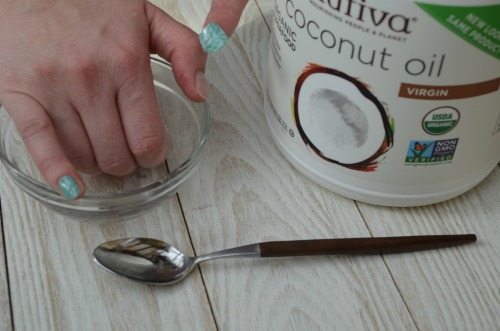
Warm Coconut Oil removal Method ~ This method is natural and will leave your hands moisturized and feeling wonderful. In a bowl heat up a few tablespoons of coconut oil. It melts really fast, you could even melt it with your mini heater if you wanted to. Once your oil is warm (DO NOT overheat as you could burn your skin) soak your nails in the oil. Use your finger to break the seal of the wrap to your nail, gently work the oil under your wrap as you do this it will slowing pull away from your nail.
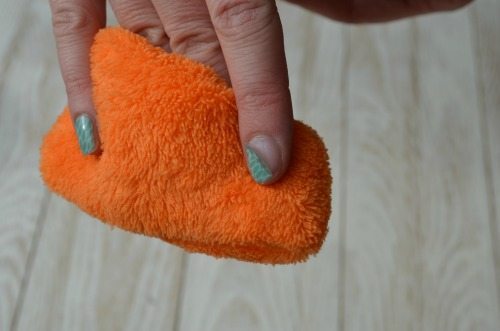
Rice bag removal method ~ heat up a rice bag in the microwave. Allow the steam and warmth to sit on your nail wraps. As it heats up your wrap it will soften the bond and allow you to remove the wrap. Break your wraps seal with your finger and slowly work the wrap off your finger. This works great combined with a floss pick too.
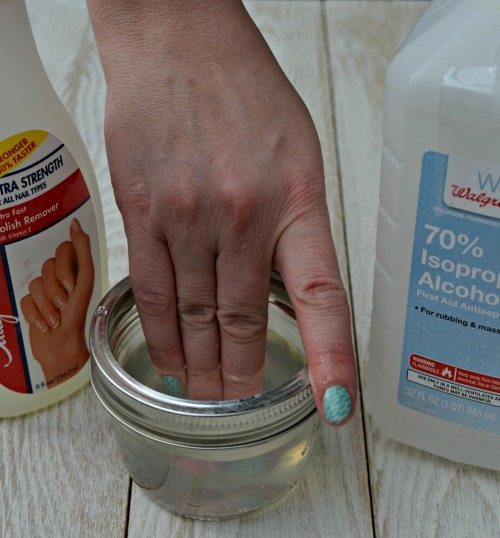 Nail Polish Remover or Alcohol Soak removal method ~ You can soak your fingers in rubbing alcohol or nail polish remover. This will start to break down the glue that holds on your wrap. At this point you can start to work the wraps off. I do not like this method, I feel like it leaves my cuticles dry and I don’t like the smell. BUT it is an option so I felt It was important to list it.
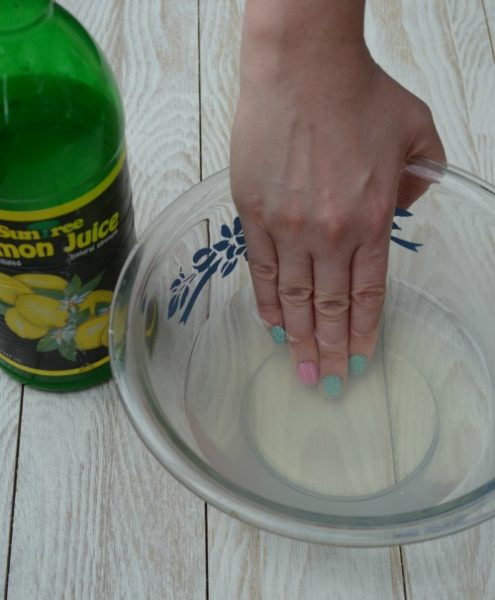 Lemon Juice and Hot Water Soak method ~ If you like to soak your wraps to get them off, hot water and lemon juice is a gentle but effective method. The heat with allow the wrap to be more flexible and the acid in the lemon juice will help break down the glue in the wrap.
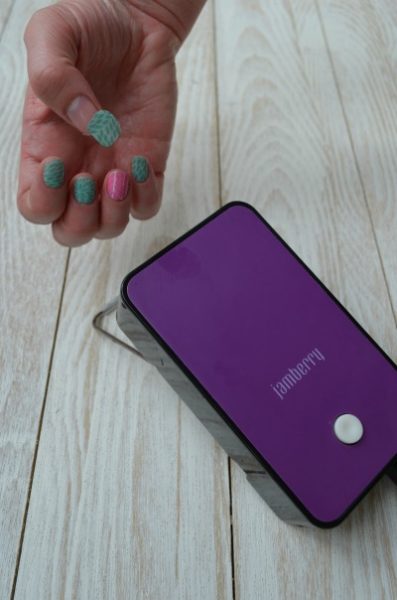 Heat Removal Process ~ When you apply your Jamberry Nail wraps HEAT and pressure is the key to getting them to stick. You can use the mini heater to also help you get them off. As you heat them back up you can break the seal to your nail and gently massage them off your nail. I like to apply coconut oil and heat and use the floss pick to remove them. But it can be done with heat alone.
I hope you will find these 7 Nail removal tips helpful, everyone is different but one of these is bound to be a perfect fit for you!
**********************
Want to earn FREE Jamberry products, you can host your very own online Jamberry party
It is SO SIMPLE all you do is invite your friends and I do the rest, and you earn free products.
Do you want to get Jamberry Nail Wraps at a discount or sell them to make extra money for your family, and support your family to do the things you dream of? I would love to have you JOIN MY JAMBERRY NAIL TEAM.
This video will show you how easy it is to apply Jamberry Nails.
This post contains links to my independent consultant Jamberry Nail page.
nbmaui79 you can apply a clear protective base coat before you apply your wraps to help. certain wraps, like metallic ones, seem to stick more and I have found the base coat helpful. also if you use the floss method, try going from side to side instead of bottom to top for removal.
Help! I have used a few of these gentle methods and my nails still seem to peel at the tips. It actually seems like the top layer is separating from the rest while my jams are still on my fingernails, and not so much during the removal process. They are getting weaker the more I keep them covered with the jams. I love Jamberry, but it seems like they are damaging my nails. Any suggestions?
Sarah! I just have to say…YOU ARE SO CUTE!! I have never heard of Jamberrry…but checking them out now. Thanks for all you do!