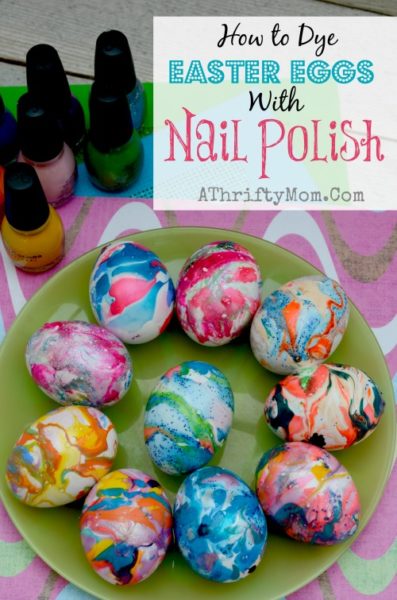
 Each year we try and think of a fun new way to dye Easter eggs with our kids. Last year we showed you how to dye Easter Eggs with shaving cream, if you missed that post be sure and check it out because it was pretty awesome. This year we wanted something BOLD and BRIGHT and fun again. I keep seeing this video on social media showing people how to get your nail polish to look like tie dye with water. I tried it and it was a total FAIL, I just ended up with polish all over my hand and a spoon I was using and none on my fingernails….. BUT that did give me the idea to try the same concept on an egg. The result, it is easy to do and the eggs turned out simply AMAZING!
How to dye Easter Eggs with Nail Polish video
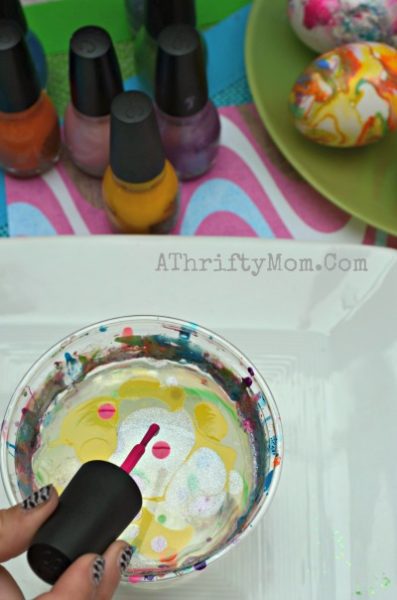 To make your very own Nail Polish Tie Dye Swirl Eggs you will need:
- Nail polish (the cheap stuff from the dollar store works great)
- ROOM temperature water, if it is too hot or too cold it will not work right
- Plastic cup or bowl
- Tooth pick or skewer to blend polish on top of water
- Plastic Glove to protect your hand from polish
- Eggs (hard boiled, fresh, plastic or blown out, will all work)
- News papers or drop cloth to cover your work space
- Nail polish remover (just in case)
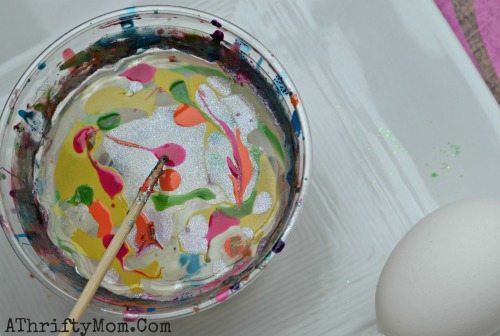 Start by filling your plastic cup with room temperate water. The temperature of your water is very important. If you struggle with getting the polish to float or spread the water temp is most likely the issue. Start to drop dots of polish into the water. The first few drops should spread all the way across the surface of the water, the ones you drop on t0p of that will not spread as fast or as easily but this give you a fun layer look. You can squeeze the sides of the cup to make the polish spread and blend faster. You can also take a tooth pick and drag the polish and make fun designs.
 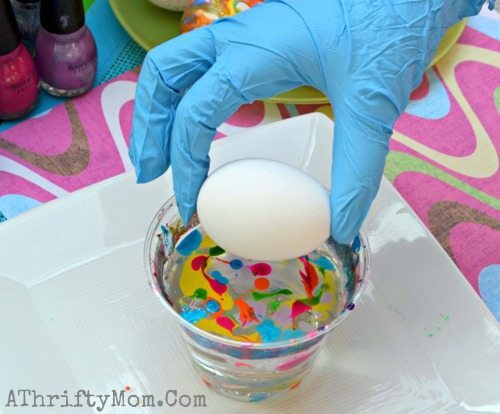 Put on your rubber glove (unless you want tie dye swirl hands). Start on one edge of the cup and ROLL the egg across the top of the water the same time you are dunking it into the water. All the polish will stick to the egg.
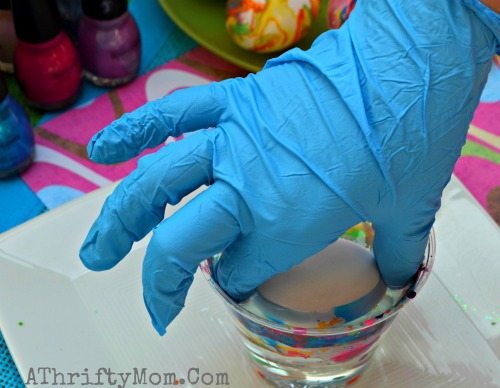 I should have used a bigger cup I would have been able to cover the whole surface of the egg, instead my cup only covered about 3/4 of the surface of the egg. To cover the whole egg I just added more polish to my water and then dipped the other side for full coverage. You can use the same water over and over no need to dump it between eggs.
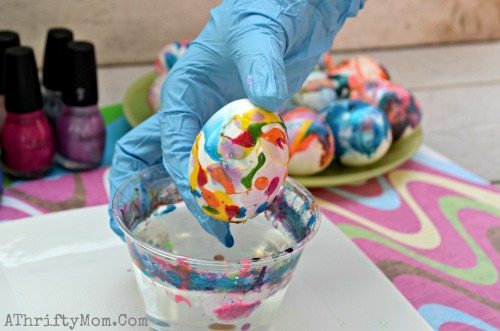 Set to dry, I used an old cloth that I did not care if got stained, this also helped the egg from rolling around. I hope your kids have as much fun doing these as ours did. This can get kind of smelly, so you might want to do it outside or with a window open.
 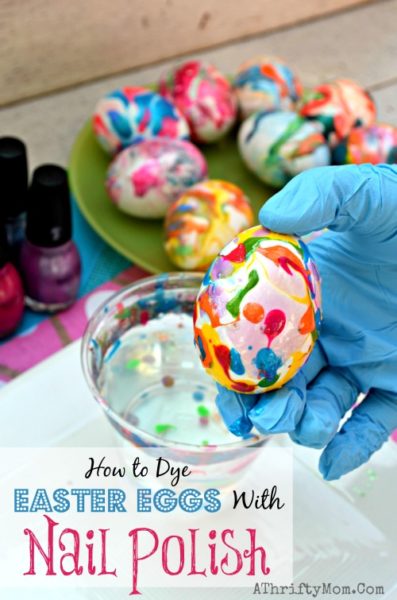 Also I know there are going to be mixed feelings on if you can or should eat an egg that has polish on the shell, if you are worried about that you can always blow out the egg before you dye it or just choose to NOT eat the egg and use it for decorations. Remember that eggs have two barriers, the shell and the membrane inside.
 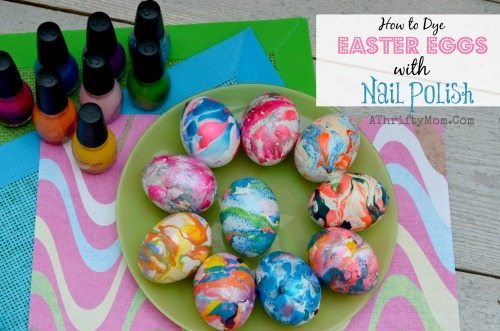 MORE TIPS and IDEAS you might enjoy……


That’s so cool!!!!;)
Let me know how it turns out Ash Ashley
To much work,and to messie.sorry
ill give it a try
Jean Scott, Ashley Perez & Barbara Simpson-Gawthorp here’s an idea! I think change is good rather than the traditional easter egg coloring! Let me know what ya’ll think about trying it this year! xo
Shawneeq Shant’e Taisha Mercado, this is right up your alley.
The are so fun and BRIGHT