Pumpkins made out of Paperback Books ~ DIY Fall Decor
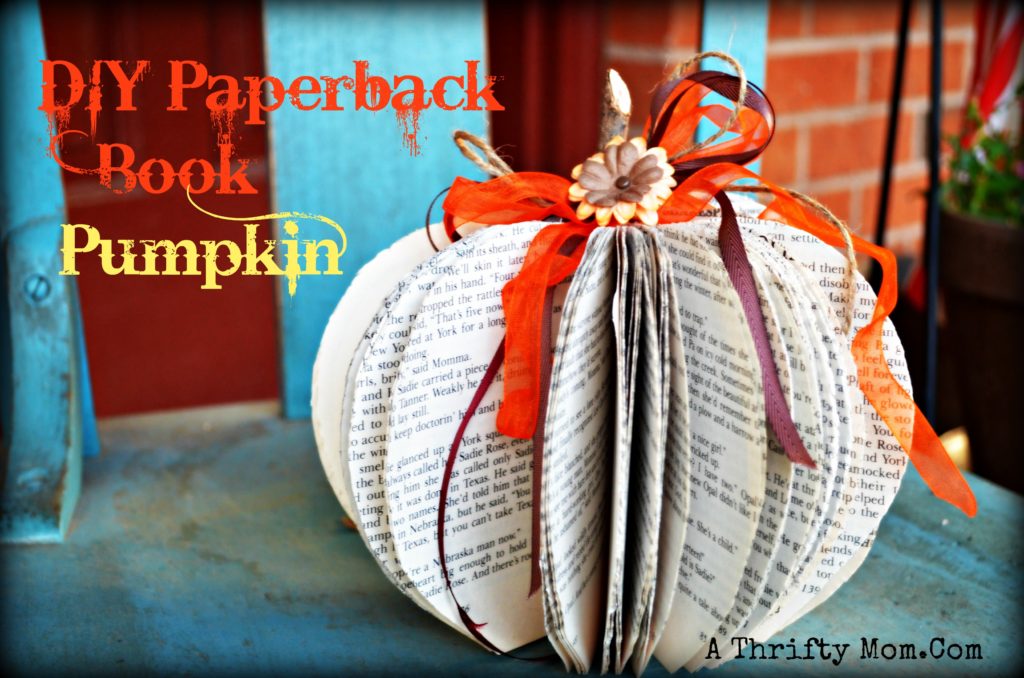
Fall is here, so that means it is time for one of my favorite DIY projects. Pumpkins made out of Paperback Books! These can be made out of outdated manuals, books missing pages, old romance novels that should never be read again lol. Or just grab some cheap paperback books at a yard sale or thrift store.
Do you have a few old paperback books laying around, maybe a few with missing pages … and you need some Fall Decorations? Well I have the perfect solution for you! Turn that old book into an adorable pumpkin! Pumpkins made out of Paperback Books, from start to finish takes about 30 minutes and is rather simple.
Pumpkins made out of Paperback Books
You will need
- Tree branch about 3 inches long for the stem
- Ribbons or flowers in fall colors to decorate your pumpkin
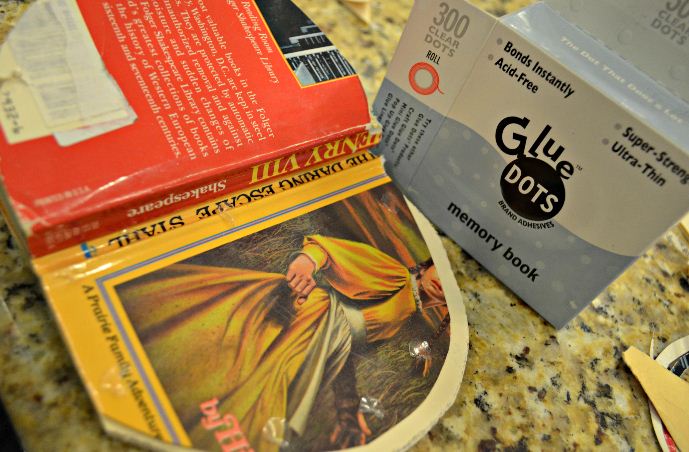
- Glue Dots or hot glue
- Paperback Book 1 for a small pumpkin and 2 for a large pumpkin (I used 2)
- scissors or cutting blade
Ok yes I know it goes against everything we have been taught to cut up a book…. If you are not willing to cut your own books just head to a yard sale or thrift store and you should be able it pick up a trashy romance novel for under $.25 and feel no guilt for cutting is up LOL. If you want to make a large pumpkin you will need 2 books with about the same amount of pages. If you want to make a small pumpkin use one book and cut both sides from one book. One out of the top and the other out of the bottom of the book.
Start out
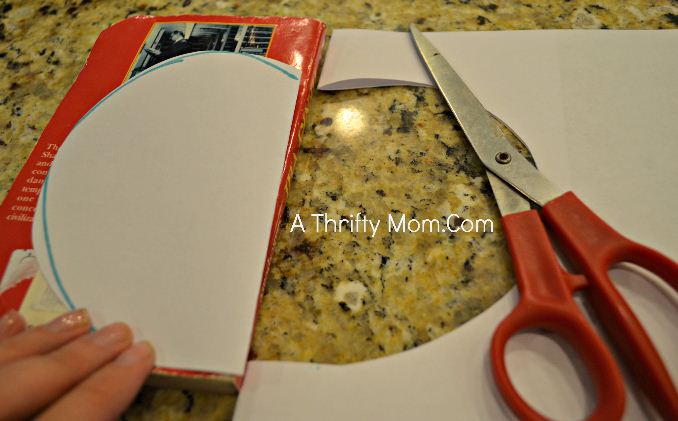
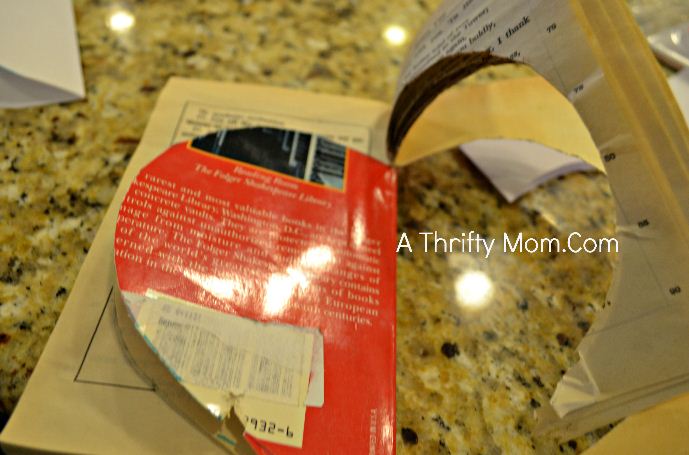
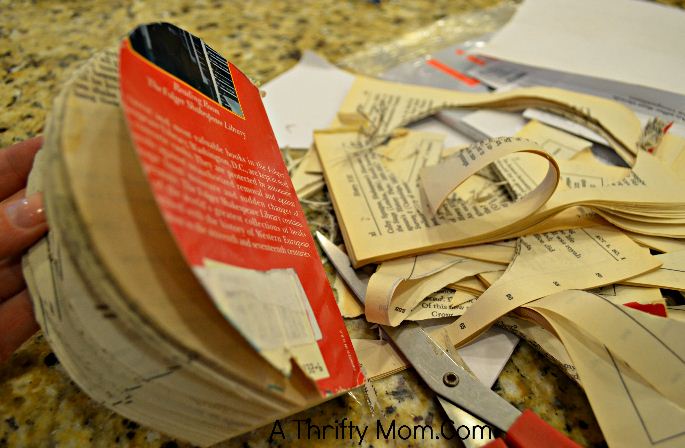
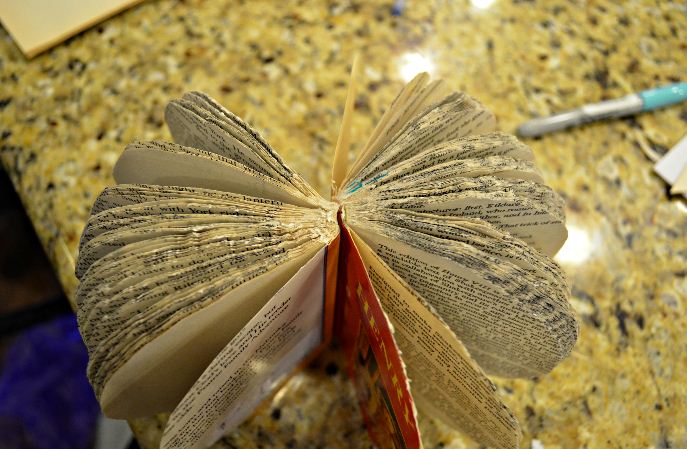
Start out by making a pattern of “half a pumpkin” and draw it onto the back of your book. Take 15-30 pages at a time and cut out the pumpkin shape. If you get to many pages it becomes to hard to cut and takes longer… so fewer pages at a time is faster in the long run and looks nicer. I used scissors but you could also use a cutting blade ( I just don’t trust myself with sharp objects lol)
Once you have both of your books cut out (or two parts of the same book if you are doing a small pumpkin) trim up any pages that are larger than the rest.
Line them up
Line up the two book spines back to back… you will want to keep the spines open or free from glue so you can push your stem in. I used Glue Dots to glue the two books together. I did cut the covers down a bit so any color would not show. Glue your too covers together on both sides…. then glue a page over the covers so you see a printed page not a black cover when your pumpkin is on display.
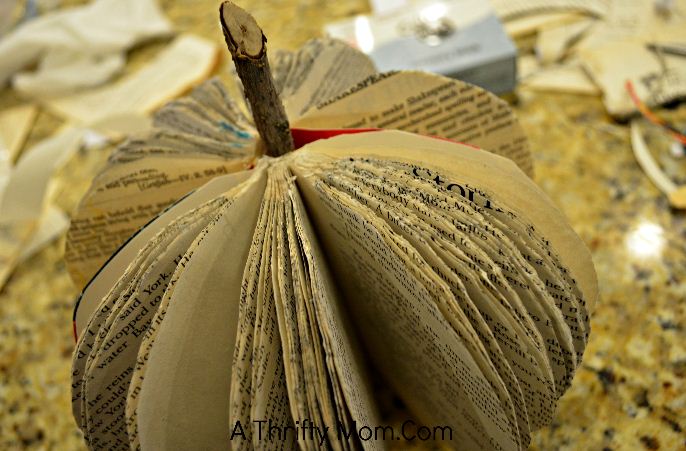
Wedge your stem into the spine of the book, add ribbons and flowers and you are DONE!
More Halloween Ideas…
Quick and easy Toilet Paper Pumpkins
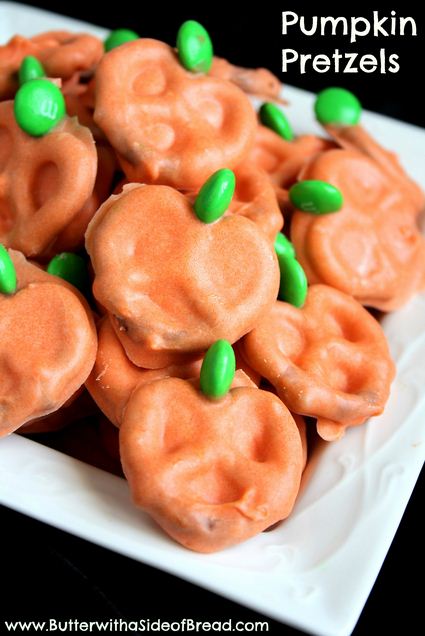
Pretzel Pumpkins
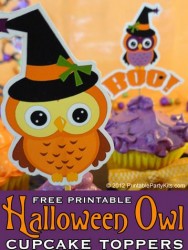
FREE Printable Halloween Owl Cupcake Toppers
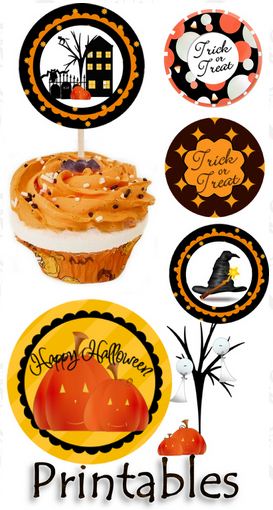
FREE Halloween Printable Cupcake Toppers

Besides one picture looks like a hard back book!
So yours was made with two books, then how do you do it with one book? This seems like a scam
Looking for work? We are hiring! Please share!
scrubnbubblescleaning@gmail.com
Scrubnbubbles.com
208-412-1597
Haylee J. Neuman
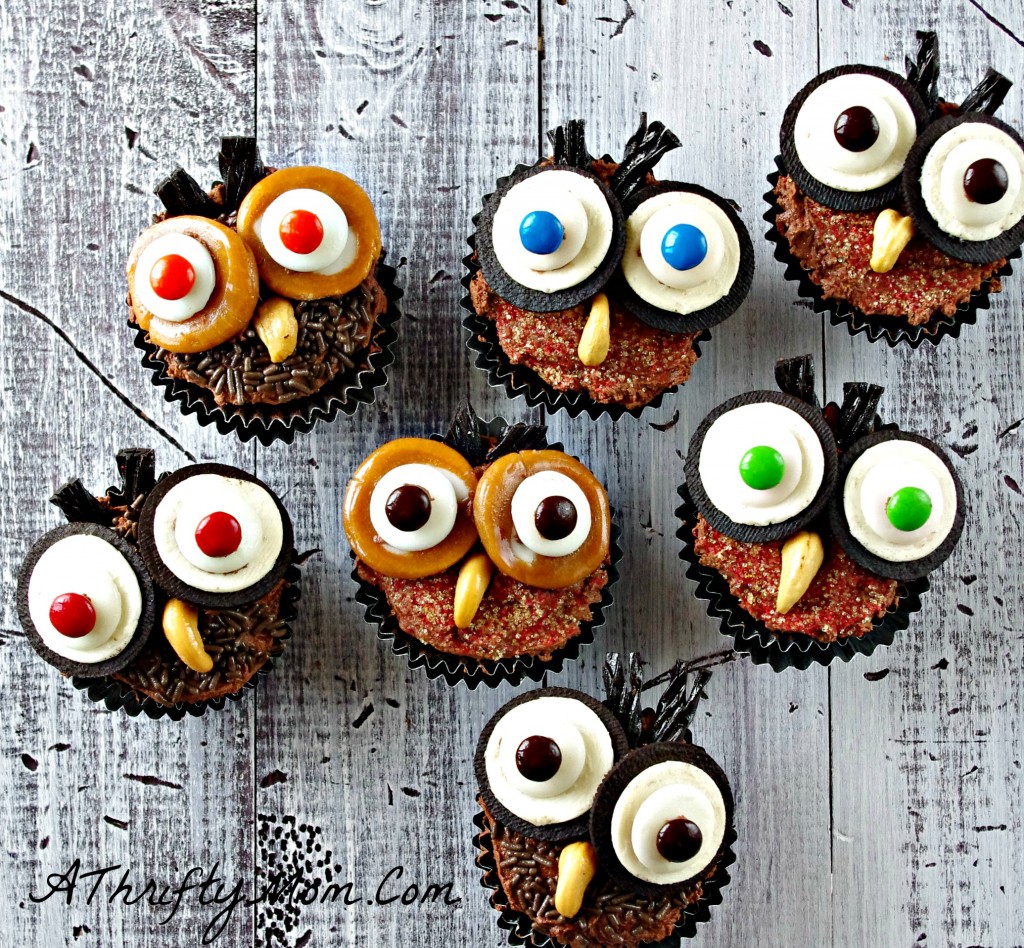
Makayla Henry some more owls 🙂