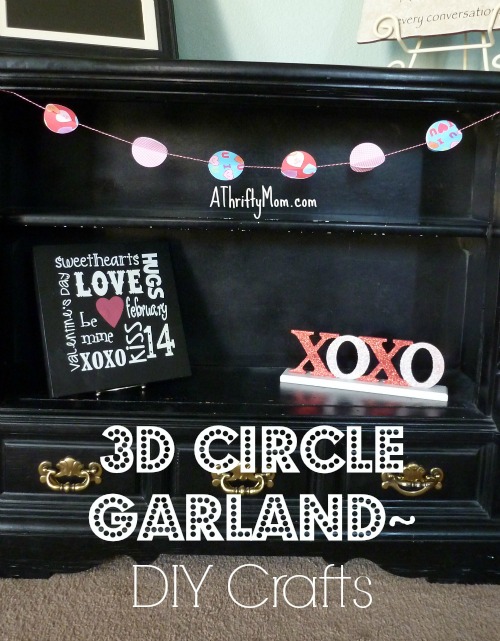
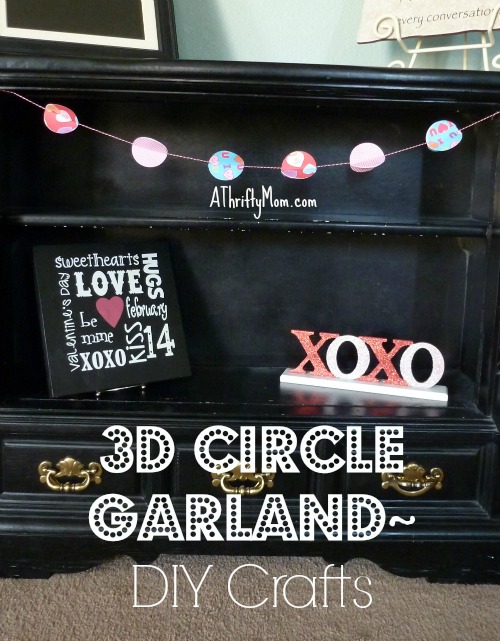
3D Circle Garland~DIY Crafts
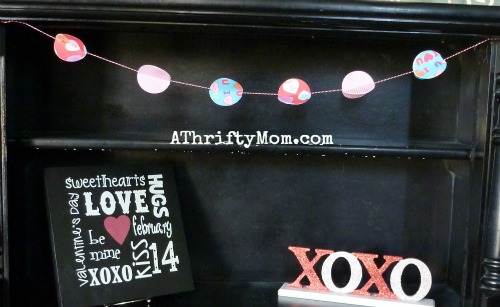
While this garland was made for Valentine’s day, it really is so simple to recreate for whatever decor/occasion you can imagine! With all of the scrapbook paper out there, you could make it to go with virtually any room for any holiday or just to add a little charm to your space! I happened to find some adorable paper at Target in the Dollar Spot and it really wanted to come home with me. I knew as soon as I saw it that I wanted to make this garland with it. So I bought it and I think it turned out cute!
You will need:
Scrapbook paper (doesn’t need to be card stock)
glue (I used hot glue and gun)
twine, ribbon or bakers twine
circle cutter of some sort.
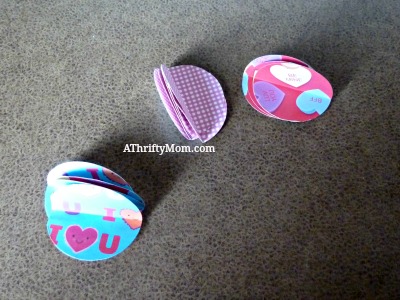
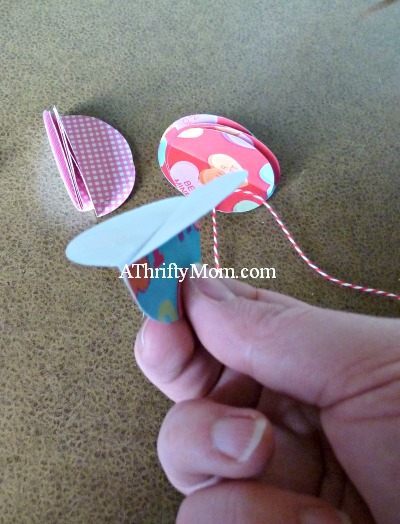
There are so many different paper cutters out there. I don’t have an actual punch like this one which would make this craft even easier. I do have this one though. This is what I used. It works great and cuts circles any size from 1 inch to 5.5 with so many options in between it is unreal! Definitely worth the money. Plus the blades last forever it seems like. Anyway, I cut my circles 2 inches. For each circle on the garland you will want 3 circles of scrapbook paper. Mine is fairly small, only 6 circles which means I only needed 6 circles of my 3 paper patterns I used. Once your circles are cut, you will want to fold them in half, pattern side in like this.
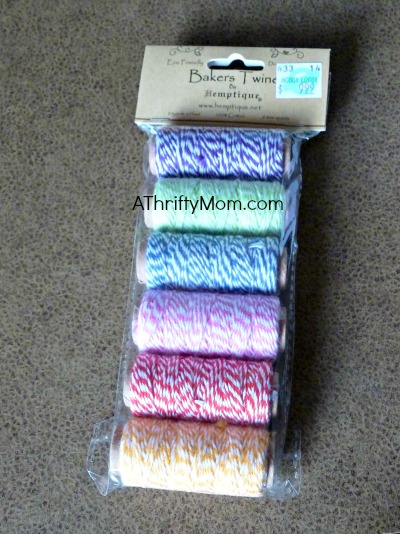
If you are using hot glue, heat up your gun. Have you used bakers twine yet? It is adorable and adds a little something to your project. I found this pack at Hobby Lobby and used a 40% off coupon on it. I love that it has so many colors in it and see a lot of bakers twine being used in my future! Here is some via Amazon. It is a great buy and comes with multiple colors as well. This is great if you don’t have a craft store that carries it nearby to use a 40% off coupon. Plus if you have prime it ships free, can’t beat that! Thin ribbon or regular twine would also work and look great.
Decide how much twine you want extra at the end of your garland and begin to glue your circles. Take 2 circles and glue them together like this
Once they are glued together, slide your twine in and glue your 3rd circle on top of those 2. If you do this carefully, your twine won’t be in the glue and then you can slide your balls wherever you want to position them when you are done. I just added a small amount of glue to each side and topped with the 3rd circle.
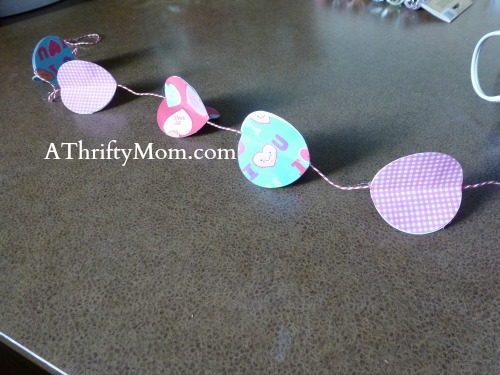
Continue doing so with your circles until your garland is the desired length and cut off the end of your twine. Make sure to leave enough to hang it on this end as well.
That is it! I think this would look lovely in a nursery or child’s room, with Christmas paper for the Holidays, to decorate for a birthday party, or so many other uses! I may make one to match my master bedroom and hang it in there on a wall with some photos.
Try Prime for FREE!
Looking for More Online Deals? Click here for more THRIFTY DEALS.
Please note that Amazon priced tend to change often so prices may be higher or lower without notice.
