Frozen Inspired Ornament, Melted Olaf ~ DIY Christmas Craft
Frozen Inspired Ornament, Melted Olaf
If you haven’t heard of the Disney movie Frozen you probably don’t have any little people living in your house this past year! If you have, you will understand just how popular this movie has become. In our house our favorite character is Olaf. Arguably he makes the movie!
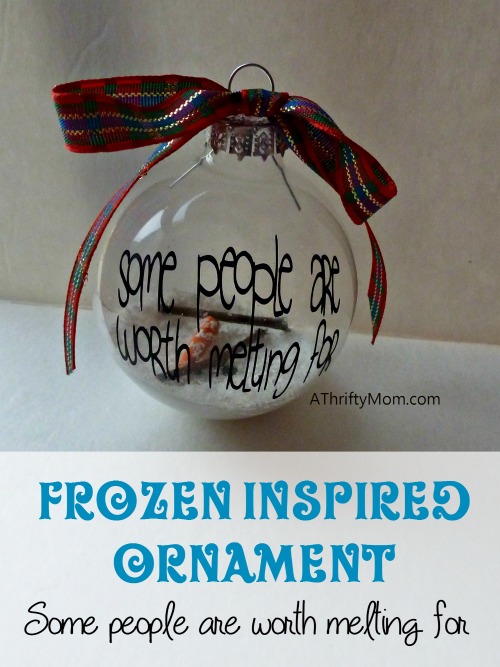
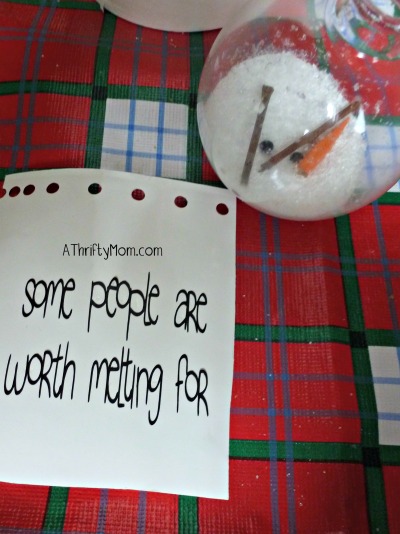
One of the best lines he has is when he says “some people are worth melting for”. I have seen some ornaments using that phrase and wanted to put my own spin on it!
You will need
white craft paint
fake snow or glitter
glass ball ornament
small black beads
orange craft paint
skewer (to cut off the end for the nose)
2 small branches (I got mine off of a wicker type wreath)
black vinyl, sharpie or letter stickers for saying
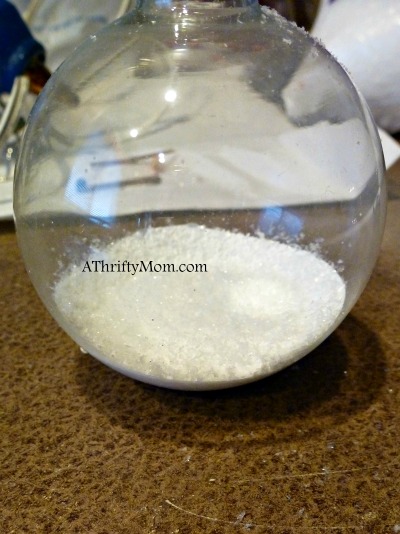
Begin by taking the top off of your ornament and squirting in some white craft paint. You want to coat the bottom, but not have it all up the sides. Let it dry for a while and add some fake snow, or glitter to give it some texture. Then let it continue to dry.
While that is drying, paint the end of your skewer orange. Set it where it can dry. I balanced mine on the top of my paint bottle and put paper under so if it dripped it would catch it.
Once the skewer has dried cut off the end for your carrot nose. You can paint the cut edge now if you would like or leave it.
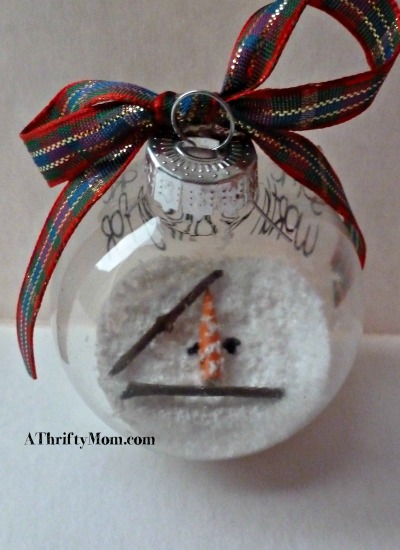
Once your ornament has dried a while, drop in your 2 branches, your carrot nose and 2 beads for the eyes. You should be able to wiggle it around a little to place them in different spots if you don’t like where they landed.
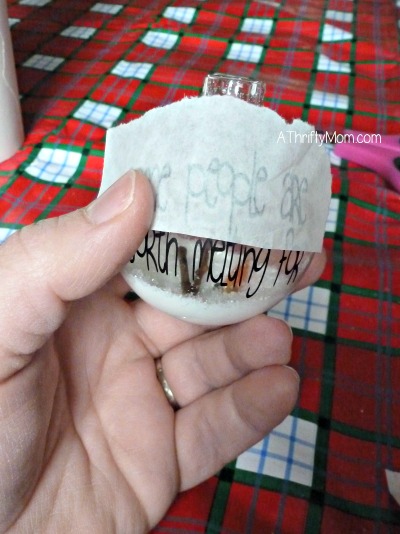
If you are cutting your saying out of vinyl, be sure to make it small enough to fit on your ornament.
My vinyl was cut 2 inches. Also, if you can weld your letters together, it makes it easier to apply with such a small space. And consider using a font that isn’t perfectly straight, it helps hide imperfect spacing better!
A trick I use when applying vinyl to the rounded ornaments is to apply in small sections. So instead of transferring the whole saying at once, I cut and placed each line separately.
You are done. You can place the top back on your ornament and hang it, or add some ribbon for a bow if you would like!
More DIY Christmas Ornament Ideas:
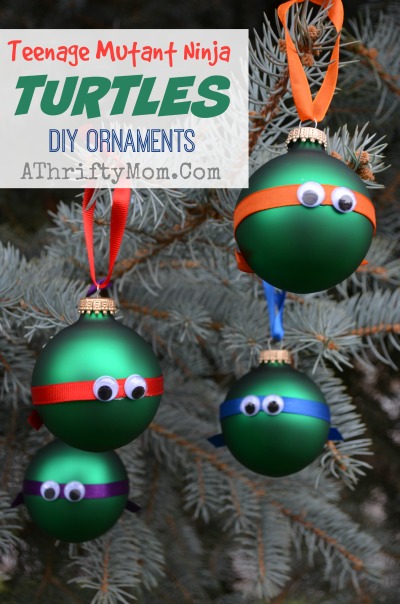 Teenage Mutant Ninja Turtles DIY Ornaments
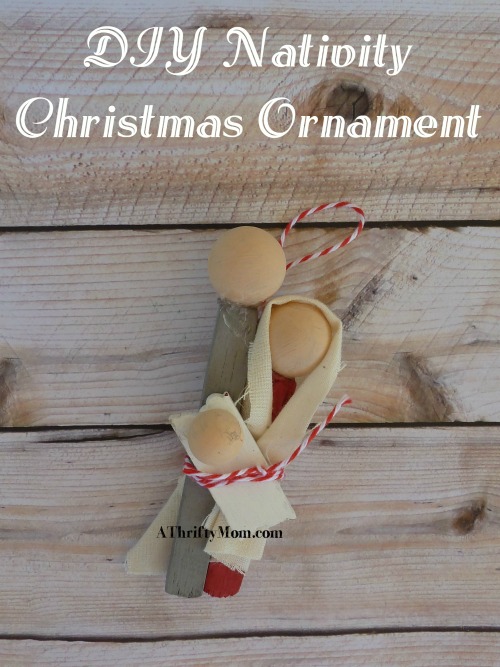 DIY Nativity Christmas ornament
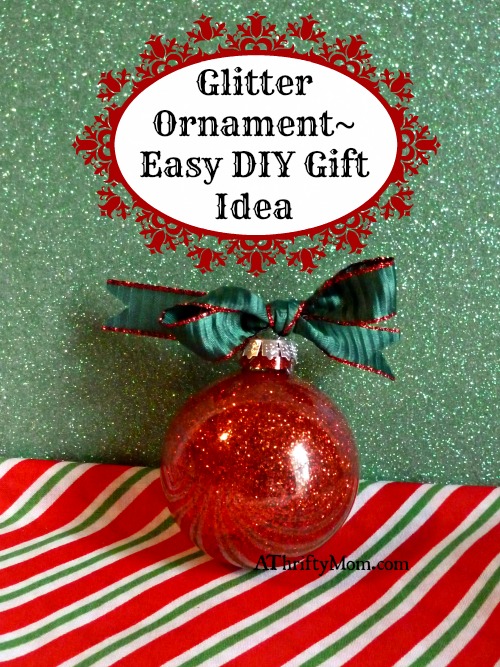
Glitter Ornament ~ Easy DIY Christmas Ornaments
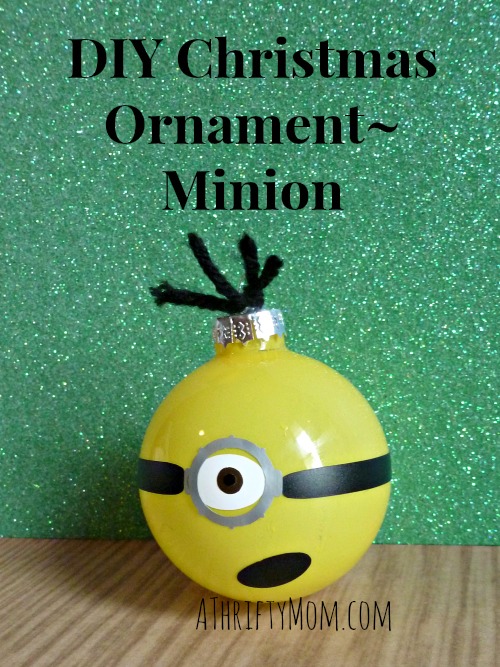 Minion Christmas Ornament ~DIY
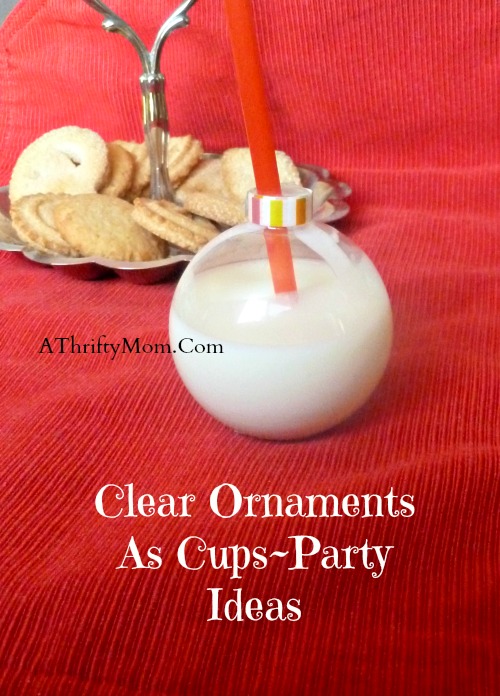
Christmas Ornament Cups ~ Milk and Cookies for Santa
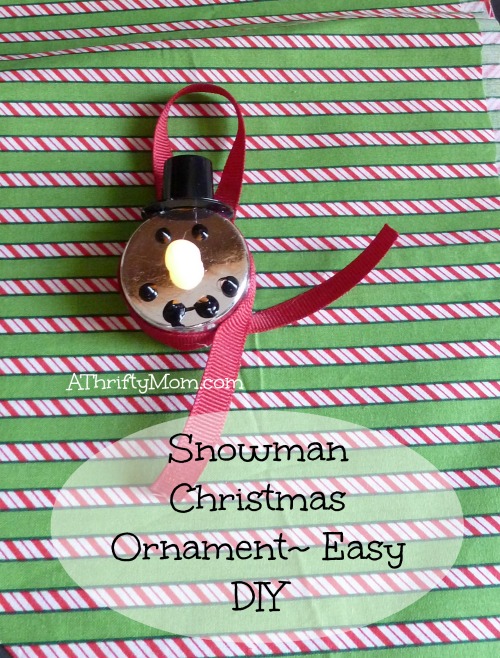
Tea Light Snowman Christmas Ornament
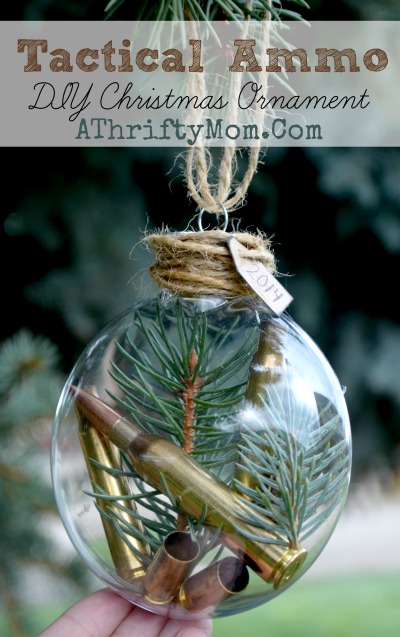 Tactical Ammo DIY Ornament
Frosty the Snowman did this…. first haha