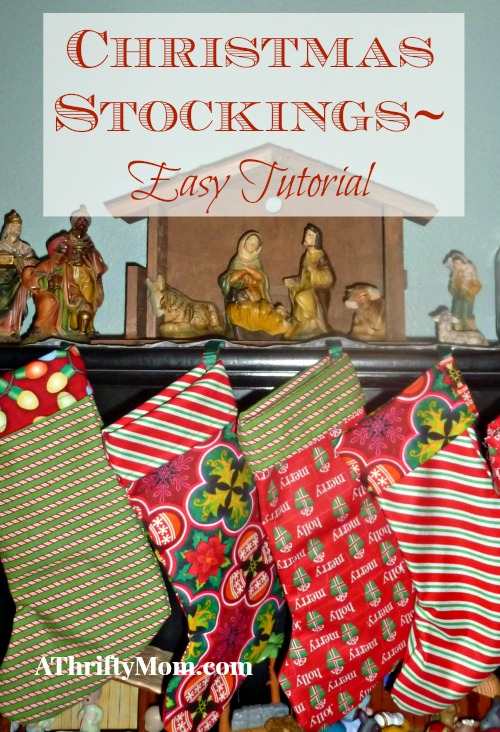

Christmas Stockings~ Easy, Quick Tutorial
Don’t be put off by the thought that these are sewn. If you know the basics of a sewing machine, you can definitely make these stockings! I am a very basic seamstress. I can do some, but I am far from being able to sell my items or hardly even being able to gift them! I have probably had more sewing fails then I have had victories. Embarrassing, but true. My best friend while sewing is my seam picker. Unfortunately we spend way too much time together. Especially when I was perfecting this stocking tutorial. The good news for you , though, is that I worked out the kinks and found the absolute easiest way to make a stocking ever!
You will need:
1/2 yard outer material, 1/2 yard of coordinating lining material
(You will use a lot less then that, but to prevent messing up and not being able to find the same material, I always buy a little extra. This should actually make you 2 stockings)
thread
sewing machine
old stocking (to make a pattern)
ribbon for hanging
Begin by tracing your old stocking on to paper for a pattern. It may take two sheets of paper taped together to get the right size. Make sure you actually trace about an inch extra all the way around to make sure you have enough room for a seam allowance.
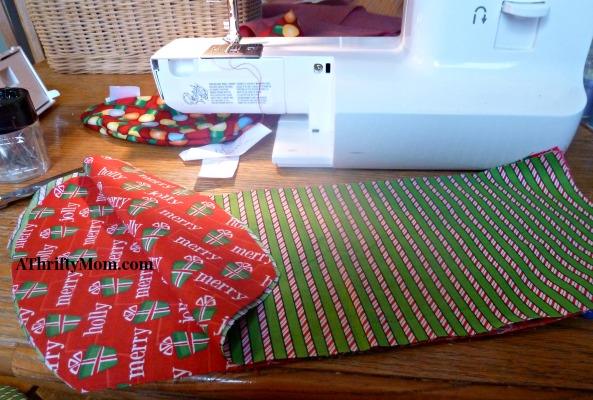
Once your pattern is traced, cut out the fabric following your pattern. Cut out 2 pieces of the lining and 2 pieces of the outer fabric.
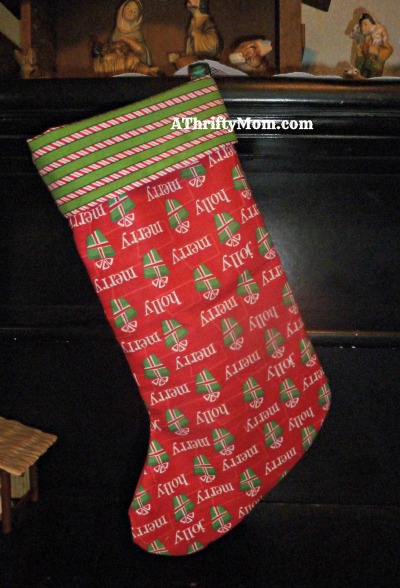
You are now going to take your outer fabric and place them patterned sides facing each other. You should be seeing the “wrong side” of the fabric. Now take your lining fabric and place them so that they are facing pretty side out. On my example, the green stripes are the lining and the red gift wrap is the outer fabric. I folded them up so you could see how they should be laying.
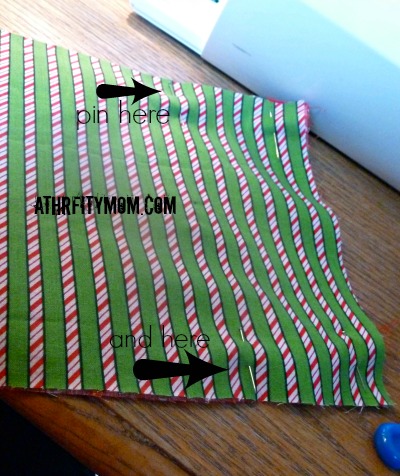
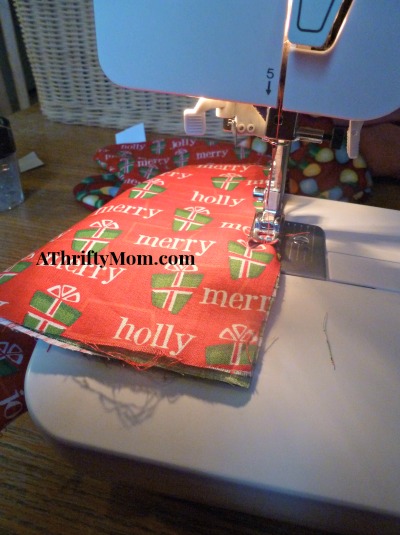
Now you want to pin around your stockings to keep the fabric from moving. Also about 4 inches down from the top, pin on each side as a mark. This will be your starting point.
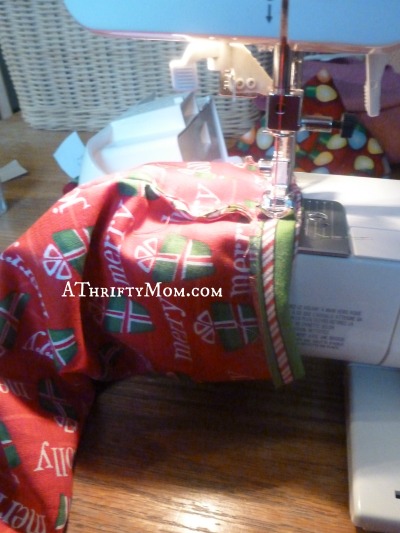
Start sewing from the first pin. Leave the top 4 inches alone for now. Sew all around the stocking until you get to the next pin. Remove from your sewing machine and turn right side out. Now you are going to sew those top 4 inches on both sides.
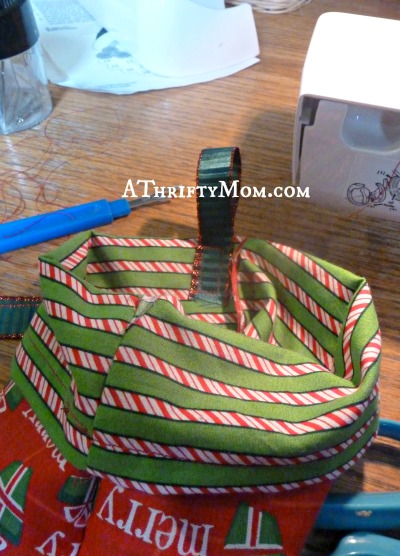
Once you have that sewn, you are going to want to make a very small cuff. Just enough to cover your raw edges.
Now turn your cuff down. Find a piece of ribbon that is the length you want. I used about 6 inches. Fold it in half and sew to the inner seam of your stocking. I sewed my ribbon in a square shape to make sure they were enforced to hold a little bit of weight. (Don’t want that Christmas orange Santa always leaves to rip it!)
That is it! I saw tons of patterns for stockings online last winter when I bought my material but they were all so complicated! I decided that there had to be an easier way, and I have to say I am loving them!