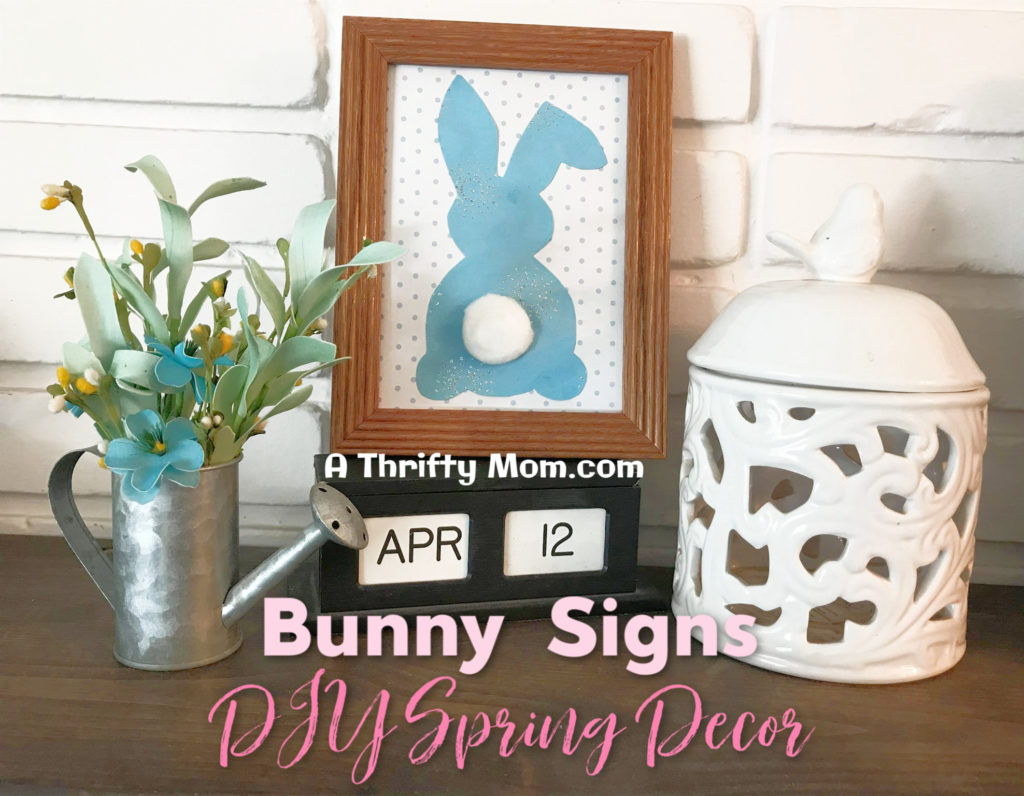
DIY Bunny Sign
Perfect for Easter or your Spring decor this DIY Bunny Sign is super fast and easy to make.
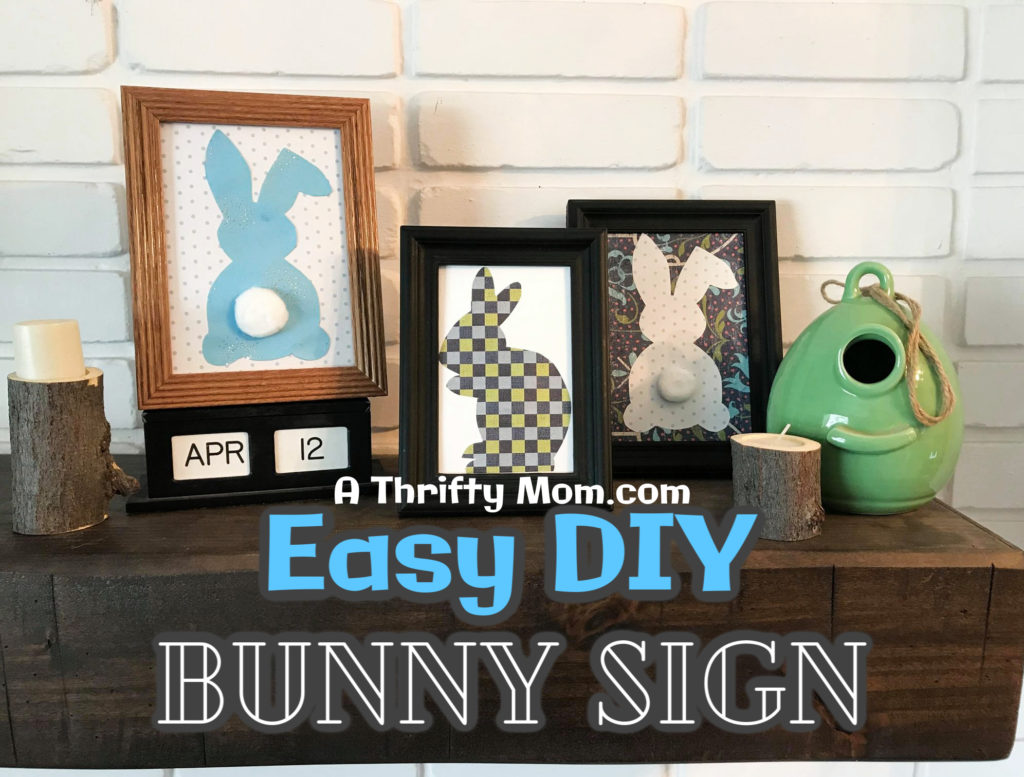
I love simple crafts like this. And this one is great because it’s easy to customize it to your own decorating style. Make it rustic or farmhouse style with a buffalo check bunny and a distressed frame. Or make it more sleek and modern with a polished black or silver frame and monochromatic bunny. Or do bright colors for a fun vibrant look.
The DIY Bunny Sign is super inexpensive too. I reused an old frame I had and some scrapbook paper. The bunny tail is a white cotton ball or you could use a pom pom. The kids would love making one of these bunny signs. Make different sizes and colors for a fun collage on the wall or mantle display.
All you need is:
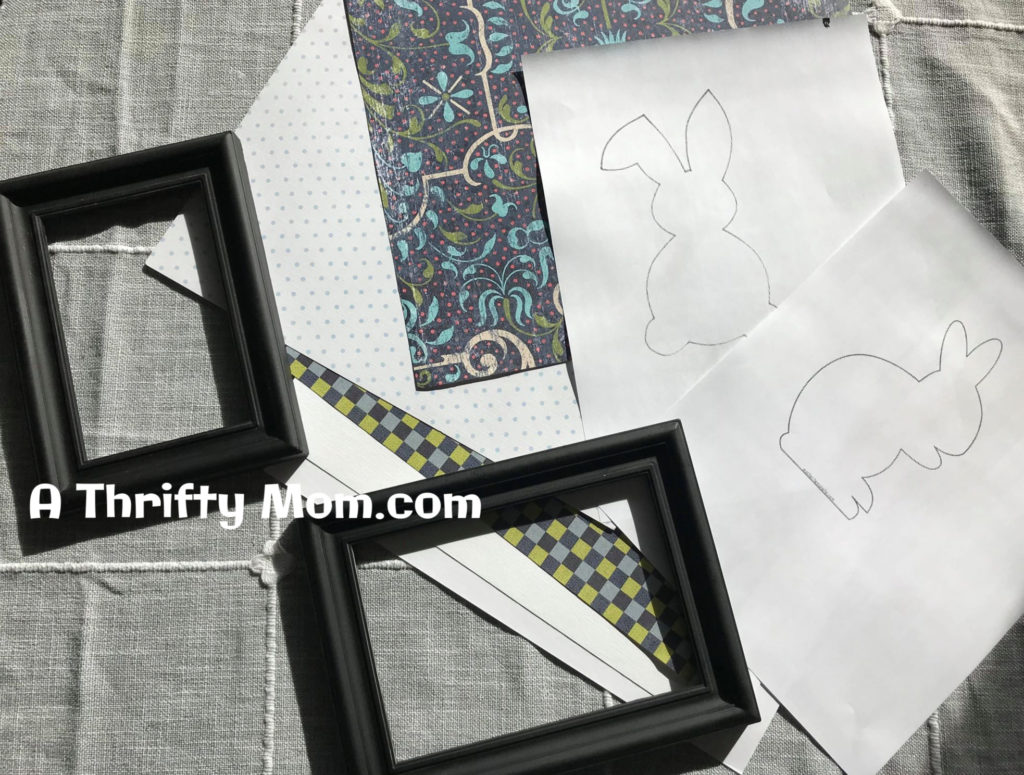
A frame for as big or as small as you want your sign to be. I did 2 5″x7″s and a 4″x6″.
Paint (optional for painting your frame) My frame was black so I left it that way.
Scrapbook paper in the colors of your choice. One color for the bunny and one color for the background.
Glue
Scissors
A print out of a bunny to trace.
I found two bunny shapes that I liked on this free clipart site.
Size the bunnies on your page to desired size. Mine were both about 5″ x7″. I ended up trimming one down to fit the 4″x6″ frame better. Print them out on regular paper. Cut out the bunny and then trace it onto the back of your desired paper. Cut out the bunny again.
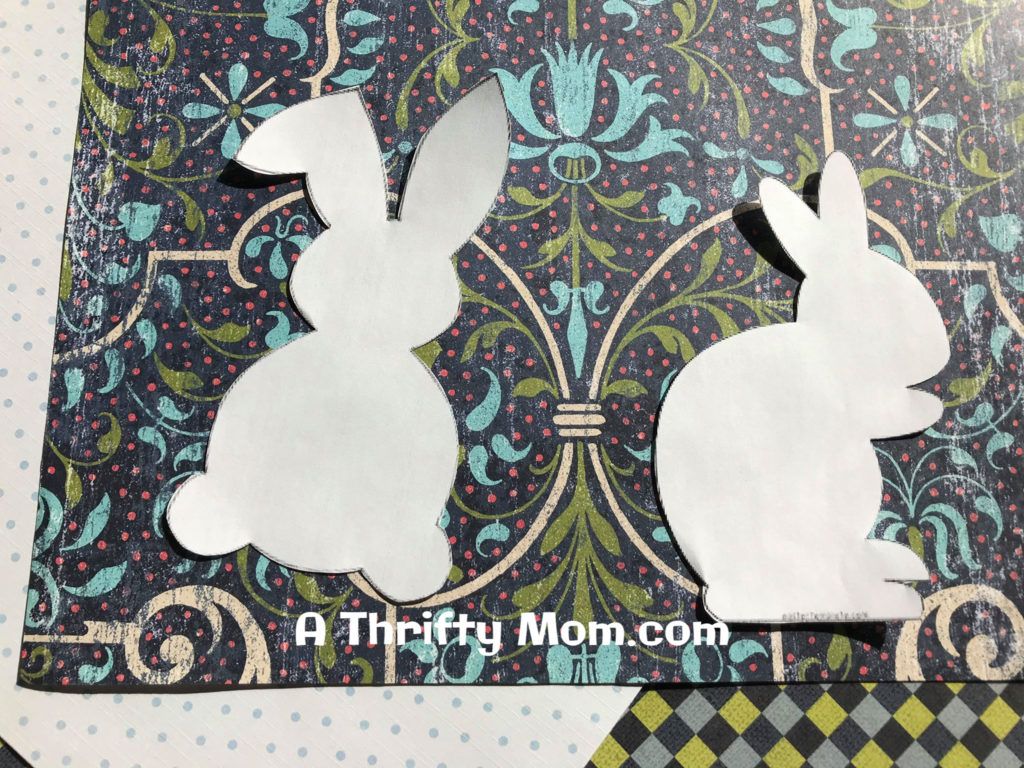
If you have a silhouette you can skip the above step and use the “trace” feature and have the silhouette cut it out for you on your desired scrapbook paper.
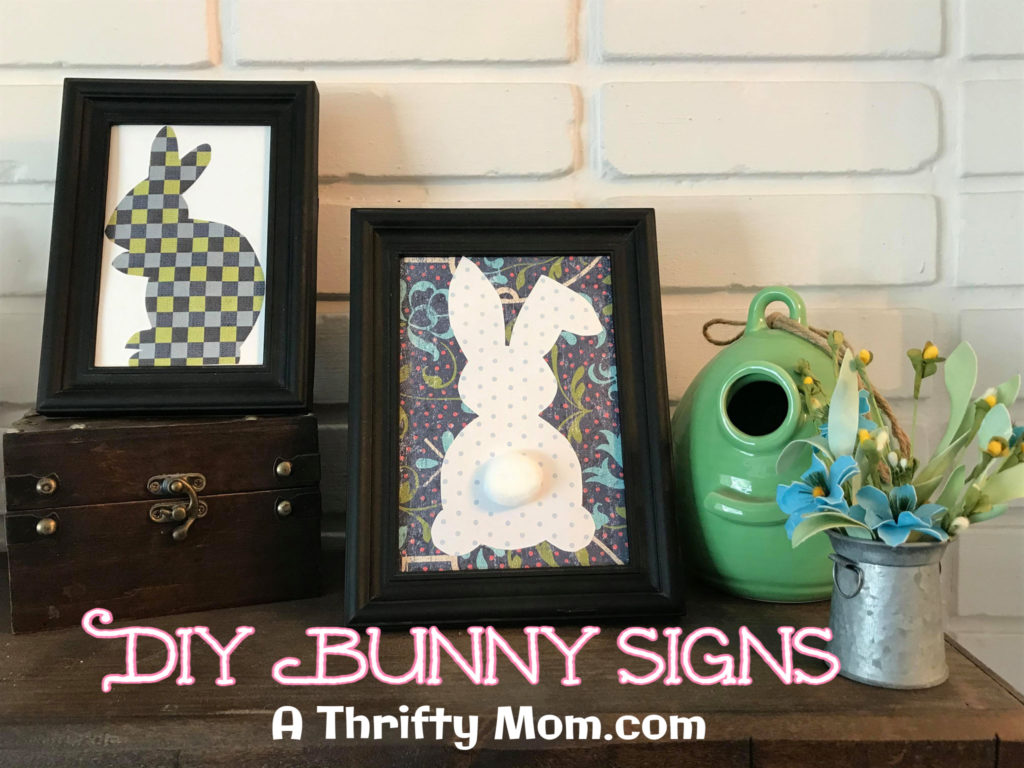
Glue the bunny onto your background paper. I used more scrapbook paper for my background. Glue on the white tail. Pop it into a frame and voila! Your bunny sign is complete and ready for display.
You might like these other ideas too…
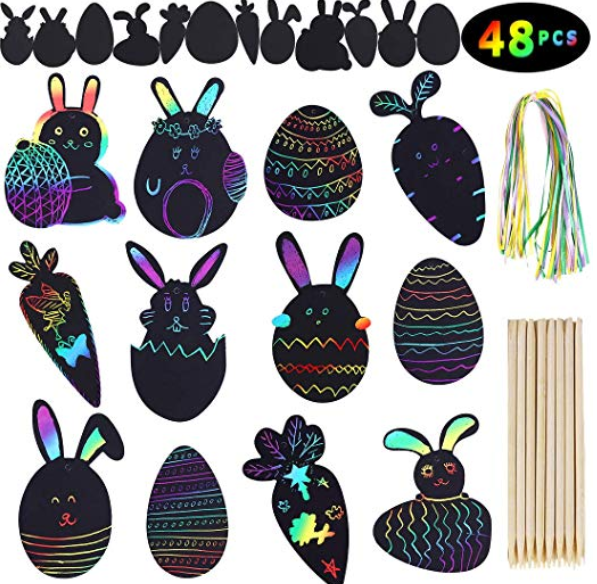
Color Scratch Easter Ornaments

Easter Round Up ~ 25 Recipes, Crafts, DIY quick and easy ideas to make Easter Fun
Follow us on Pinterest!
***********************
This post contains affiliate links.