DIY Decorative Switch-plate~ Using Washi Tape
I know I have mentioned this before, but I love washi tape. Washi tape is a Japanese, decorative, paper tape that is so easy to use and can spice up even the most of mundane items. Take this light switch for example. With all of the different washi tape options, you could redo every switch-plate in your house and make them all different! Its super easy too.
All you need is a switch-plate and washi tape. Oh, and a screwdriver to take your switch-plate off and put it back on when you are done. Easy enough, right?
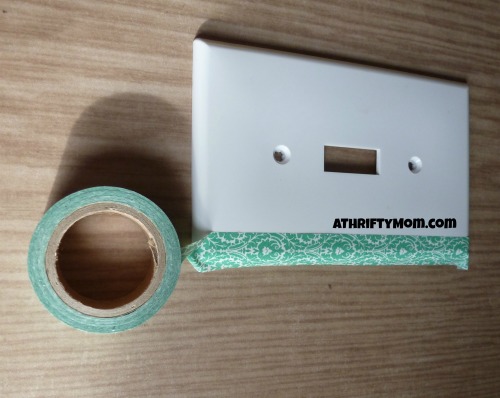
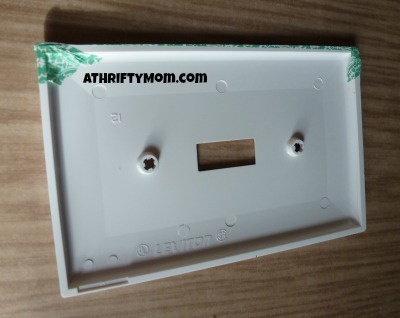
Take off your switch-plate and wash it. Once it is dry, apply your tape in even strips. Make sure to overlap a little so that there is no white peeking through. On the ends, wrap them around so that they begin on the back, you don’t want the tape getting caught on something and ripping. That part doesn’t have to be pretty, its on the inside. I made sure to make each strip long enough that the top and bottom wrapped around to the inside.
When you get to the hole in the middle for the light switch, I did it the same way, only started at that hole, wrapping around it as you did the top and bottom of the switch-plate. So with smaller strips and half the length. It is okay to just go over the screw holes. The tape is thin enough for the screw to poke through without any problems. Once you are done, rub your hand gently but firmly across it to make sure it is all pressed down good. Now all that is left is to put your switch-plate back on the wall. Gently press the screw through, it should go through with no problem.
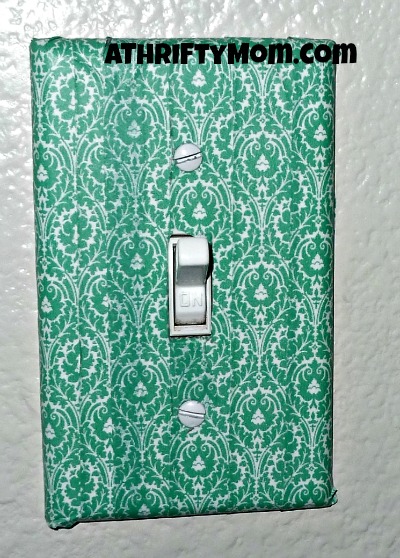
That is it! Now you have a switch-plate that matches your space and isn’t boring and white! Not to mention an excuse to use your washi tape!


