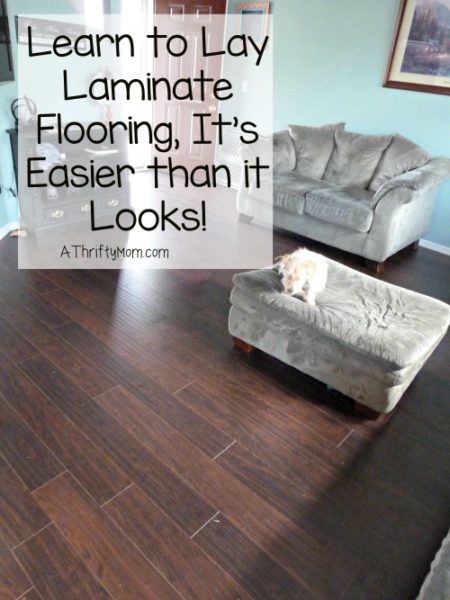
Installing Your Own Laminate Part 2 the Installation
If you missed part 1 you can find it here.
This is a big post, but bear with me and you will know all the tips and tricks we learned while installing our laminate. I need to give my husband credit where it is do. I use the word “we” loosely. He did the majority of the work. I was able to help with the prep process, and handing him things while laying the actual laminate. Unfortunately, it isn’t something that you can really do as a team (unless you are professionals) because the planks have to be laid one at a time and in order. So you can’t start at opposite ends of the room or something. If you are skilled with a saw, you could have one of you cutting while the other is down on the floor doing the installation. My husband didn’t want to teach me on such an expensive project.
So here goes, our extensive lesson in applying laminate flooring. If you haven’t read our post on prepping, you should go back and do that first. You can find it here.
Here are the tools you will need:
I have linked them so you can see what they look like.
the flooring these directions are for the type that locks together
underlayment (this is what we chose, but there are many different options)
*We are not affiliated with Home Depot, this is just what we happened to go with for the flooring and the underlayment
carbide tip blade made for cutting laminate flooring.
Installation kit (or pull bar, spacers and block)
box cutter or razor blade knife
Knee pads are a huge bonus!
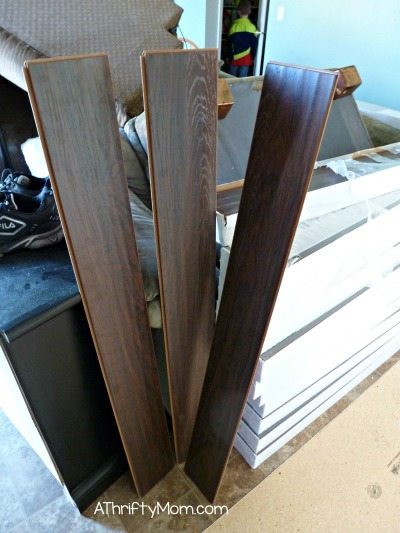
Ok, first off you want to buy your flooring and let it acclimate for a few days at least in the room it is going to be laid in.
A quick tip, You will have several boxes of laminate. It is important to not just use one box at a time. This will not turn out well and you will not be happy with it. Even though all of the boxes are the same flooring, some of them have different grain looks and or different tones to the color. This is to help give it a more natural look and feel. If you were using real wood, it wouldn’t all be identical either. So, open 3-4 boxes at time (or more if you like) and rotate where you take the next piece of laminate from. Don’t go in the same order every time because that will also look too uniform when you are done.
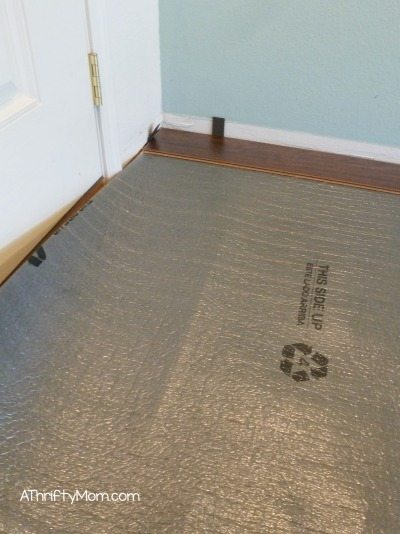
Begin first by laying your underlayment. If your laminate has this attached, great! Skip this step. Otherwise lay it according to the product directions.
Now, start on one corner of your room. How you choose to lay it is up to you. It also depends on the direction your support under the flooring is running. If you have the support beams under the house that are running horizontally, it is recommended to lay the laminate vertically and vice versa. Another pretty option is laying them angled. We have some weird angles in our space so that wasn’t something we felt like tackling.
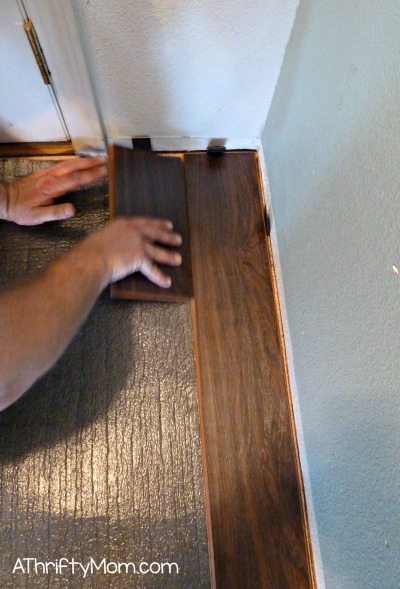
Start with a full plank and lay your spacers down to keep the flooring from being all the way against your floor. You need to leave a small amount of room for the floor to expand and allow some give when it is walked on, etc. If you don’t leave that gap, you will end up with pieces breaking and some bowing.
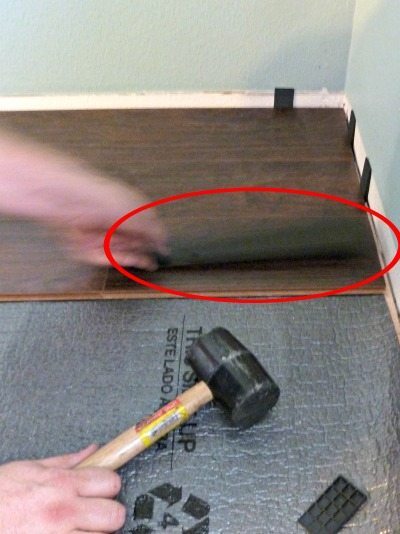
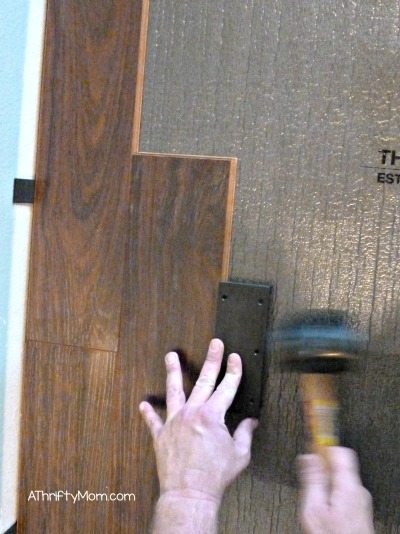
You will put the first piece against the spacers and insert one at the end. When you put the pieces together, it is important to use your pull bar and rubber mallet to make sure they are fully locked together. All you do for this is put your pull bar on the end not connecting, and gently tap the two pieces together. You will notice in my picture it is hard to see the pull bar. Unfortunately I didn’t notice on any of my photos of this process that I got them mid movement until the floors were done. So I circled it in red so you can see how the bar is at the end, and he is tapping the two pieces together on the other end.
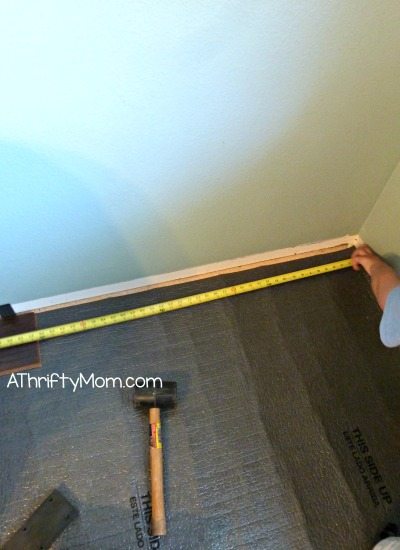
Keep doing this until you get to the end of a row and don’t have enough room for another plank Now you will measure how long of a piece you need. Be sure to put the spacer in at the end so that you allow for that space. DON’T THROW THE REMAINDER AWAY, YOU WILL USE IT. This has to be very precise. No rounding up or down. If you need to write it down, do that, but it is important to follow the measurements exactly.
Once you have the piece put in, you are ready to start on your second row. Start back at the same end you started on to begin with. Use the portion that you ended up with from your last cut. You want to be sure that the difference between two boards next to each other is no less than 6 inches to give the right look. You want them to be staggered.
Lock the pieces in to the row next to it. This is where you will use the block and rubber mallet. Once the pieces are connected to the row next to it, lay your block beside the plank and gently tap it with the rubber mallet until they are connected. Also be sure to still use the pull bar to connect them completely on the ends too.
The process is the same throughout. Some times your cuts will come out closer than the 6 inches, so just grab another piece and start that way. We do have a couple of spots that were pretty close to the 6 inches, and my preference would be that they were larger now that I see it all done.
Be sure that you are careful with measuring and be extra vigilant with any strange angles in your space. I didn’t take photos of the whole process because 1, I was helping and 2, it is the same thing over and over again until you get to the end of your room.
Once you are at the end of your room, you will more than likely have to cut those boards down. I doubt it happens very often that the rooms are the perfect width to be able to lay them all down and not have to cut it down. Be sure that you are measuring the space you need before cutting your board lengthwise. It gets tricky here using your rubber mallet on the ends, you may have to improvise a little.
Once you have all the flooring attached, it is time to reattach baseboards. The height of the flooring has probably thrown things off a bit, but you will still just attach the baseboards above the flooring.
A couple things I hadn’t thought about ahead of time
- Everything will be covered in dust. The floor, you, and anything you left in the room. If you don’t want dust on it or to have to clean it, move it or cover it.
- It takes a long time. Unless your space is tiny, this will not be done start to finish in one day, allow for this to take at least a couple of days.
- Try to keep kids busy and away because that just transfers the dust around even more and it is really boring for them. If they are older, getting them involved helps and makes them feel like they have a part too.
- If you are doing your kitchen, plan some quick meals that you don’t need a lot of space to prepare or maybe even try to avoid using the oven. It is a crowded mess and the more you can simplify the better!
- Cleaning laminate is different and you want to avoid standing water on it as it can sink in and ruin the board. Use rugs, or towels near kitchen sinks or places that water may come into contact with the flooring to keep this from happening.
- Furniture will also slip around, so be sure to put something on the bottoms of the legs to keep the laminate from getting scratched up and ruined.
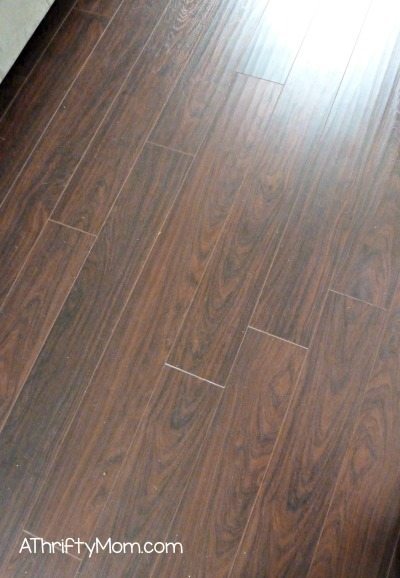
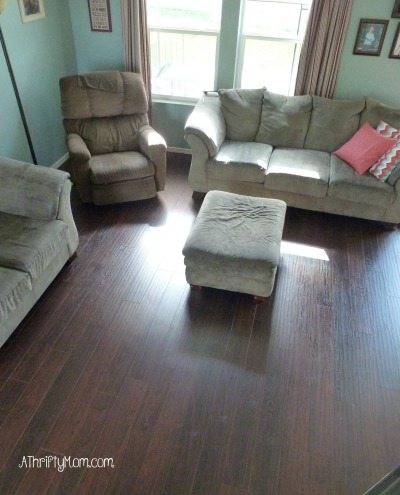
I love this end result and I am so glad we decided to do it! There are so many price ranges on the flooring that it is something that can be quite affordable. If you decide to do it in your own home, be sure to research the pros and cons first to make sure that it is the right fit for your home. Also look online and try to go to stores to see the flooring in person too. This makes it easier to see how it actually looks and feels. And good luck! Let me know in the comments if you have questions or want to add any helpful tips or tricks you have learned from doing your floors.
You can take advantage of FREE Shipping with Prime and get it in two days… remember you can try prime for FREE for 30 days.
Try Prime for FREE!
Looking for More Online Deals? Click here for more THRIFTY DEALS. Please note that Amazon priced tend to change often so prices may be higher or lower without notice.