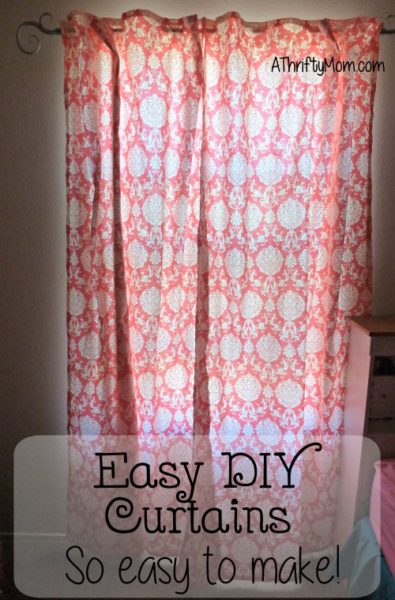
Easy, DIY Curtains, So Easy to Make!
You guys, I apologize in advance because this tutorial is a little on the long side! These curtains are so easy to make and take very little sewing and/or cutting. You won’t even believe it! I was pleasantly surprised at how great they turned out.
When I decided to do a mini makeover on my daughter’s room for her 12th birthday, one of the first things I knew had to go were her hideous lavender curtains that I had made for her nursery as a baby and they were definitely showing their age. Not to mention that they were the first thing I ever sewed on my sewing machine and they showed my lack of skill badly! She had long since been over the color and it was just time to move on.
She wanted her walls white, and I wanted to bring as much color as possible in other ways into her room. The palate is pink, aqua and gold. I had decided to make curtains out of bed sheets. Not the most exciting, but since the budget was tiny I was going to have to be thrifty. At Walmart I was able to find twin flat sheets for $5 a piece. Which wasn’t bad, but I would need 4 of them to add ruffles, or some thickness so that they weren’t see through. I wasn’t in love with them though. The color wasn’t exactly what I had in mind and they just weren’t very exciting. I decided to walk through the fabric while I was there and found this gorgeous, damask print and was instantly in love! This had to be her curtains!
It was $4.97 a yard. Since it was already the same width as a curtain panel, the length was the only part I had to worry about. I wanted panels that went to the floor. The average length of curtain panels I looked at were 84 inches, so I went with that. To get 2 panels in 84 inches I would need just about 5 yards. I even had them cut it in half for me so they would be exact (any fabric store should be able to do this). Remember to allow for sewing, so go a couple inches over your desired length for best results
You will need:
Fabric pieces in the desired length.
Thick ribbon (1.5 inches works great) in coordinating color
thread
sewing machine or needle and thread if you are daring
iron
ironing board
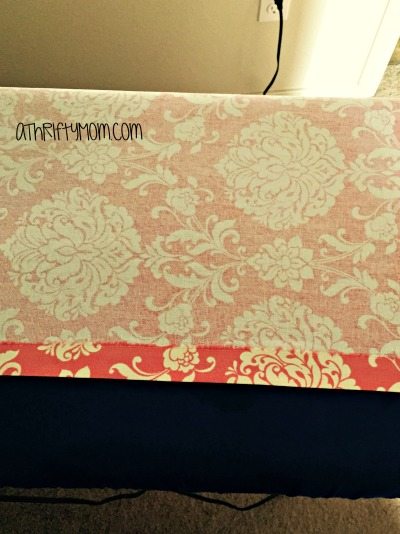
Once I got them home I ironed them. I know, who irons anymore, right? Well, I do only when I sew. This is a pretty vital step actually. Once the wrinkles are ironed out of them, turn your edged in about an inch and iron that down. This will give you a nice, crisp edge that will make it perfect for sewing and keeping the raw edge hidden. Do this all the way around. I didn’t do any cutting, it was purely ironing and sewing. Once you have both ironed you are ready to begin sewing. I used my ironed edge as a guide to keep my sewing lines straight which works great. Go slow so that your lines don’t go crazy. Sew all the way around the fabric. Since this is just off the bolt, you could actually just sew the top and the bottom to save time. My fabric had a thin white strip on one side of it, so I opted to sew it down.

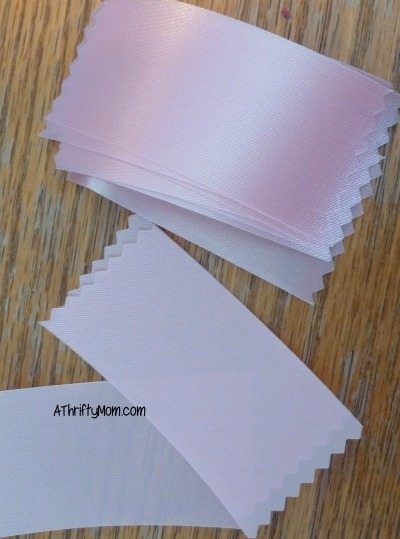
Now that you have the basic panel, cut off some strips of your ribbon. This will depend on the thickness of your rod. My rod was only about an inch thick, so I did my ribbon sections in about 3 inch sections. This gave me plenty of room to sew the edge over and still have room to get the panel on the rod. I also cut mine with pinking shears to keep the ribbon from fraying, but this isn’t necessary.
Once I had those cut, I pinned them onto my panels. I folded my panel in half and put a piece right in the middle, one on both ends and then another in between the two. That was 5 pieces of ribbon if you are keeping track. If your fabric is heavy, you may want to do more, but I wouldn’t recommend doing any less.
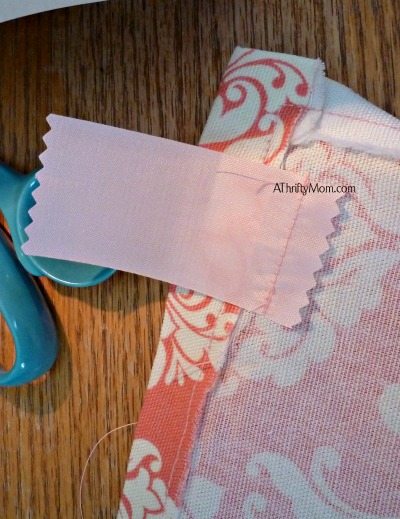
I let mine be a little lower then my raw edge to prevent them from being visible when the panel was hanging on the rod. Sew each end so that the edge is under. The photo above shows how I put the ribbon on to make sure the raw edge stays hidden.
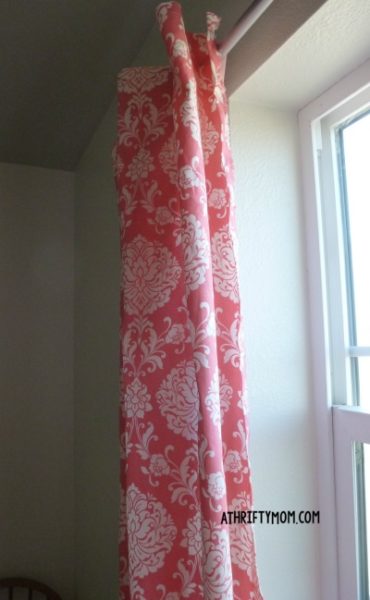
I wish you could really see the beautiful color of this fabric. The photos just don’t do it justice and there is no time of day that is great for taking photos in this room!
I love how it turned out and how they look like they cost a lot more then they actually did. I have seen panels similar that sell for much more then I spent.
If you are on a budget and want to change up any room in your house, this is the way to do it. Inexpensive,easy and high impact. You can’t ask for much more then that!