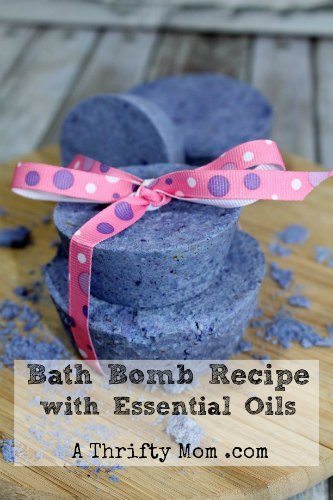
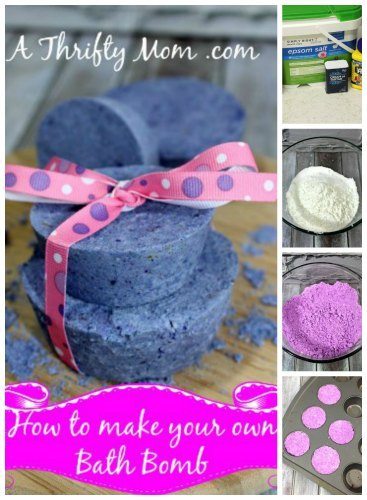
How to Make Your Own Bath Bomb
Bath Bomb with Essential Oils
 There is nothing, well almost nothing more relaxing than taking a long hot soak. My husband recently installed a jacuzzi tub in our master bath. At first I really didn’t think I would like it at all. I’m not that into baths. In fact my husband had to fill the tub for me and convinced me to get in. Taking a bath is one thing, but taking a bath with bubbles and with a bath bomb is just awesome. I’m pretty sure its the combination of the jacuzzi and the bath bomb, but it could’ve been the fact that the kids were somewhere else being taken care of by my hubby. Having no worries when you take a relaxing bath is in my opinion the best thing – total relaxment!
Recently I came across this awesome recipe on how to make your own bath bomb. Sure you can buy your own bath bombs. But do you really want something fizzing away under you and not knowing what is in it? Making your own is the safest bet to guarantee that there are no crazy chemicals in it that you need someone help you pronounce them. It also saves you a ton of money too! You can make natural and safe Bath Bombs for a small fraction of what you could buy them for! And it takes no time at all to make them, and just let them dry overnight to harden up is the only thing.
Save money and make your own Bath Bombs with your own fragrance from natural essential oils. With essential oils you can make a bath bomb for exactly what you need it for. make one for when you are sick, or a relaxing one that will help you sleep. You can even make one for a good pick me up with a clean crisp aroma. 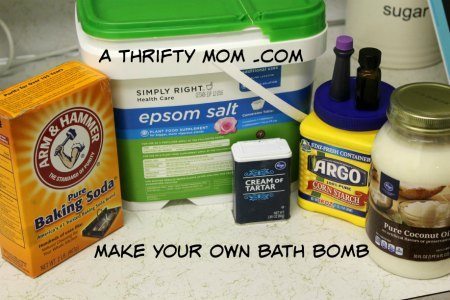
Ingredients:
- 8 ounces Baking Soda for your skin and the bath water
- 4 ounces Cream of Tartar
- 4 ounces Corn Starch
- 4 ounces Epsom Salts
- 3/4 tsp. Water
- 2 tsp. Essential Oil for scent ( Lavender )
- 2 tsp. Coconut Oil
- Food coloring if you want colored bombs (Purple)
- A decoration, like dried flowers, non-toxic glitter, or sugar cake decorations.
- A small mini muffin pan
Procedure:
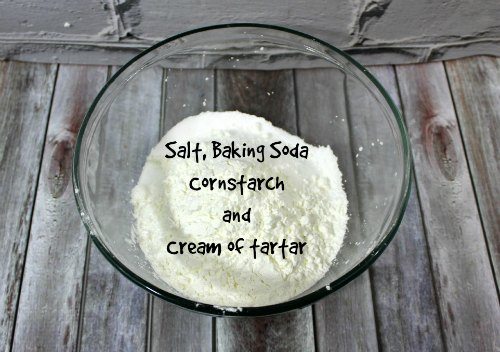
Mix all dry ingredients in a large mixing bowl (salt, baking soda, cornstarch and cream of tartar)
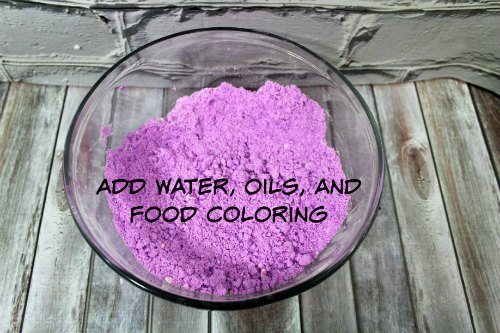
In a separate small bowl, mix water, oil, and food coloring
Now go ahead and mix wet and dry
At this point, your mixture should resemble wet sand. Adding the food coloring helps you figure out if it’s well-mixed, an even color means a good mix. When you squeeze some in your fist, it should hold together. If it doesn’t, add water a few drops at a time until desired consistency is reached.
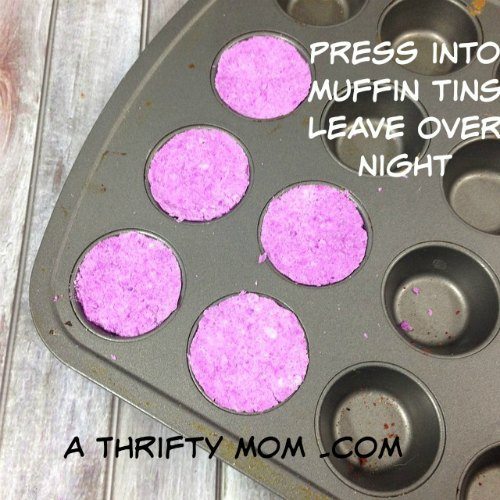
Tightly pack it down into your mold
Let dry 24 hours
I recommend not removing from the mold until the mixture is completely dry. However, depending on your mold shape, you may have success with early removal so you can reuse the molds more quickly. Cupcake and Flat shapes work great removing them from the mold early.
How to make your own Bath Bomb
How to make a great smelling Bath Bomb, that also moisturizes your skin with all natural coconut oil.
- 8 ounces Baking Soda for your skin and the bath water
- 4 ounces Cream of Tartar
- 4 ounces Corn Starch
- 4 ounces Epsom Salts
- 3/4 tsp. Water
- 2 tsp. Essential Oil for scent (Lavender)
- 2 tsp. Coconut Oil
- Food coloring if you want colored bombs (Purple)
- A decoration (like dried flowers, non-toxic glitter, or sugar cake decorations.)
- A small mini muffin pan
- Mix all dry ingredients in a large mixing bowl (salt, baking soda, cornstarch and cream of tartar)
- In a separate small bowl, mix water, oil, and food coloring
- Now go ahead and mix wet and dry
- At this point, your mixture should resemble wet sand. Adding the food coloring helps you figure out if it’s well-mixed, an even color means a good mix. When you squeeze some in your fist, it should hold together. If it doesn’t, add water a few drops at a time until desired consistency is reached.
- Tightly pack it down into your mold
- Let it dry 24 hours
- I recommend not removing from the mold until the mixture is completely dry. However, depending on your mold shape, you may have success with early removal so you can reuse the molds more quickly. Cupcake and Flat shapes work great removing them from the mold early.
Dont miss out on some other great Money Saving Projects and awesome Life Hacks
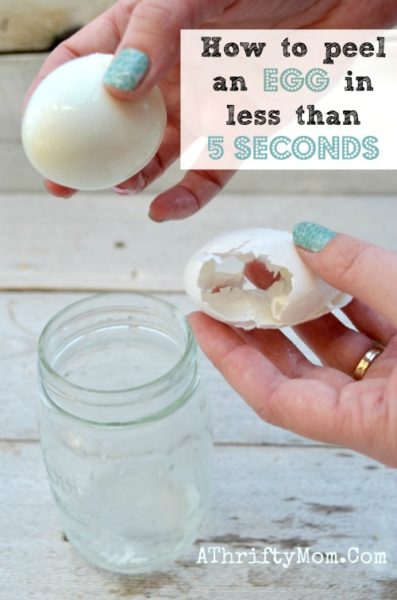
How to peel an egg in less than 5 seconds
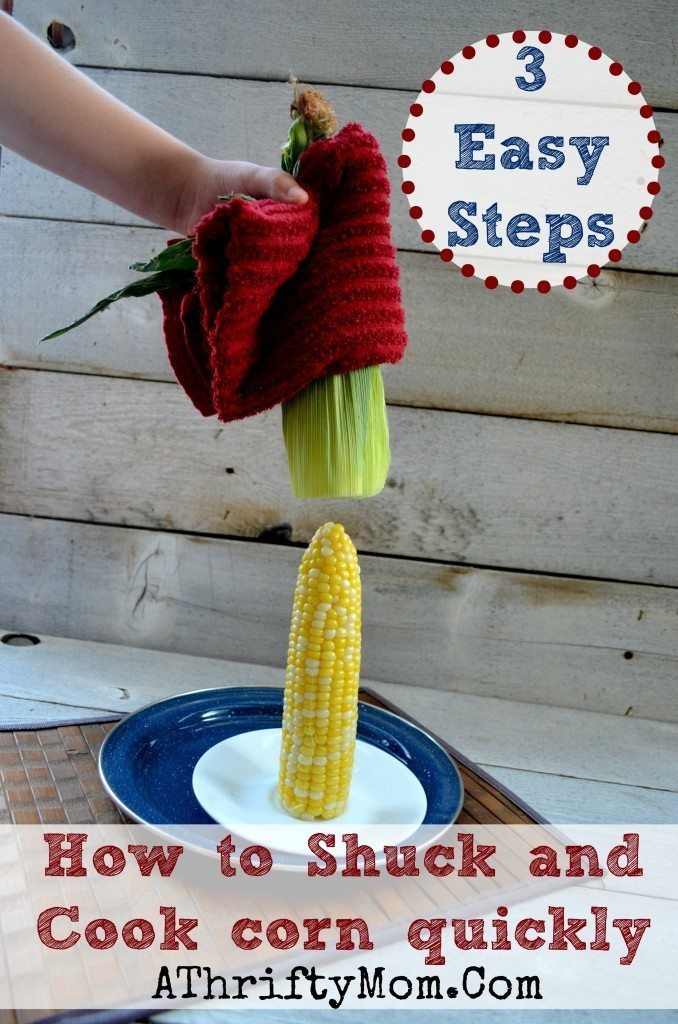
How to shuck corn in 3 easy steps
And lots of other great tips and tricks to make life easy can be found in our DIY section
Please note that Amazon priced tend to change often so prices may be higher or lower without notice