![]()
Falling in Love with your Family by Alison
In a Nutshell: Make a thrifty family instrument for $6.04!
Do you want to add a little pizzazz to your summer…and give your kids a brain boost at the same time? Add some music! Music can have many functions in families. You can use music to cue kids in to clean-up time, or get them quieted down for a nap. Upbeat music can change the tone of a home when everyone has the grumpy bug. Rhyming songs can help children learn the patterns of speech that lead to better reading skills. And it actually can make your kids smarter! Here is a tiny sample of some of the research showing the benefits of music education:
A research team exploring the link between music and intelligence reported that music training is far superior to computer instruction in dramatically enhancing children’s abstract reasoning skills, the skills necessary for learning math and science.
Students with coursework/experience in music performance and music appreciation scored higher on the SAT: students in music performance scored 57 points higher on the verbal and 41 points higher on the math, and students in music appreciation scored 63 points higher on verbal and 44 points higher on the math, than did students with no arts participation.
Researchers in Leipzig found that brain scans of musicians showed larger planum temporale (a brain region related to some reading skills) than those of non-musicians. They also found that the musicians had a thicker corpus callosum (the bundle of nerve fibers that connects the two halves of the brain) than those of non-musicians, especially for those who had begun their training before the age of seven.
A McGill University study found that pattern recognition and mental representation scores improved significantly for students given piano instruction over a three-year period. They also found that self-esteem and musical skills measures improved for the students given piano instruction.
(Sources at http://www.childrensmusicworkshop.com/advocacy/benefits.html)
While formal music instruction is a plus, there are many thrifty ways to get the benefits of playing an instrument, even if a piano or tuba isn’t in the budget. If you have a couple of hours and a couple of dollars, you can make a set of musical chimes that your family will love!

My Supplies

10 ft length of ½ inch electrical conduit pipe = $2.00 at Lowe’s or Home Depot
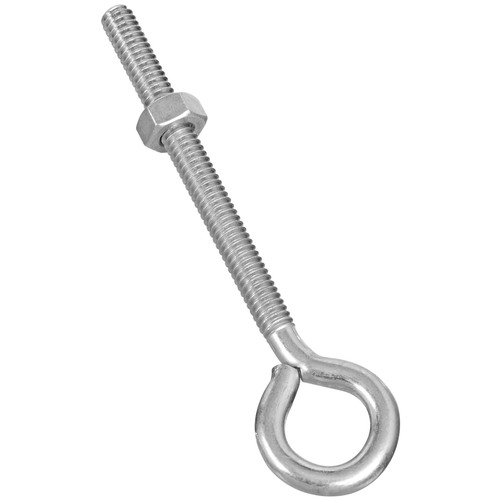
This little metal knocker thing = $.52 x 2 at Lowe’s (you can also use spoons)

Ribbon or string = $1.00 on clearance at Michaels
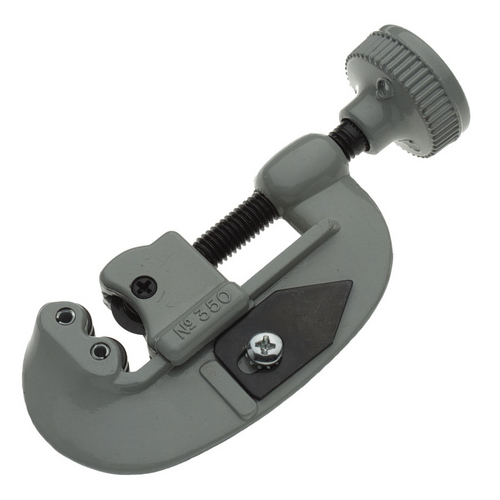
A Pipe Cutter = $0 (a simple once costs about $10.00)
(I lucked out and found a nice associate at my home improvement store who offered to cut it for me, so I didn’t have to buy one! You could probably find a neighbor who has one, too.)
A metric ruler or tape measure
Drill, and metal or all-purpose drill bit
If you want kids to hold the chimes, that’s all you need. If you want the chime set to have the option of being stationary, you’ll also need…
24″ café curtain rod (spray painted, if desired) = $3.00 at Big Lots or Family Dollar
24″ x 24″ thin board (so the chimes don’t ding the wall) = $0, leftover
24″ of 2×2 board to mount the curtain rod (so the chimes can hang better, optional) = $0, leftover
Spray paint = $0, leftover
My total cost = $6.04
Step 1: Cut 1/2 inch steel electrical conduit pipe to the lengths below with pipe cutter (metric measurements make it much easier to get the proper pitch). Note: I used two 10′ pipes and cut some additional notes, with the measurements found online here. The 10′ pipe is just a fraction of an inch shy of the 8 notes of the C scale. If you have a good sense of pitch, you may want to buy another length of pipe if, when you are cutting, the last note isn’t quite as long as it should be. The pitch changes with the length of the pipe.
Step 2: Write the note name on the pipe with a sharpie or with paint
Step 3: Measure down the pipe and mark the” node” according to the chart above. This is the hole where the string will go through. Drill a small hole at the node, going through to the other side. Make it big enough for the string or ribbon you are using. File or sand if necessary to remove any sharp edges.

Step 4: String the ribbon or string through each node. (I needed to tape the ribbon to a toothpick to help it through. You could also thread a big needle if you are using string.)
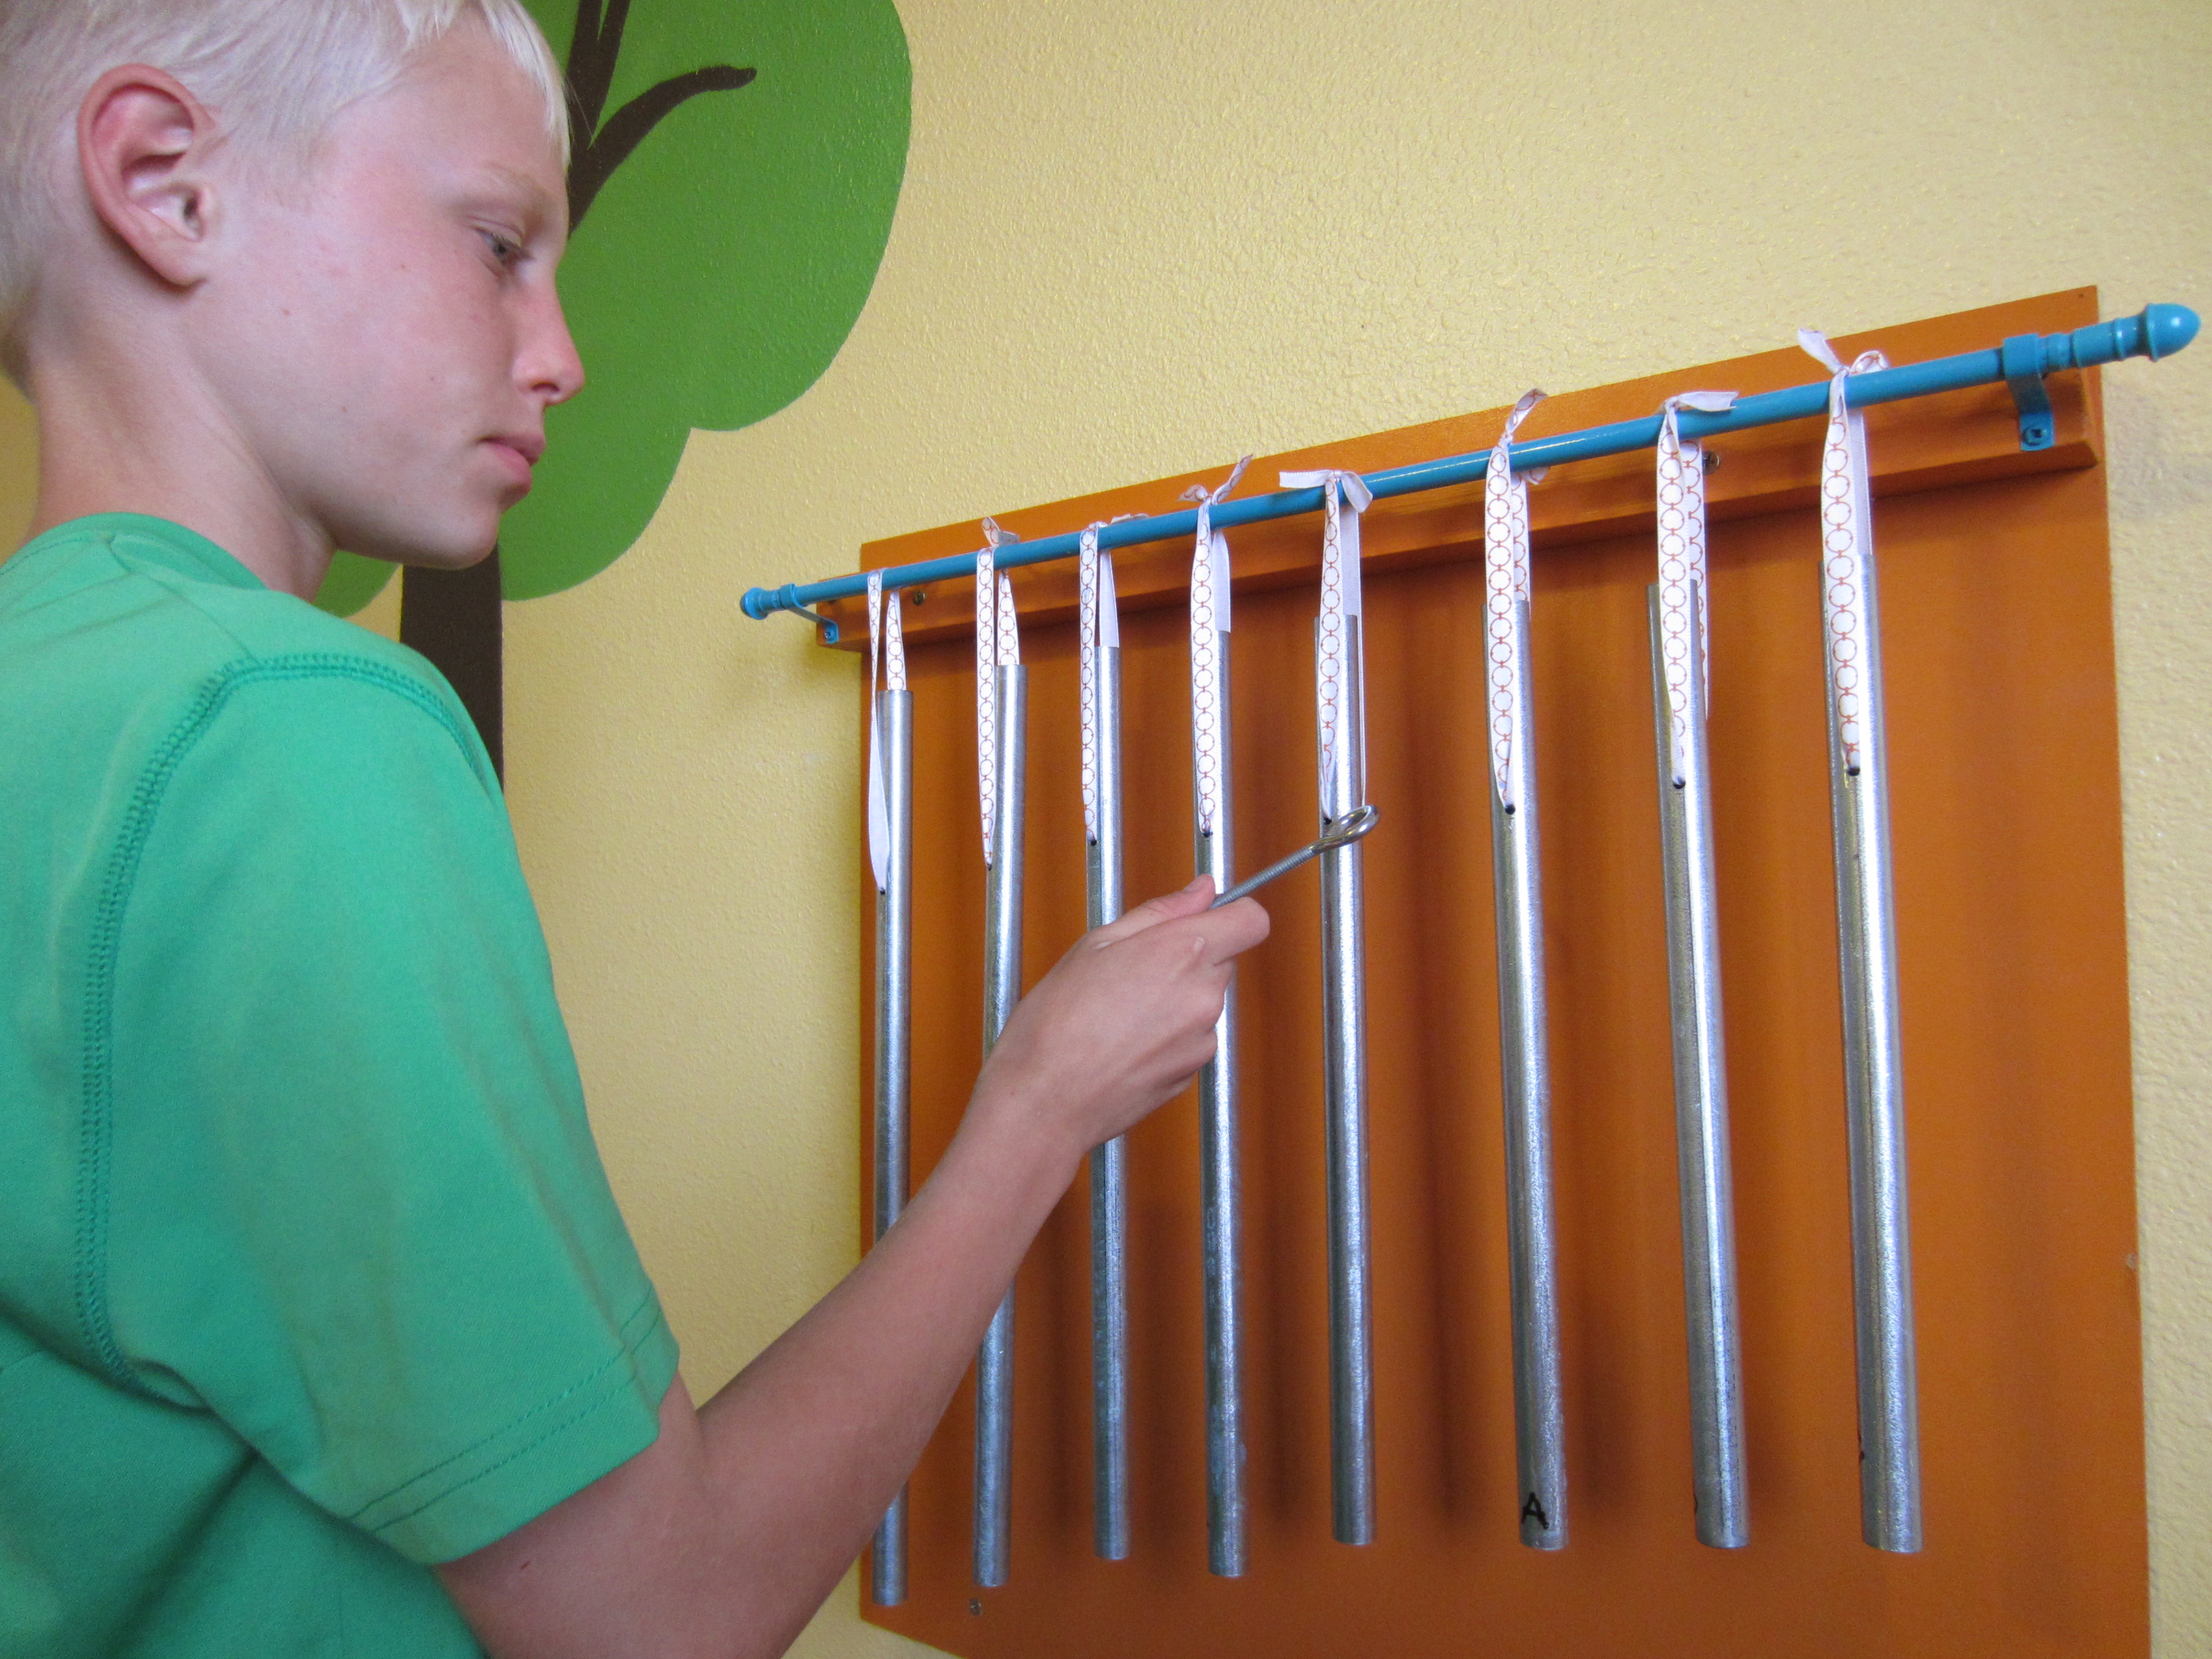
Step 5: If you are keeping your chimes portable, you are done! Now you can play any simple song in the key of C. Get songs from piano books, the internet, or just have fun experimenting.
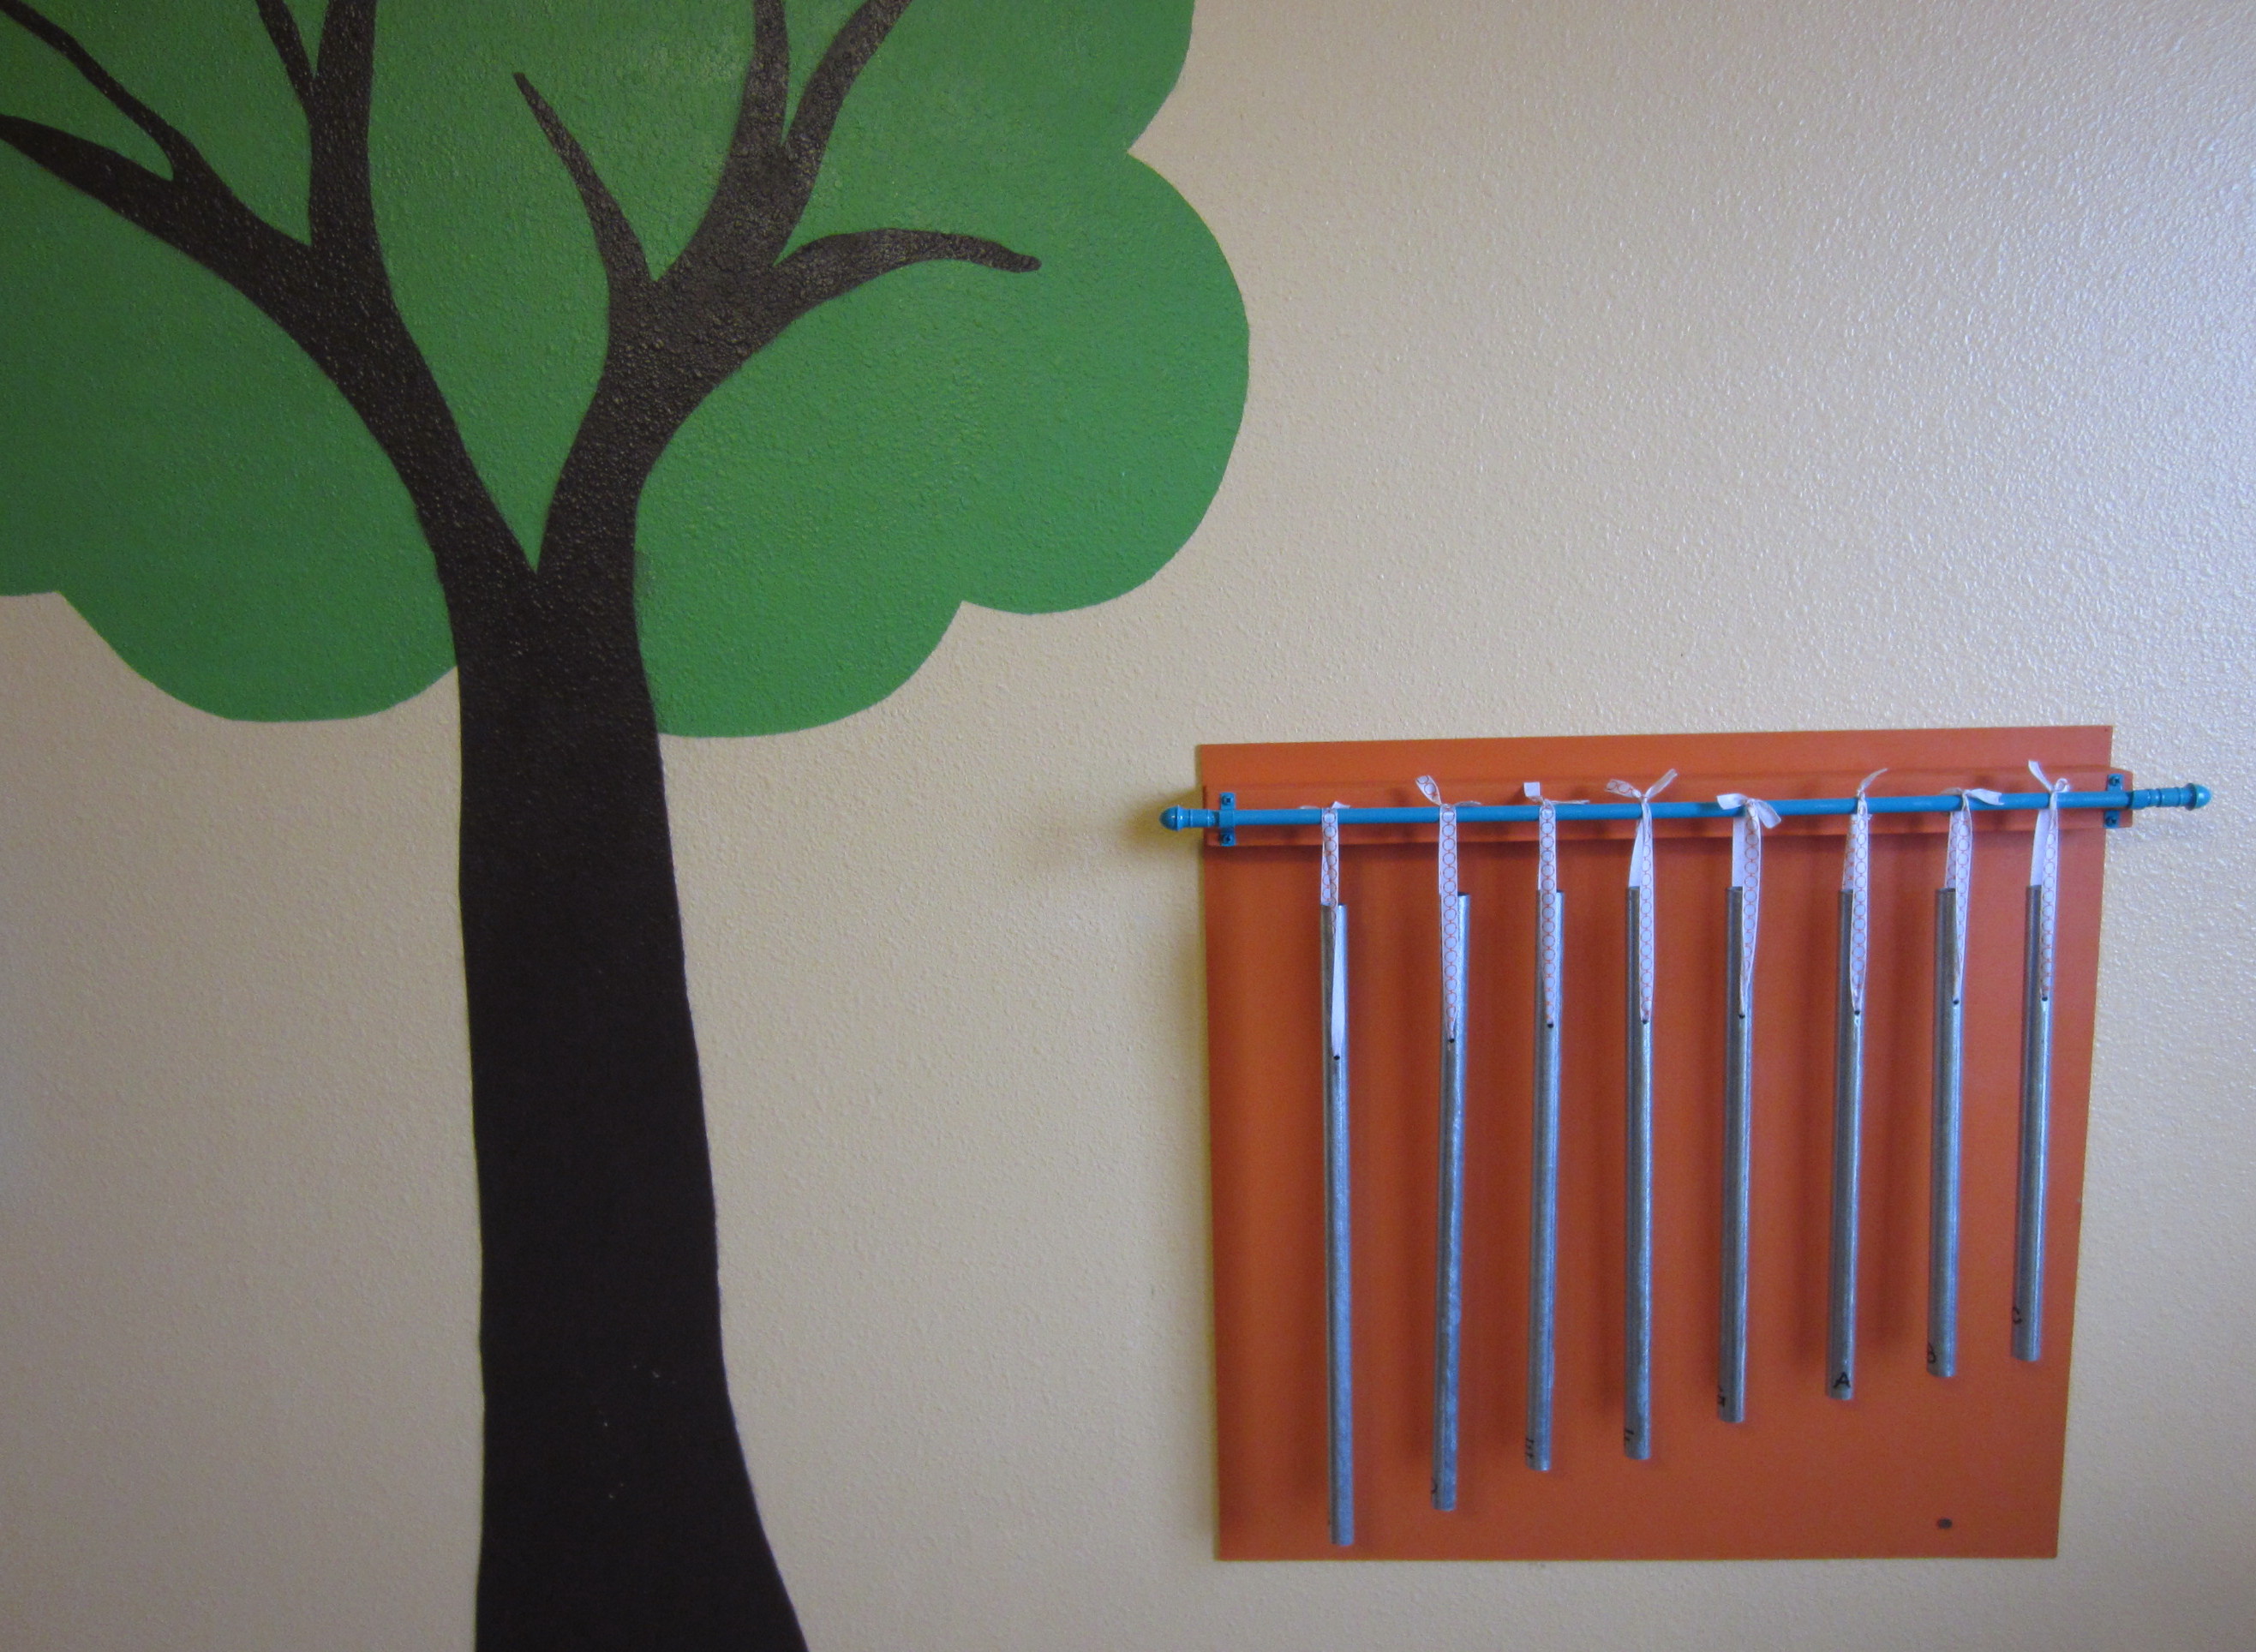
Step 6: If you want your chimes to have the option of staying stationary on a wall, fasten a small curtain rod to the wall and hang the chimes. I didn’t want the chimes to ding the wall, so I screwed a 2 foot square piece of thin wood behind it. I also wanted the chimes to have some room, so I added a 2″x2″ piece of wood under my curtain rod.
Enjoy!