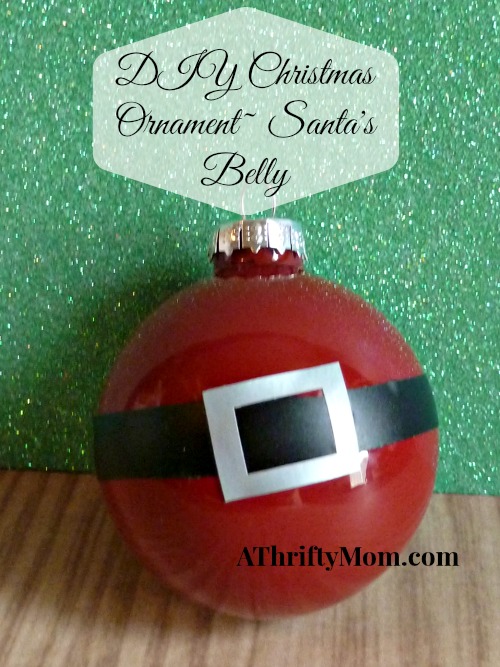

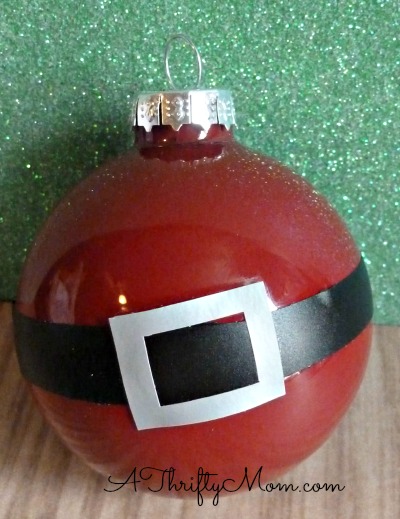
DIY Christmas Ornament~ Santa’s Belly~ Made With Nail Polish
If you saw the post here, where I taught you how to make a Minion ornament, this Santa ornament will be a breeze! The directions for how you fill up the ornament are all the same.
You will need:
Clear glass ornament Not opaque
Electric tape (or black vinyl)
Duck tape (or silver vinyl)
Red nail polish (any brand but avoid the dollar store brands as they won’t coat well. Don’t need to pay more then a couple of dollars a bottle for whatever you use)
You can find detailed directions here for how to fill the ornament with nail polish.
Once your ornament is filled with nail polish, let it dry. This could take anywhere from 24-48 hours. Depending on how thick your polish coats.
Once dry, take a strip of black electric tape and wrap around the center of your ornament. This will be Santa’s belt. Cut a rectangle (about 1 to 1-1/2 inches long for the belt buckle. I cut the center out of mine as well, but its not necessary. Center that on the belt. If your ornament is small like mine (it is only 2 1/3 inches) you may have to cut your electric tape down so it won’t be too thick. Or just get larger ornaments. If you are using vinyl and have a hard time getting it to stick, try heating it up a little with a blow dryer on a low setting. Or, begin by cleaning the outside of the ornament off with rubbing alcohol. I don’t know why this helps, but it does!
Add a decorative ribbon to the top and place in a pretty Christmas box to give as a gift. Easy, thrifty, and cute!
So cute!
I love this idea & I don’t even have to be crafty to do it. Woot!!
So simple but so pretty
Like, share or PIN so you can remember how to make this later