Sarah used to scrapbook every chance she had when we were first married. Now she is so busy she only does it every so often. We wanted to help our readers learn how to scrapbook. Some times just the idea for some to be creative can be difficult. Scrapbooking can be fun and easy. So one of our friends – Tiffany – will be do frequent Easy To Follow posting to help those who want to learn, and give tips for those who are a little more experienced.
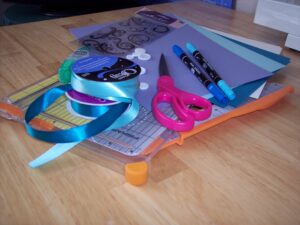
1.Decide on a theme.
I have made scrapbooks of weddings, birthdays, pets, new baby, weekend get-a-ways …
pretty much anything that my little heart desires! The possibilities are endless!
2. Gather your pictures
Gather up your pictures that you want to use for this project. How
many pictures you have will help you to decide what size scrapbook to purchase.
Speaking about sizes, there are many to choose from. Small 6″x6″ scrapbooks are great
for making a brag book to show off that new pet or new addition to your family.
8″ x 8″ are my favorites. These are small enough to work with that I don’t get overwhelmed. They
don’t require as many pictures or as much paper as the 12″x12″ size. However I have several
12″ x 12″ scrapbooks that I have done for family vacations. It is totally a personal preference!
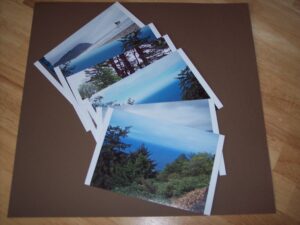
3. Gather supplies:
Scrapbook
Pictures
Cardstock for mating your pictures
Neutral (acid free) cardstock for pages
Paper cutter. (this gives straighter lines, but scissors can also be used.)
Adhesive (I use TOMBOW ‘s mono multi liquid glue)
Embellishments to decorate your pages
A local craft store will have a selection of scrapbooks, cardstock, and
embellishments to choose from.
I know embellishments can be totally overwhelming
Start simple. Some favorites of mine are ribbons, buttons, rub-ons, and stickers.
These can be found in any color to match your theme.
4. Background pages.
(The pages you will eventually glue your pictures onto.)
Depending on the size of the scrapbook you have chosen, you may need to
cut your paper to fit your pages. Cut enough for each page and insert into
page protectors for protection until they are needed.
Most scrapbooks come with pages already in them. However, I am not a big fan of white as
most of them are, so I change mine to a color of choice.
5. Crop and Mat your pictures.
Either single or double mat your pictures.
“Crop” means to cut off the messy or unimportant part of the picture, making your subject
the main focus. “Mat” means to place your picture on a piece of cardstock with an equal border
around each edge. If you are nervous about cropping your pictures, print doubles!
6. Divide your pictures according to how many pages you have.
For the 6″ X 6″ only one picture will fit per page.
The 8″ x 8″ can hold one or two pictures per page.
The 12″x12′ can fit three to four pictures per page.
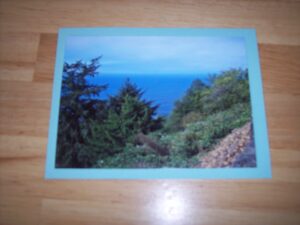
7. Arrange mated pictures on onto page.
Do NOT glue yet! Move the pictures around
on the page until you like the way they look together. After you have decided
where the pages look best, glue them into place.
8. Add embellishments or captions to your pages.
Personally, I only work on one or two pages at a time. This helps me not to feel
rushed or overwhelmed. When you are placing your embellishments be careful
not to “over-do” it. Your pictures are your main focus, your embellishments
compliment the pictures and should not be the main focus of the page.
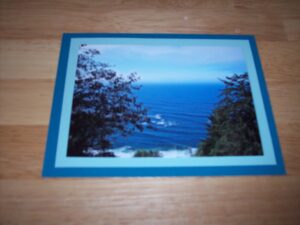
9. Protect the finished product.
After each page is completed, slip it back into the protective
sleeve. I have ruined completed pages by spilling glue so I always
place the page into the scrapbook as soon as it is done.
10. Share Your Creation!
Your scrapbook is now complete! Your
scrapbook is a unique gift from the heart that can not be
duplicated. Unfortunately, after I complete a scrapbook, I want
to keep it! But hey, guess now I will just have to make one for myself!
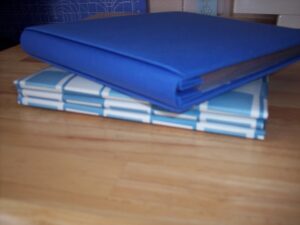
Remember, a photo album shows pictures, while a scrapbook can
tell a one of a kind story! Until next time, Happy Scrapping!
Comments are closed.