One of our readers Amber H. sent us this guest post on canning meat. She shows you how each step goes and can help you save money by getting your meat on sale, buying in bulk, and canning it to use later. Doing this can help your stockpile, save on the electric freezer bill because you wont need to put this in the freezer!
How to can meat.
Put your jars, lids and rings in the dishwasher and run them through the rinse cycle. You want them warm when you put them in your canner.
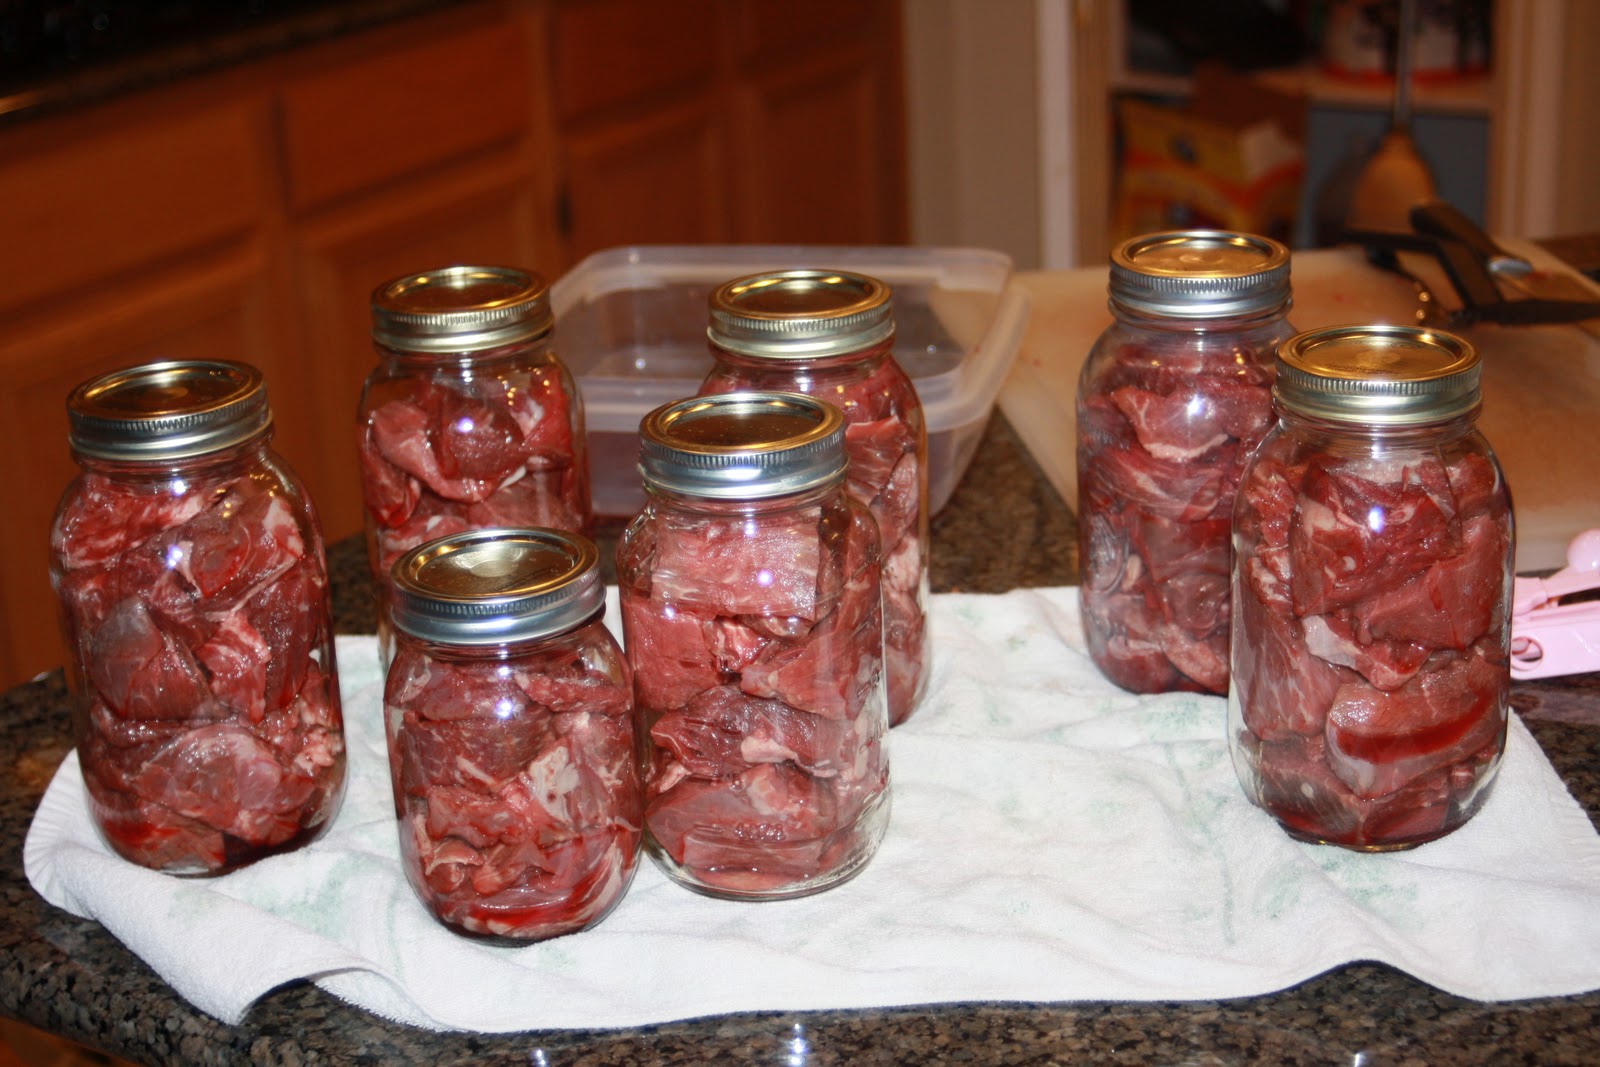
Roast beef: Trim the fat. Cut into chunks.

Put into jars. 1/2 tsp. salt for pints, 1 tsp. salt for quarts.
Rinse the top of the jar before you put the lid and ring on.
Place jars into your canner. Fill halfway up the jars with warm water.

Put the lid on your canner and seal it. Turn burner on high. When you see steam start coming out of the top of the lid put 10 minutes on the clock.
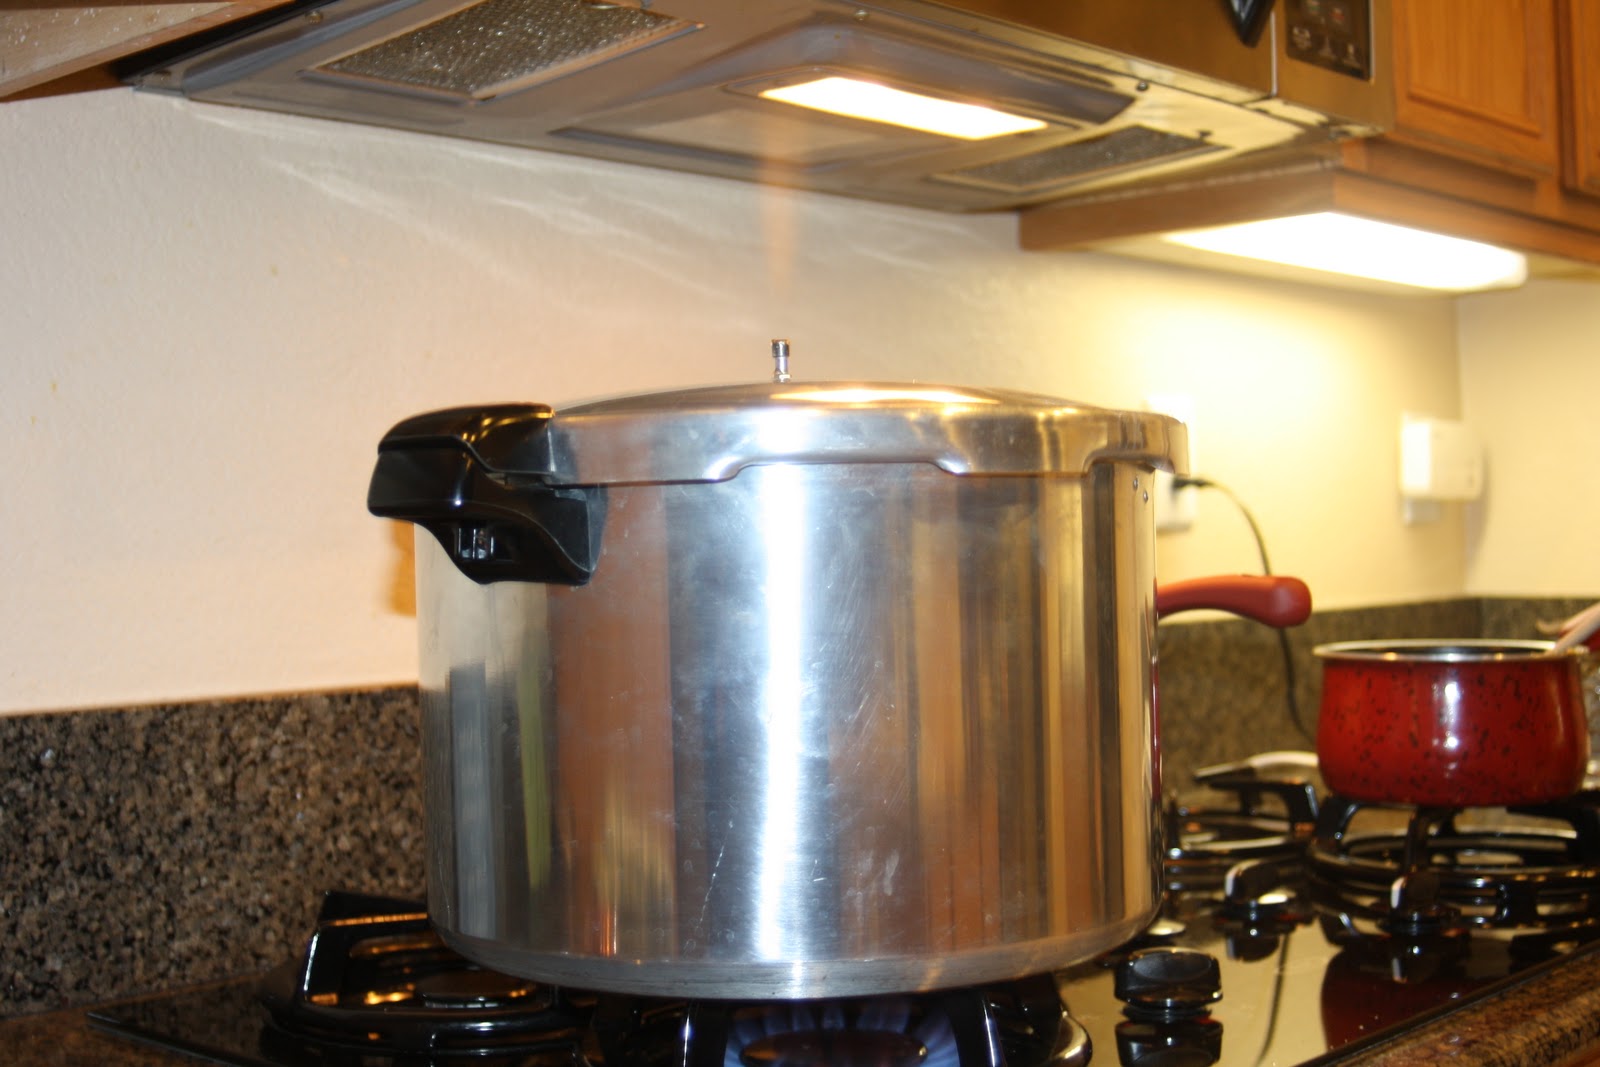
When timer goes off place your 15 lb. weight on the lid. Wait until the weight starts “rocking.” (This takes forever.) When it starts rocking process your roast 75 minutes for pint jars and 90 minutes for quart jars. When the timer goes off turn your burner off.

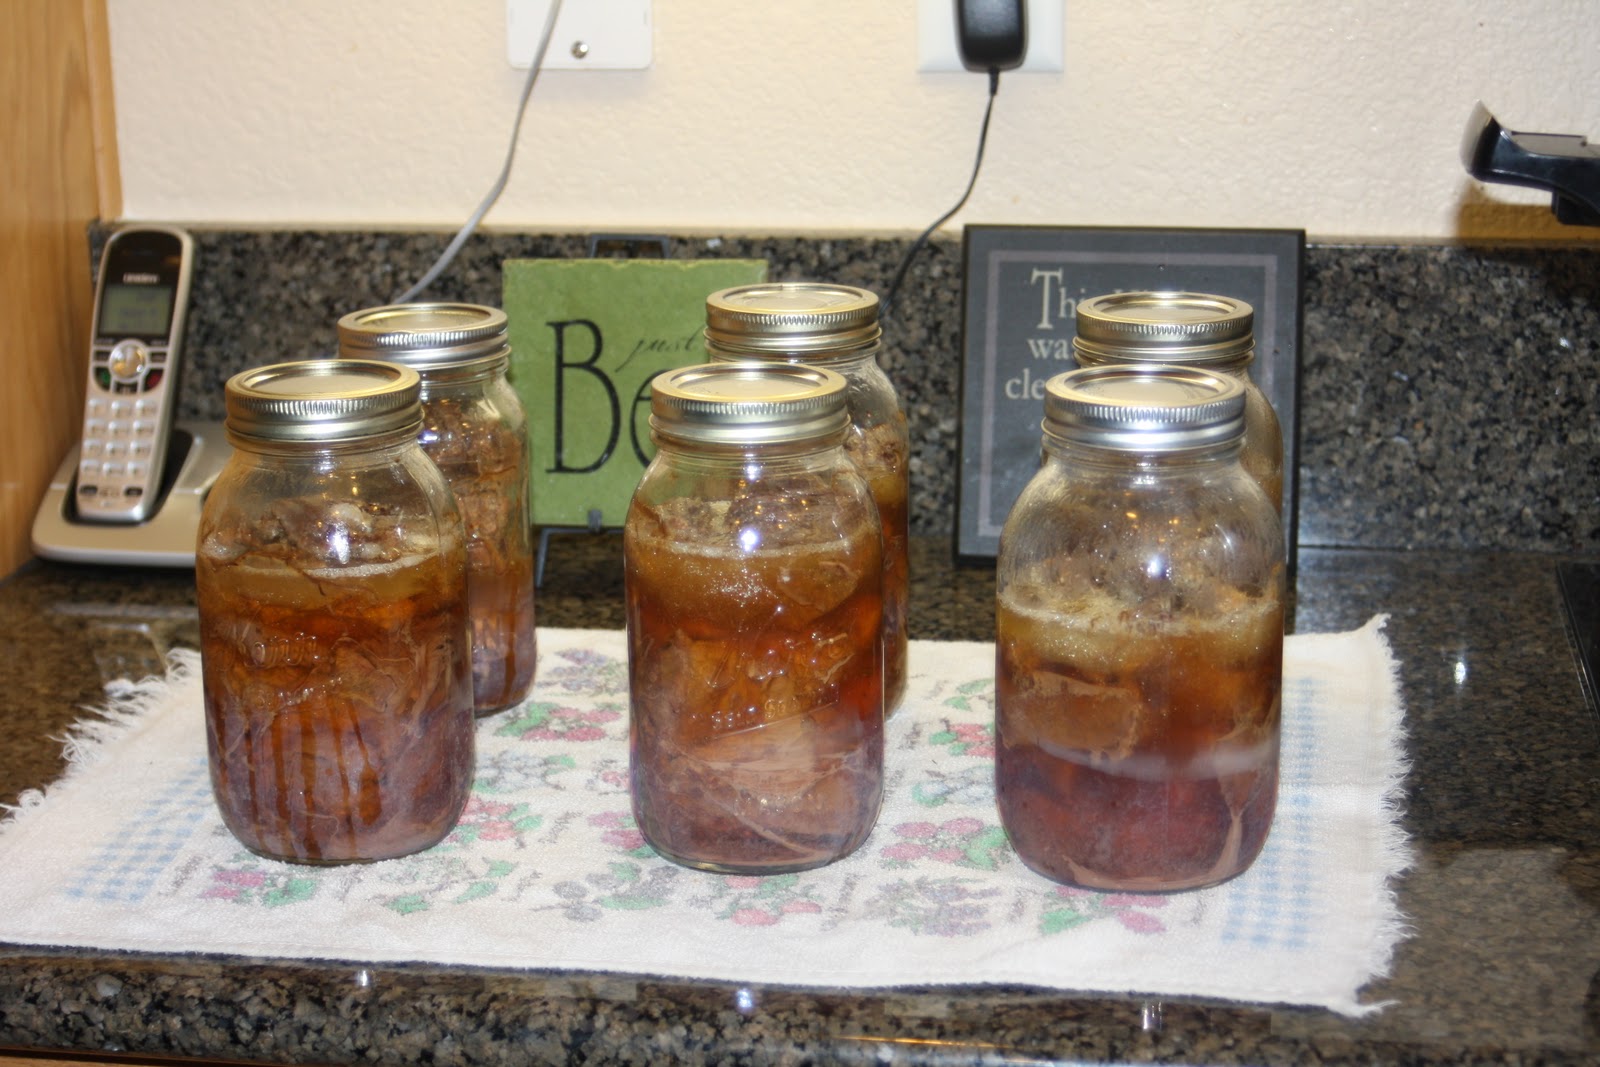
Wait until the pressure gauge goes down on your canning lid. Do not open your canner until this valve goes down. Take your jars out with a canning jar grabber. (Is that what they are called, it sounds funny 🙂 Enjoy your canned roast in a pinch.
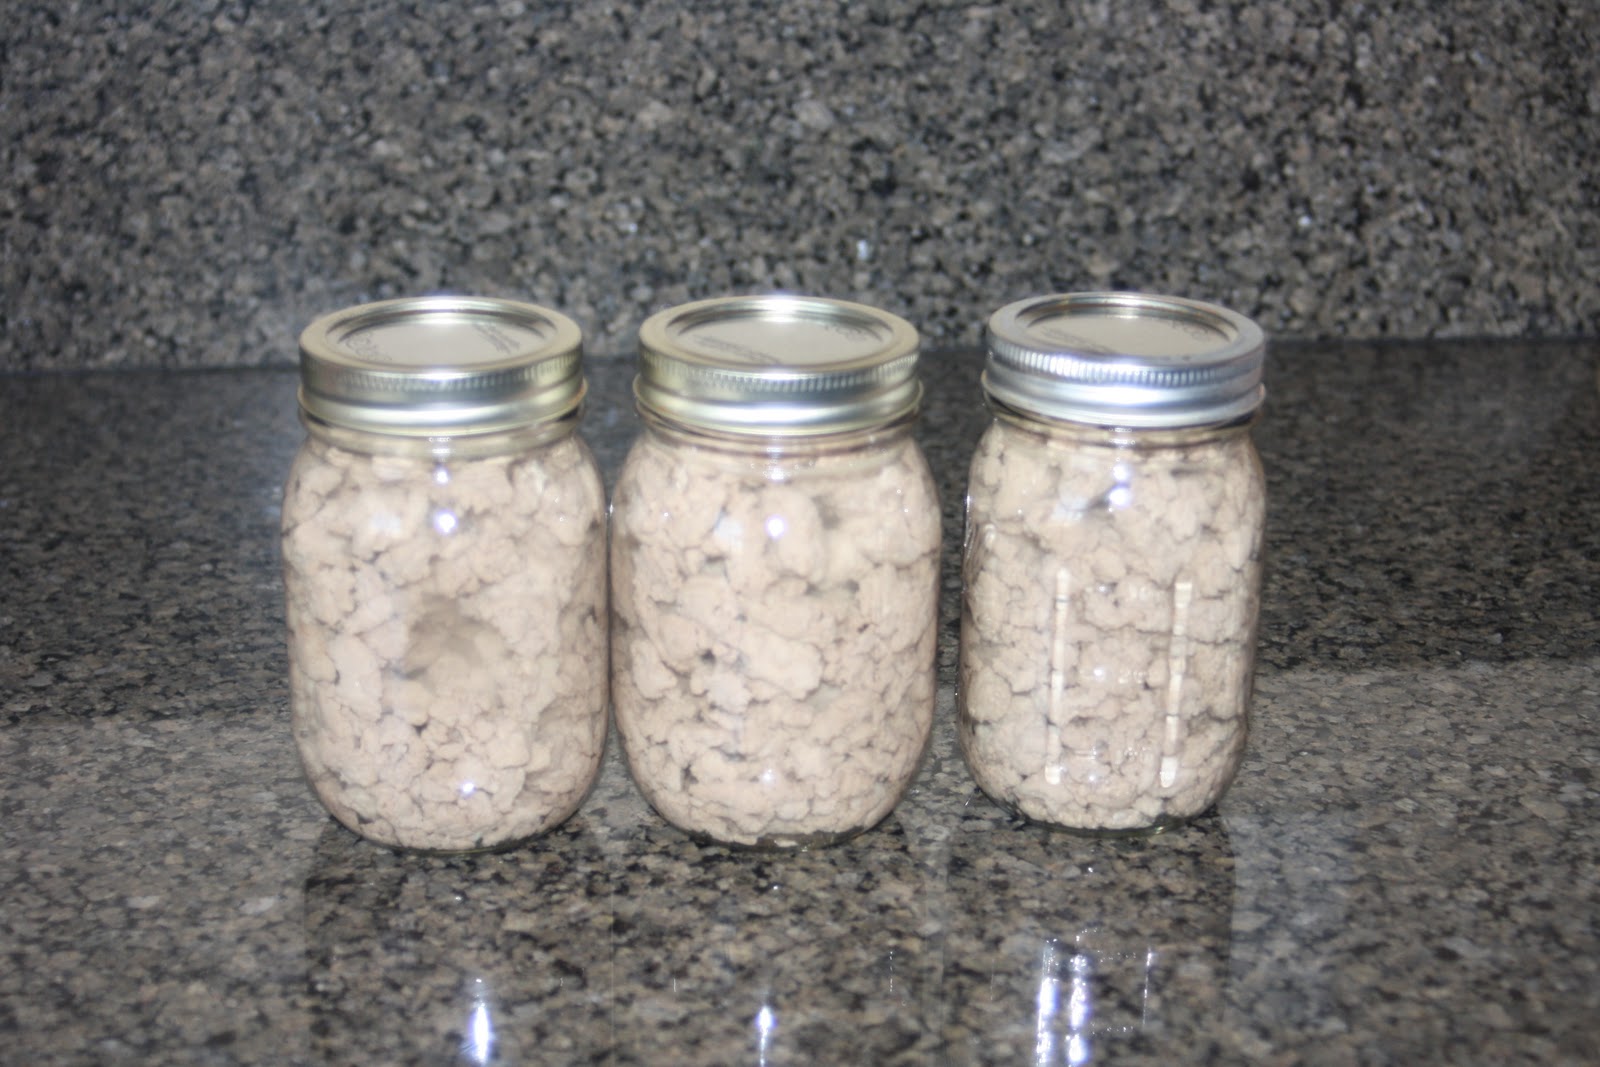
Ground Beef or Ground Turkey is canned and processed the exact same way. Two differences: You must brown it before you put it into your jars and fill your jars with water. 1/2 tsp salt for pints, 1 tsp for quarts. Just dump it on the top of the beef before you put your lid on.

Chicken is canned exactly like the roast. It goes in raw and you DO NOT fill it with water. It will cook in it’s own natural juices. You can use the chicken in SO many things. Enchiladas, casseroles, quesadillas, etc.
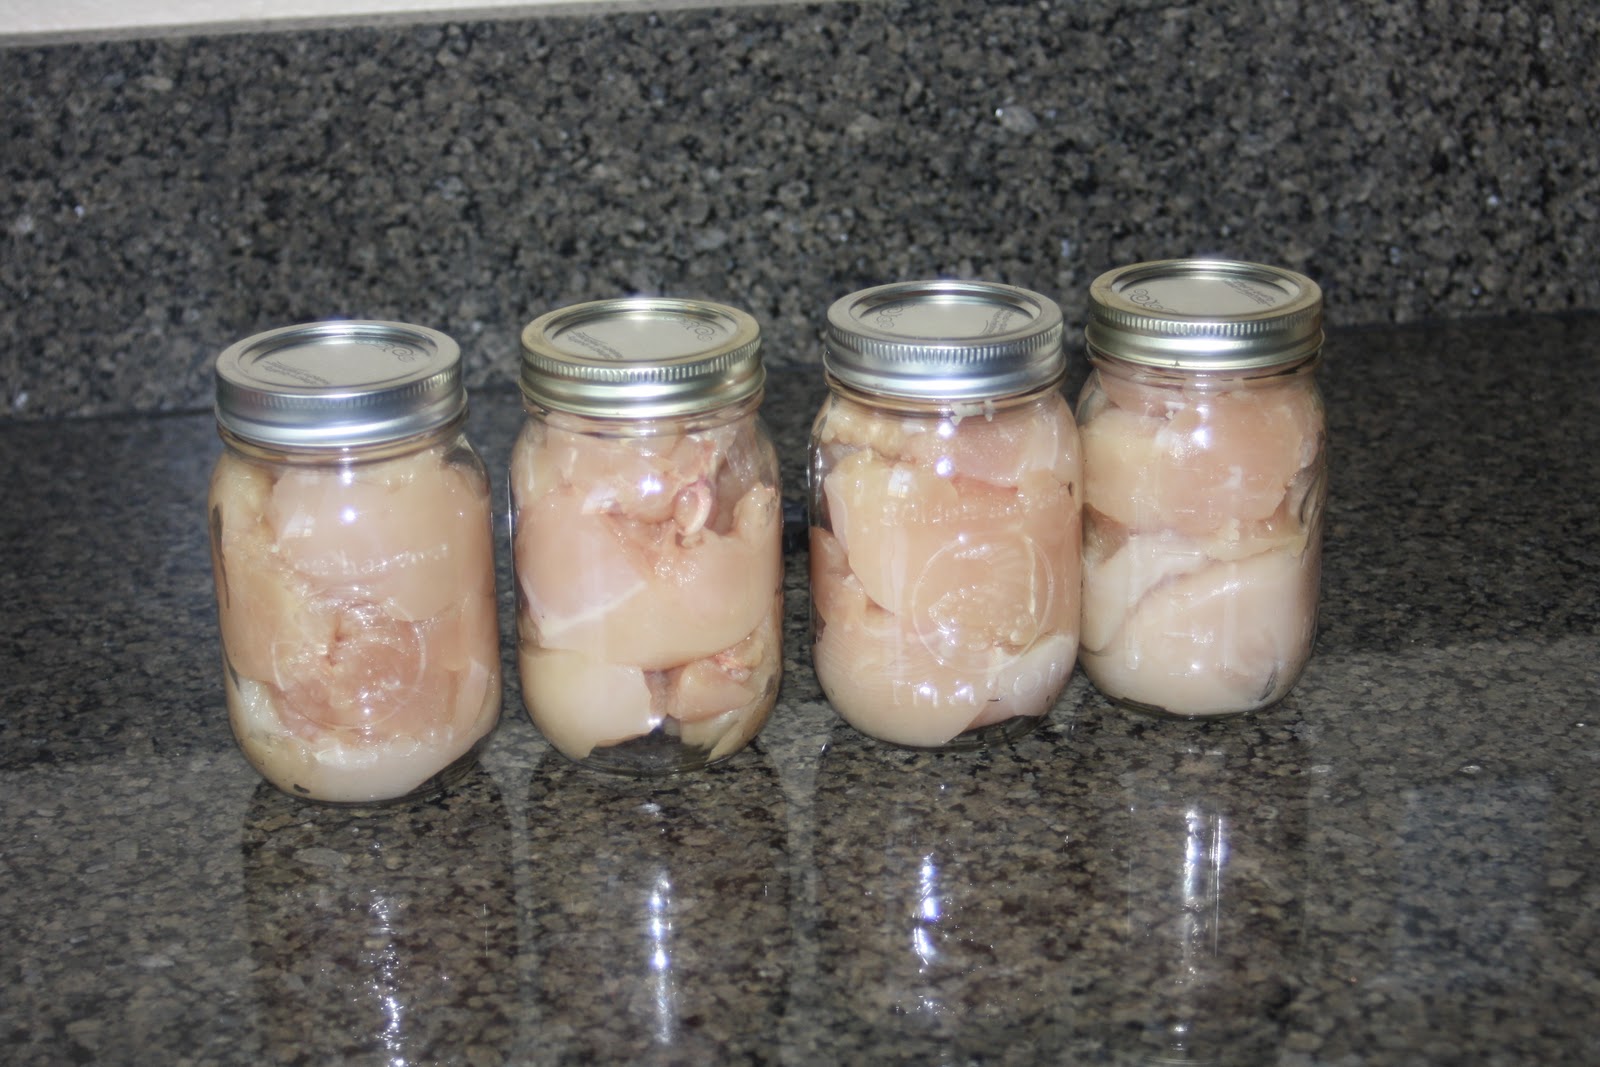
So pretty and you will feel SO accomplished!
