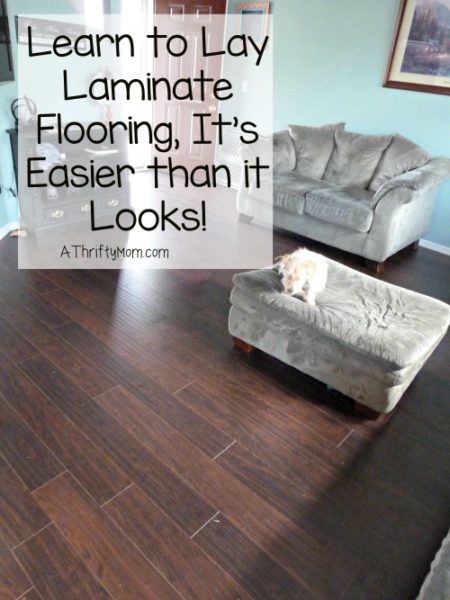
Learn to Lay Your Own Laminate, Part One (Preparation)
The idea of taking on a task as daunting as laying your own laminate flooring is scary. I am here to tell you, it is hard and takes a lot of patience, but it isn’t as scary as it sounds. Once you get started, you will find a rhythm and it is easier than you would think. I think the worst part is the aching of your body from being in the same position for so long really.
This post is going to walk you through preparing your space for the flooring, part 2 will cover the actual process.
First off, decide on your laminate. I searched and read reviews, etc for some time before picking some that was in my price range. There are so many options with different thicknesses, some with the padding attached, some with a handscraped look, the list goes on and on. It is easy to get overwhelmed with all of them. Just know what general feel and look you are going for and narrow down from there. We went with this product from Home Depot. The reviews were great, the feel of the laminate was great, and the dark wood is what i wanted. *Note, the dark shows everything so keep that in mind. I knew that ahead of time, but it really, really shows EVERYTHING.
Here is the long list of tools you will need. I have linked them so you can see what they look like.
the flooring
underlayment (this is what we chose, but there are many different options)
*We are not affiliated with Home Depot, this is just what we happened to go with for the flooring and the underlayment
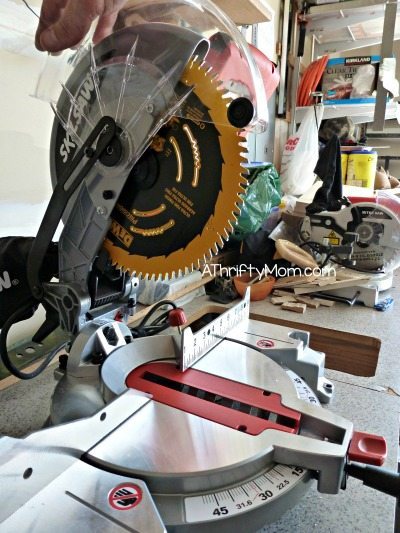
carbide tip blade made for cutting laminate flooring.
Installation kit (or pull bar, spacers and block)
pry bar for removing molding
box cutter or razor blade knife
Ok, first off you want to buy your flooring Canberra and let it acclimate for a few days at least in the room it is going to be laid in.
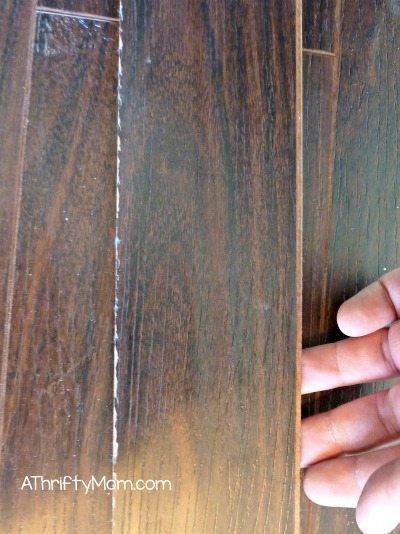
Another note, on the blade. Don’t go cheap on this and think you can get away without it. You don’t have to have the top of the line by any means, but a new, sharp blade with at least 80 teeth is an absolute must! Or else you will do this to the flooring. On the edge there where it is all chipped away.
Begin by removing your baseboard/molding. Use the pry bar. You may also need to cut the calking off with a box knife to help break the seal. If you do this carefully enough, and if your baseboards are still in good shape, you may be able to use these again. Thank goodness my husband is super smart with jobs like this and decided to put a number on the back of each baseboard in order around the room. It helped a lot when it was time to put them back on.

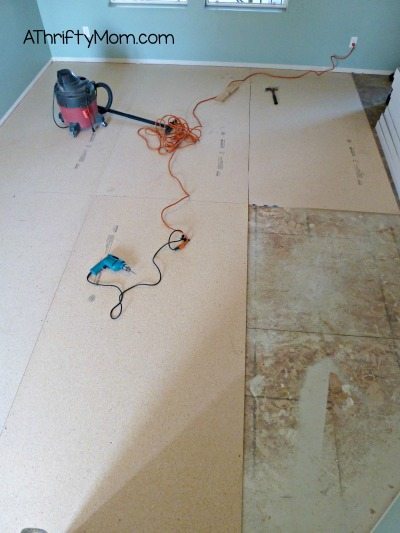
Once your baseboards are off, it is time to prep the floor. The space we were doing was our kitchen and living room. So the kitchen was up a little taller then the living room space. This meant we had to get plywood to build the living room floor up, once the carpet was removed. We also had to remove the ugly vinyl flooring that was in the kitchen. That was really hard. The scraper alone wasn’t working for us. We ended up having to go with a blow dryer and scraping behind it. This helped release the seal some so that we were able to pull it off. We also cut it into 1 foot strips so that it was easier to pull up too.
Measuring is so important when laying the ply wood so that you have a nice fit and no big gaps. This was the ply wood being laid. Be sure to screw it down, not nail it. Nails come loose and can cause squeaks down the road.
If you decide to forgo removing the flooring you already have, be sure it is good and clean before you lay it.
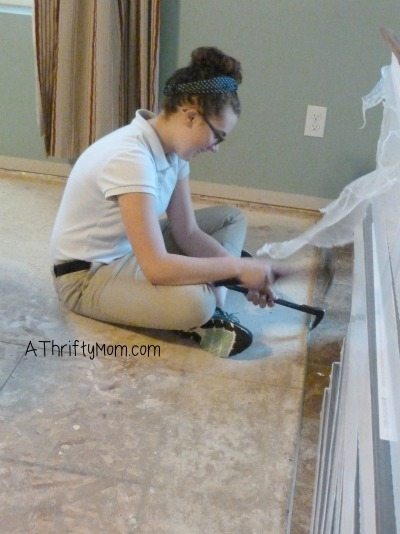
If you have to remove your carpet you will also have to remove the strip of staples or nails. Even the kids can help with this part if they are a little older.
We didn’t have a lot of space to move stuff, we were doing our whole downstairs, so we did the living room first and moved everything into the kitchen, and once the living room was down, we moved everything into the living room to do the kitchen.
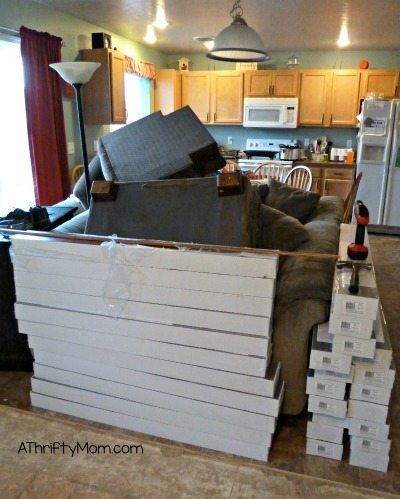
Quite the mess isn’t it?
I am in no way handy, so honestly, I couldn’t have tackled this project alone and survived to tell about it really. So when I say it is easier than it looks, that is if you have a handy side. This was right up my husband’s alley and he loved getting to do it. The aches and pains made him question his sanity more than once, but it was all worth it in the end.
Stay tuned for Part 2!
You can take advantage of FREE Shipping with Prime and get it in two days… remember you can try prime for FREE for 30 days.
Try Prime for FREE!
Looking for More Online Deals? Click here for more THRIFTY DEALS. Please note that Amazon priced tend to change often so prices may be higher or lower without notice.