
I stared cooking when I was really young, I have always loved it. By the time I was 12 I was making full meals for my family of 8 a few times a week. Some of them good some of them not so good. But the important part was, I kept at it. I learn from my mistakes and with time I feel I have turned into a rather good cook (well at least I enjoy what I make…wink)
That being said, the other day I was making rolls for dinner (to see the step by step recipe for my rolls click here), Were were having stuffed shells when I thought Bread Sticks would be much better than the same rolls I make all the time. So I took half the dough and made rolls, and took the other half and tried an experiment.
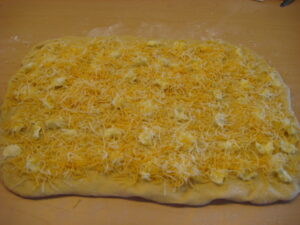
Roll your dough our into a rectangle, top with bits of butter and grated cheese
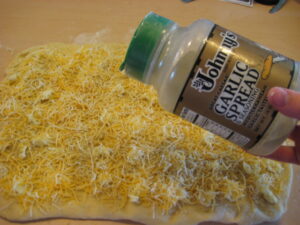
I then sprinkled a bit of Garlic seasoning (got it at Costco about 4 years ago, has lasted FOREVER)
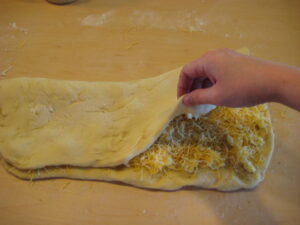
Fold the bread in half
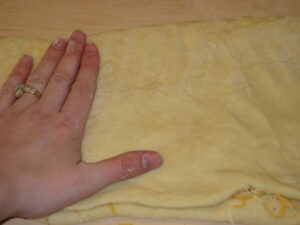
Press down firmly to get the to layers to stick together
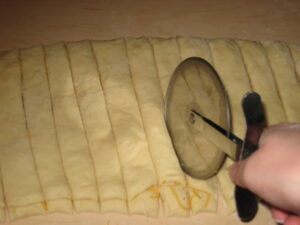
Cut into bread Sticks, brush the top with a bit of egg wash sprinkle a little more cheese on top.
Bake on a stone or greased baking sheet. Bake 400 degrees 10-12 mins
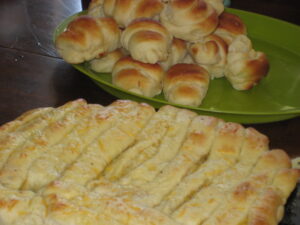 They turned out really good. But if I make them again I would change a few things!
Things I would do different next time:
- use a different type of dough, pizza dough would have worked out much better (not as fluffy, holds together better)
- only add cheese to HALF the dough then flip the top over ( less mess, same end product)
- transfer the dough to the greased baking sheet BEFORE you cut it, (so you don’t have all the cheese fall out)
Comments are closed.