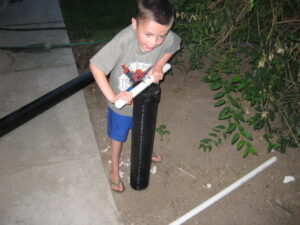
Since our vacation is coming up, we wanted to do some fun inexpensive things at the beach. No one in our family has tried clams, much less know if we like them, out side of clam chowder which we enjoy. So one thing we learned when we were at the beach last time was clamming, with a “Clam Gun“. No it’s not something you shoot. It is a plastic or metal tube that you push into the ground and pull up the clams with. In this post I’ll show you step by step how to make it, and in another later on I’ll show you the results.
First: Don’t let your kids play with power tools!

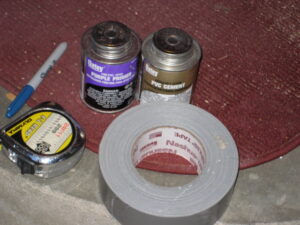
Next go to you local hardware store and pick up:
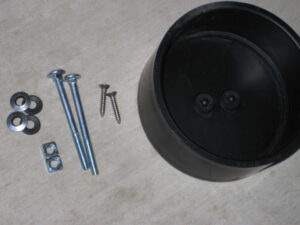
(2) 2 inch bolts that are 1/4 in diameter
(2) 1/4 inch nuts
(4) washers – I got a hybrid washer that was metal on one side and rubber on the other (helps with keeping tube airtight)
(2) 1 inch screws
(1) 4 inch PVC pipe (at least 2 feet long) many hardware stores have short pre-cut pipes that are cheap
(1) 1 inch PVC pipe (at least 1 foot long)
(1) 4 inch PVC cap that fits your larger 4 inch pipe (to plug one end)
PVC glue kit (one is purple cleaner, and one is the glue)
Duct Tape
1/4 inch drill bit
3/8 inch drill bit
Drill, saw to cut pipe, tape measure, marker, wrench ( optional – grinder, or grinder disk)
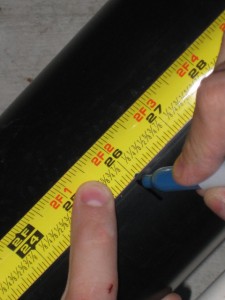
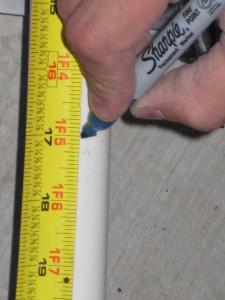
On your 4 inch pipe measure around 26 inches. It seems to be a good height for kids and adults.
I made another one that was 3 feet because I am taller, and do not want to bend over as much.
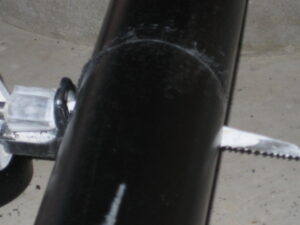
Cut it with your saw. It doesn’t need to be perfect.
One the 1 inch pipe figure out how long of a handle you would like.
I made ours about 17 inches long. It seemed long enough to slide my hands farther out for twisting but not too long to start bending.
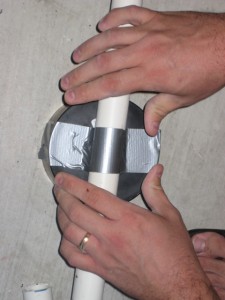
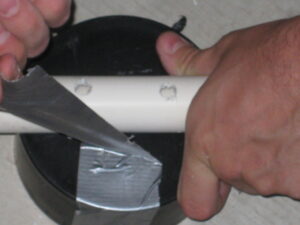
Find the center of you white pipe and center of the black 4 inch cap, then place a piece of tape on them to hold them while drilling.
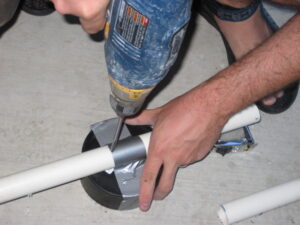
With you 1/4 inch drill bit drill straight down through the pipe and the cap.
Be careful not to twist or move, or your holes might get off angled.
Place your 2 inch blots through the pipe. Then place your first set of washers on with the rubber gasket facing the black cap. Like before, I bought hybrid ones that had both metal and a rubber washer together to help create a tight air tight bond. Then place your cap through the bolts then your last set of washers, keeping the rubber gasket towards the cap.
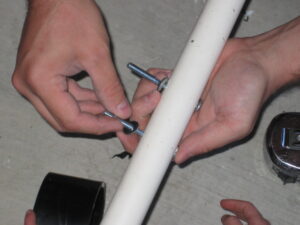
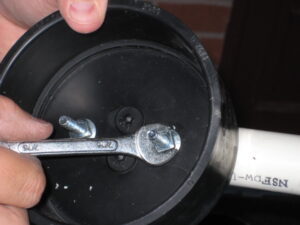
Then tighten the nuts.
Next apply the purple PVC cleaner around the out side of the 4 inch pipe, and around the inside of the cap.
To clean and prep the bonding surfaces.
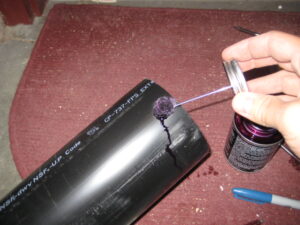
Next apply the PVC glue to the same surfaces you just prepped. The inside of the cap, and the top 2-3 inches of the pipe.
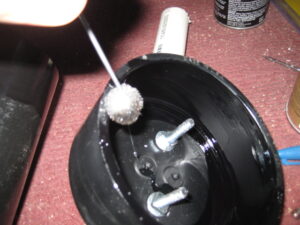
Push the cap all the way on with small slight twisting motion to help guide it down sitting on the pipe. Then hold it firm with out moving for a couple seconds.
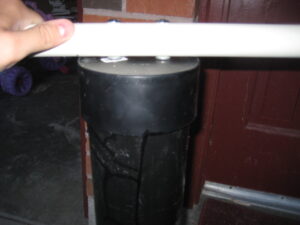
Once it is set, just a minute or two. Hold the handle you just made, and figure where your thumbs will rest on the top.
You are trying to figure out where to place the air holes on top of the cap.
These air holes allow the air to escape a you force the pipe 2-3 feet through the sand.
And then plug the holes as you create a vacuum inside of the pipe the helps lift the sand and clam out of the ground.
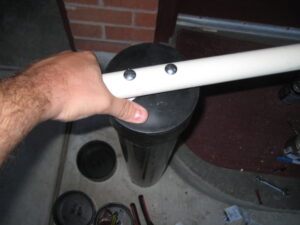
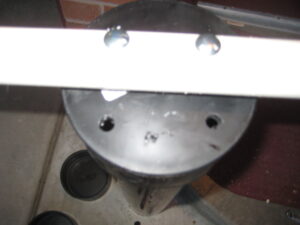
Then drill with either the 1/4 inch bit or a 3/8 depending on the size of the thumb.
Smaller thumbs like women and children will do good with the smaller holes.
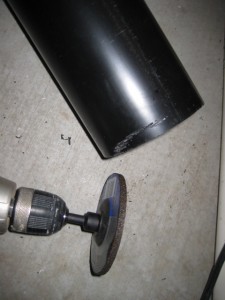
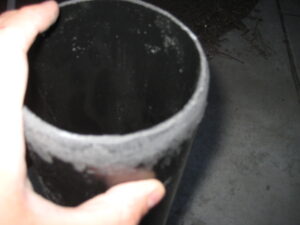
The next step is optional. It just makes gliding the pipe into the ground easier. Grind the bottom end of the pipe down to create a thinner pipe. This way you are not forcing a blunt edge into the sand.
Now your done. Head off to the beach or bay to get those clams!
Yes this is just my front yard. Matthew is making sure it works…
