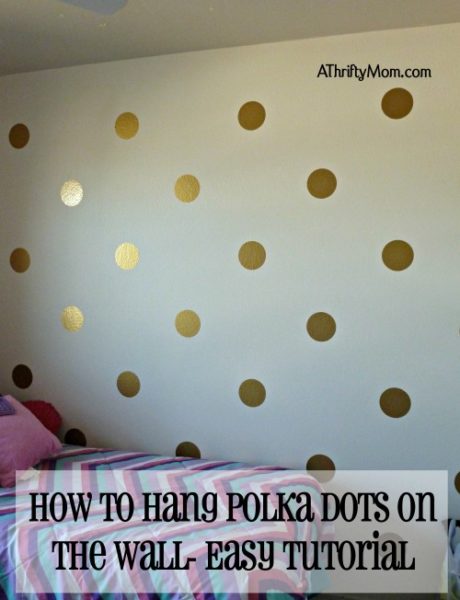
Easy Tutorial, How to Hang Polka Dots on the Wall Evenly
Recently my daughter turned 12 and I wanted to give her room a small makeover. It was painted lavender, which was her favorite color at the time and I wanted to grow it up a little so it would last into her teens. My house needed interior painters Fishers IN to paint the walls a new color. We went with white on the walls (her choice, but a great one!) so that she could change out the other things such as curtains, bedding and other decor to change up as her tastes change.
Her favorite colors are pink and turquoise. With highlights of gold I thought it would look great and I was not disappointed!
I didn’t have a lot of money for this makeover, but I wanted it to look great. She got a new desk a few months ago and we painted it in a great turquoise color chalk paint. I wanted to make sure it went with everything. Thanks to a fantastic read on the do’s of room painting. Here is what i came up with; New fabric for curtains that are so simple! (Blog post coming on that!), paint her mirror to match, gold polka dot accent wall to liven up the room from the stark white and new comforter (which hasn’t happened yet but will soon).
This tutorial is all about the gold polka dots! If you have wanted to hang up dots that is so on trend right now, don’t be intimidated! Thanks to my husband and his great ideas, this was so easy and painless!
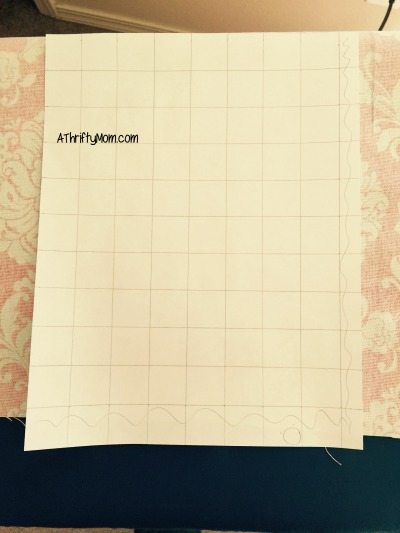
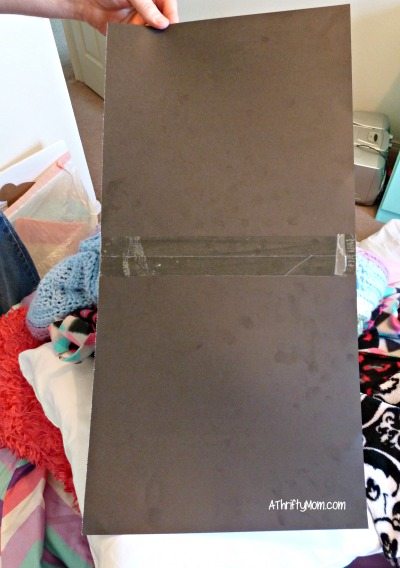
To begin with; we ordered our dots on an etsy shop. Our wall was 8.5 feet tall and 11 feet wide. So my husband made this graph and divided the room up into 1 foot squares. The circle at the bottom of the photo shows our dot size. They were 5 inches in diameter. That is how they scale to the 1 foot sections. It took a lot of playing around to make sure that our dots were evenly spaced and looked the way we wanted. For the amount of dots we had this meant they needed to be spaced every 2 feet. To create a template, we used two 12×12 sheets of card stock taped together. We wanted them staggered so that they weren’t all in straight lines, but were instead in diagonal lines.
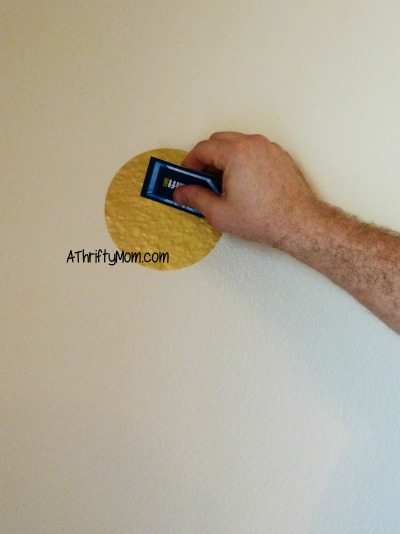
Using the template, we placed a small dot in pencil where the center of each dot should go. Once we had that on, we were ready to place the vinyl dots. I chose vinyl simply because if she decided that she didn’t want them they would be much easier to remove then having to paint over them! To apply the vinyl, you remove them from the backing and rub them onto the surface you are applying them to. It is great to use an old gift card, credit card or even a Pampered Chef scrapper to rub them onto the surface. Rub them from the center out to help be sure there are no bubbles.
There you go! Once you have them on you are done! It is such an easy way to add some “wow” to your walls!

You might also like this idea:
 Vinyl Rain Gutter Shelf DIY
Thanks.