
Thanks to Knot Sew Crafty for passing along this thrifty tutorial on how she turned an old end table into a real piece of art!! If you would like to be a featured guest post on Look What I Made , watch for our weekly post each Tuesday called A Thrifty online craft fair, link up and you may be selected for our weekly feature post.

The first thing I did was sand all the stain off of the legs. The rest of the end table was a wood veneer, so all I could do to it was rough it up so that it would hold the primer a little better.

Next, I spray painted Kilz primer on the entire end table. My media room has deep reddish maroon curtains in it, so I was lucky enough to find a clearance paint sample at Home Depot for less than a dollar that matched my curtains perfectly. After the Kilz was dry, I painted a coat of the maroon paint on.

I wanted a distressed vintage look, so banged it up with washers strung on a small rope, a hammer and nail and the sharp edge of a screw driver. I read on the internet that if you use wax on the base coat of your paint and then paint over it, it is much easier to remove the paint from the top for distressing. I tried a tea light candle, but it just crumbled. I found a white crayon in Sarah’s crayon stash that worked great. I colored on the maroon paint in a few spots. Then I spray painted the table a dark brown. (I had to do this in the garage at this point because it was cold and rainy outside…. I did the “hold your breath, point, spray and run back inside method”).


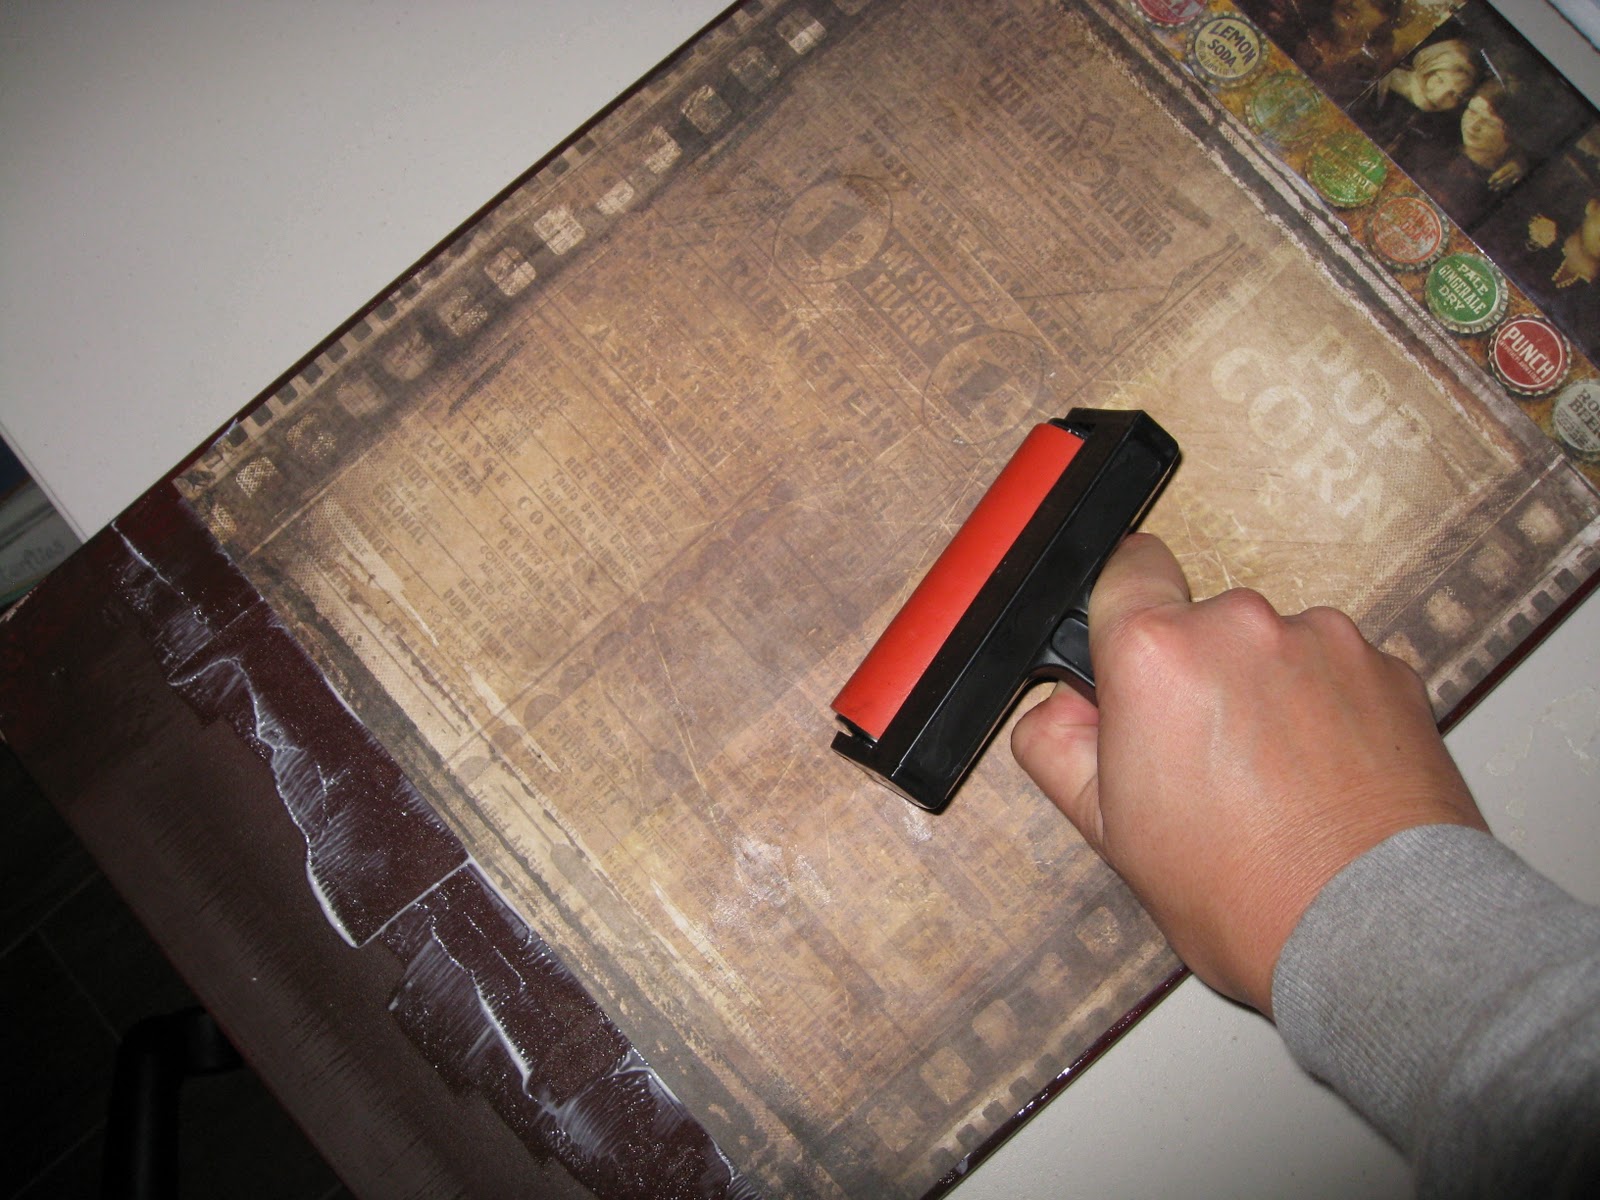
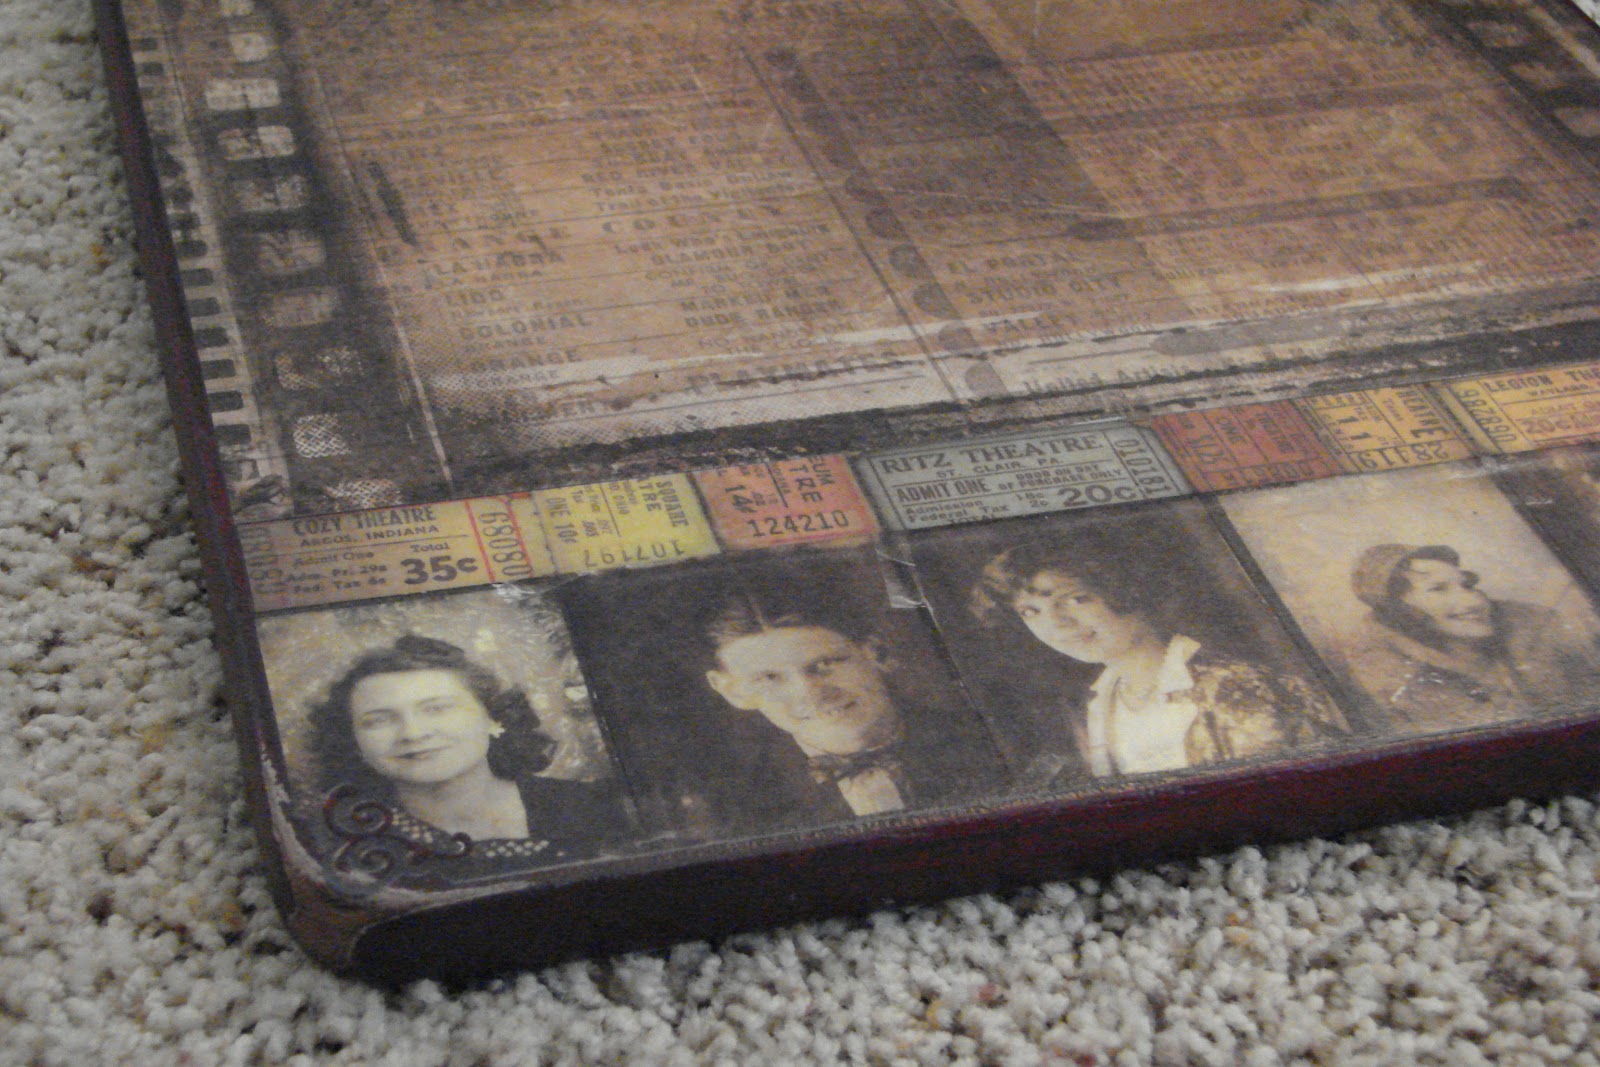
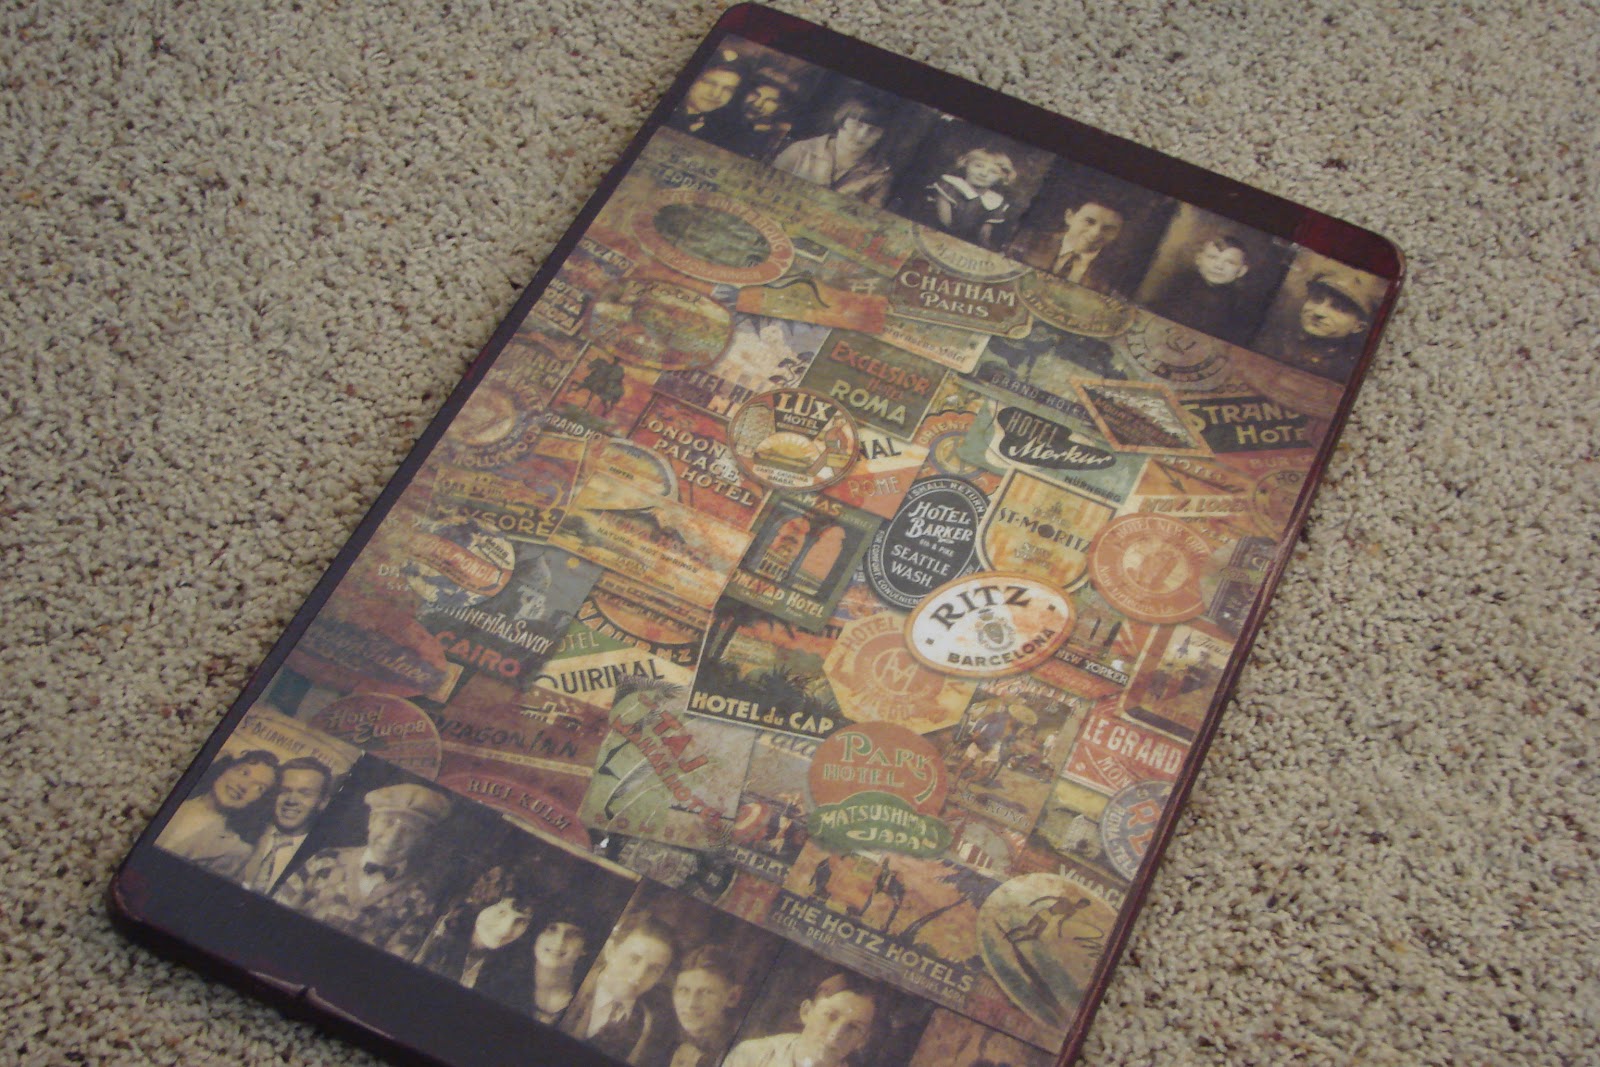
Next, I cut out the scrapbook paper to fit the table and Mod-Podged it on (LOVE that stuff!)

I read (or rather, watched) some helpful hints on the tutorials on Mod Podge Rocks blog. If you are new to Mod Podge, I would highly recommend watching.


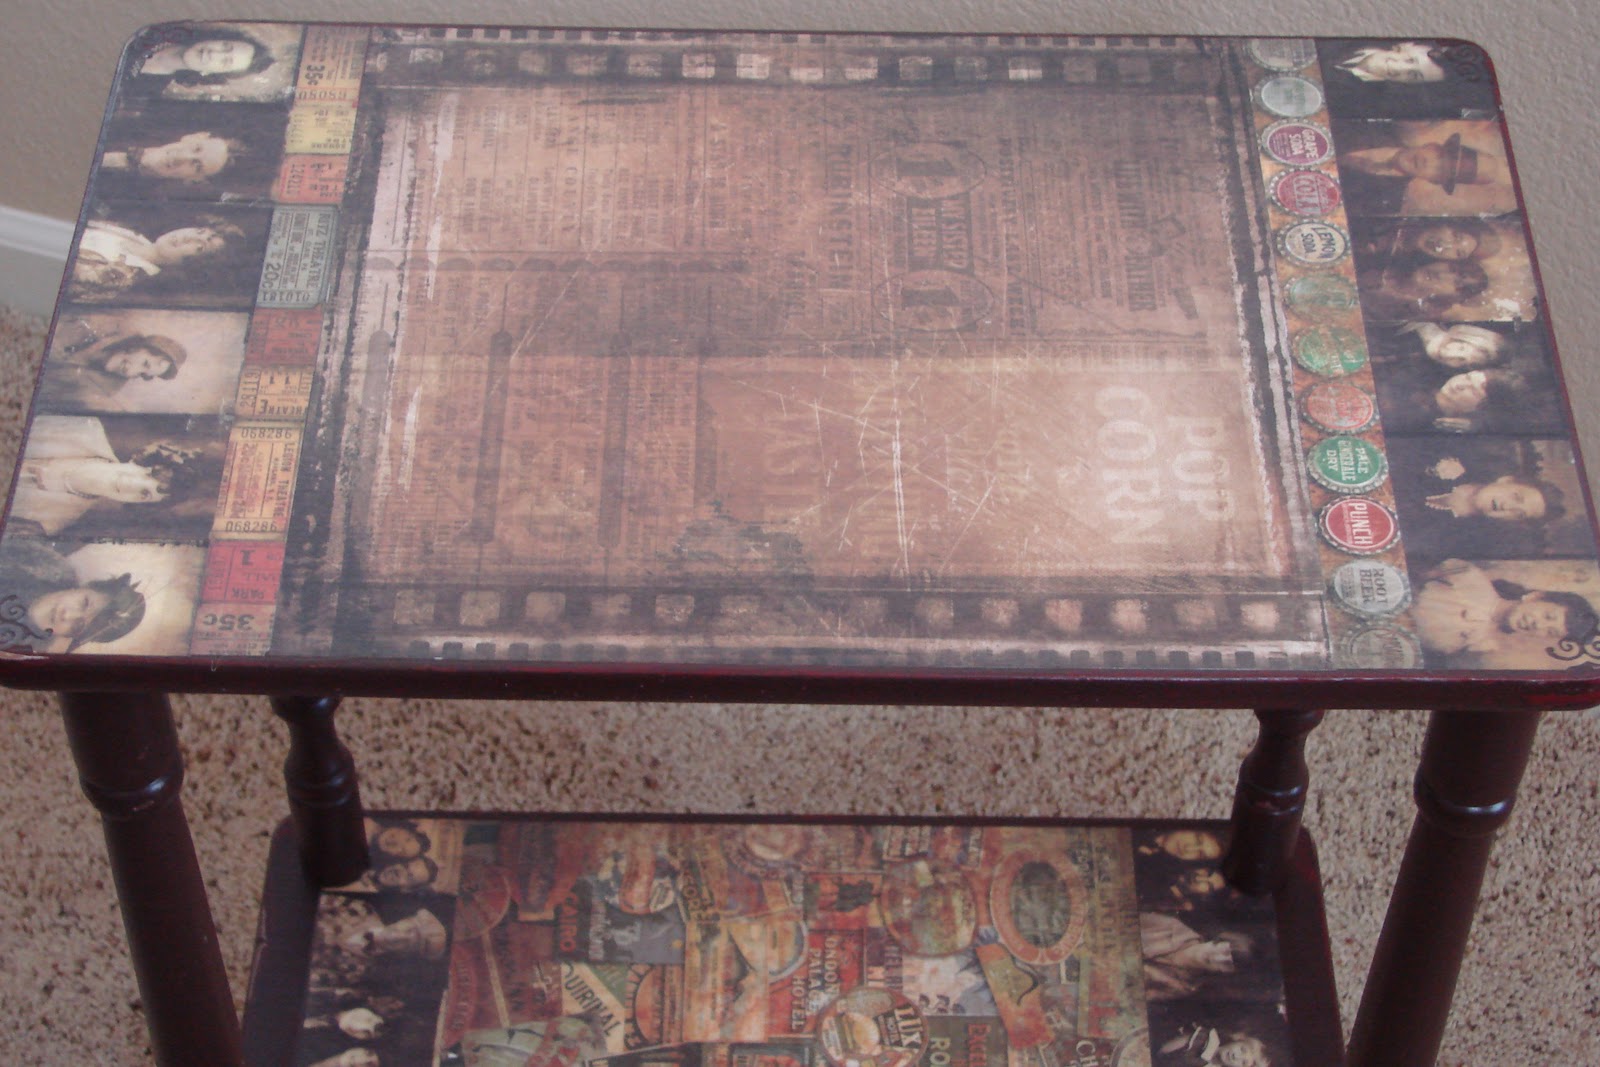
And then, put together.


Comments are closed.