The Art of the Curd: 5 Essential Tools for Mastering Homemade Cheese
There is something undeniably primal and deeply satisfying about the craft of cheesemaking. It is a hobby that sits at the intersection of culinary art and kitchen science, transforming a simple gallon of milk into a complex, savory masterpiece. For many, the journey begins with a single bite of a farm-fresh ricotta or a tangy chèvre, followed by the realization: I could make this.
However, stepping into the world of home dairy can feel a bit like entering a laboratory. From rennet and citric acid to cheese presses and aging mats, the equipment list can be daunting. The good news is that you don’t need an industrial creamery to produce professional-quality cheese. By focusing on a few high-quality essentials, you can turn your kitchen into a boutique fromagerie.
Whether you are dreaming of gooey mozzarella for your pizza or a sharp farmhouse cheddar, here are the top five items you need to start making cheese at home.
1. The Foundation: The Ultimate Cheese Making Kit
If you are new to the craft, the biggest hurdle is often sourcing the specialized ingredients like cultures and coagulants. This is why the Ultimate Cheese Making Kit is the absolute gold standard for beginners and intermediate makers alike.
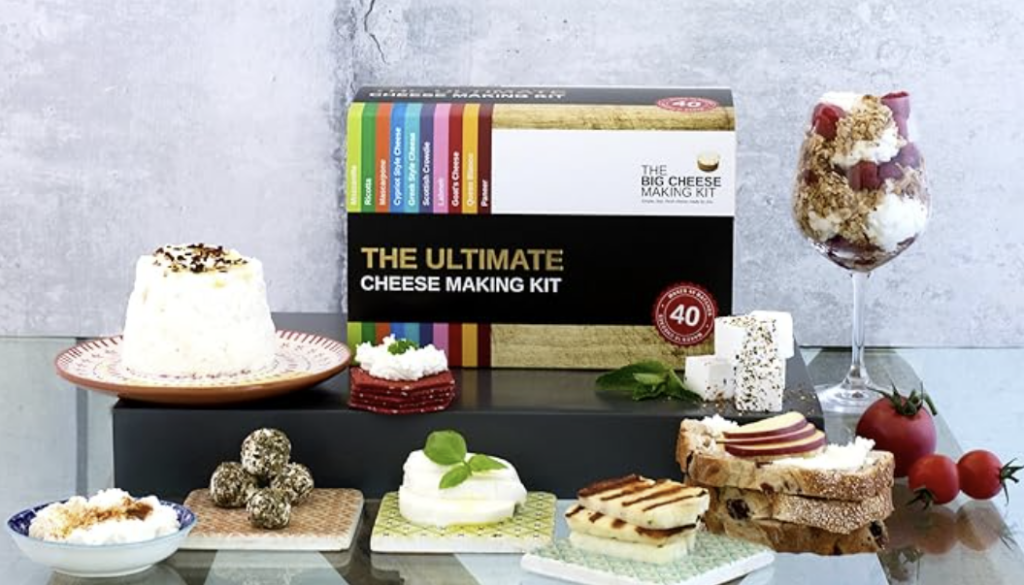
Instead of hunting down individual packets of vegetarian rennet or specific salts, this comprehensive kit provides everything you need to create 40 batches of cheese across 10 different varieties. We’re talking about classics like Mozzarella, Ricotta, Mascarpone, Halloumi, and even Goat’s Cheese.
What sets this Ultimate Cheese Making Kit apart is its longevity and educational value. It isn’t a “one-and-done” experience; it includes high-quality herbs, spices, and a range of recipes that guide you through the nuances of temperature and timing. It simplifies the chemistry of cheesemaking without “dumbing it down,” ensuring that your first batch of burrata is just as successful as your tenth. For any home cook looking to dive into this hobby, starting with a curated kit like this eliminates the guesswork and lets you focus on the fun part: the transformation of the curd.
2. A Heavy-Bottomed Stainless Steel Pot
While the ingredients do the chemical heavy lifting, the vessel you use is just as critical. In cheesemaking, temperature control is everything. You need a large pot—ideally 8 to 12 quarts—that can distribute heat evenly.
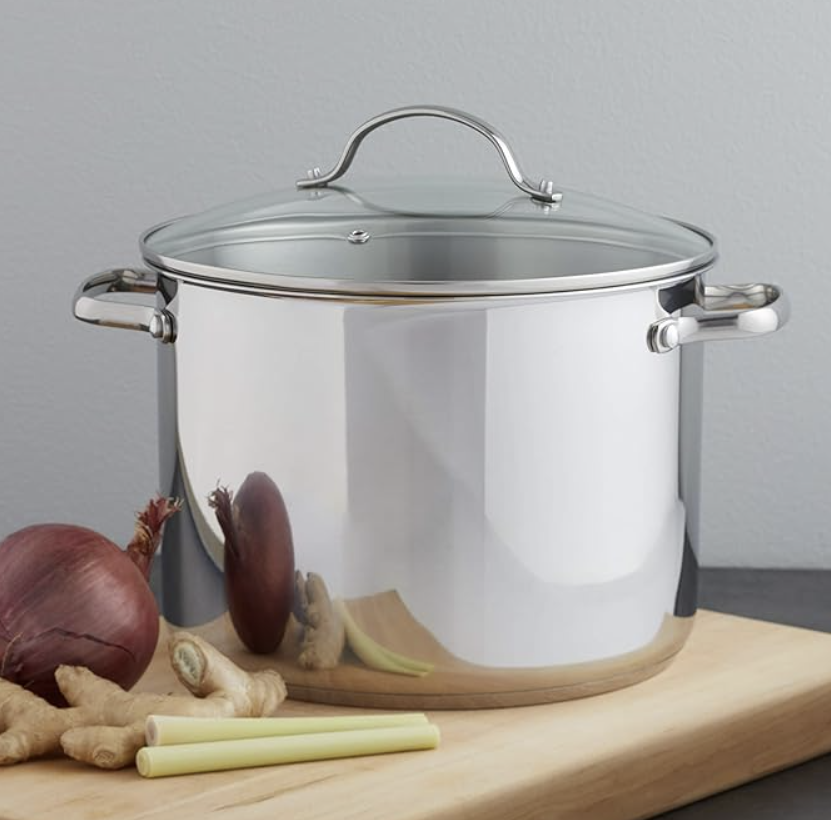
Why stainless steel pot? Cheese is highly acidic during the making process. Using reactive metals like aluminum or non-anodized cast iron can impart a metallic tang to your cheese and potentially ruin your cultures. A heavy-bottomed stainless steel pot prevents “hot spots,” ensuring that your milk doesn’t scorch at the bottom while you are slowly bringing it up to 90°F or 105°F. Remember, scorched milk equals burnt-tasting cheese, so invest in a quality stainless steel pot that will last a lifetime.
3. An Accurate Digital Thermometer
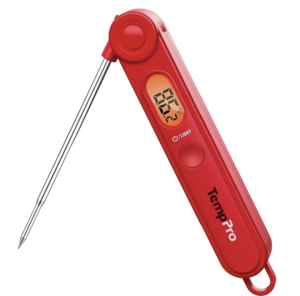
If you’ve ever followed a recipe that said “heat until lukewarm,” you know how subjective cooking can be. In cheesemaking, there is no room for subjectivity. Some cultures are extremely sensitive; if your milk is three degrees too cool, the rennet might not set. If it’s five degrees too hot, you might kill the bacteria needed for flavor development.
A fast-reading digital thermometer is your best friend. Look for one that has a long probe so you can check the temperature in the center of the pot without getting too close to the steam. Being able to monitor the “rise” of the temperature—often needing to heat milk at a rate of only one degree per minute—is the difference between a rubbery mozzarella and a silky one.
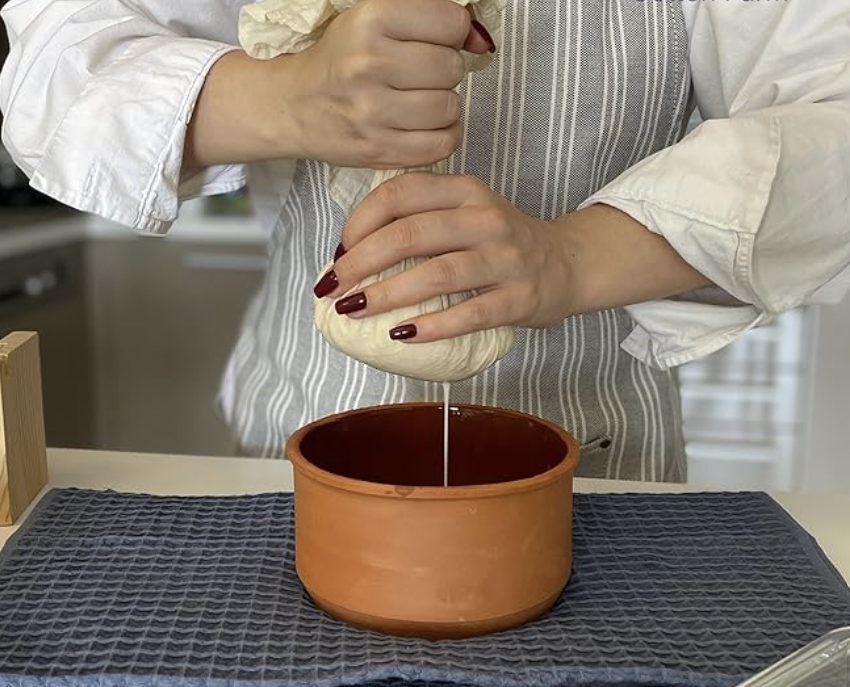
4. A Fine-Mesh Butter Muslin (Cheesecloth)
Forget the flimsy, wide-weave cheesecloth you find at the local grocery store. For real cheesemaking, you need Butter Muslin. This is a much tighter weave of cotton fabric designed to catch even the smallest particles of curd while allowing the whey to drain away.

When you are making a soft cheese like Ricotta or Quark, the curds are incredibly delicate. A standard cheesecloth will let half of your cheese slip through the holes and down the drain. High-quality muslin can be washed, boiled to sterilize, and reused dozens of times. It is the essential tool for achieving the right texture and moisture content in your finished product.
5. A Long-Bladed Curd Knife
Once your milk has “set” (thanks to the rennet in your Ultimate Kit), you will be left with a solid mass known as the “clean break.” To transform this into cheese, you must cut the curd into uniform cubes. This allows the whey to be released and the curds to shrink.
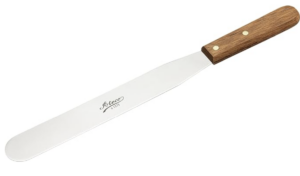
A long-bladed curd knife—or a very long, flat-edged spatula—is necessary to reach all the way to the bottom of your pot. The goal is to create a grid pattern without tearing or smashing the curds. Uniformity is key; if your curd pieces are different sizes, they will lose moisture at different rates, leading to an inconsistent texture in your final cheese.
The Joy of the Process
Cheesemaking is a lesson in patience and presence. In a world of fast food and instant gratification, taking the time to stir a pot of milk, to watch the curds separate from the whey, and to finally press a wheel of cheese is deeply therapeutic.
Using the Ultimate Cheese Making Kit as your jumping-off point allows you to explore the vast diversity of dairy. One day you might be stretching warm mozzarella curd with your kids, and the next, you could be seasoning a batch of labneh with the kit’s included herbs for a sophisticated appetizer.
Final Tips for the Home Creamery
-
The Milk Matters: Always try to find “Low Temp Pasteurized” milk. Avoid “Ultra-Pasteurized” (UP) or “Ultra-High Temperature” (UHT) milk, as the high heat used in those processes changes the protein structure, making it nearly impossible to get a firm curd.
-
Sanitization is King: Before you start, ensure every spoon, pot, and thermometer is bone-clean. You are growing “good” bacteria, and you don’t want any “bad” bacteria crashing the party.
-
Keep a Journal: Note the temperature of your kitchen, the brand of milk you used, and how long you let the curds set. Small adjustments lead to perfection.
Starting your cheesemaking journey is an investment in your culinary repertoire. With the right tools—and the comprehensive guidance of a world-class kit—you’ll soon find that the best cheese in the world isn’t found at the specialty counter; it’s aging right in your own kitchen.
Happy cheesemaking!