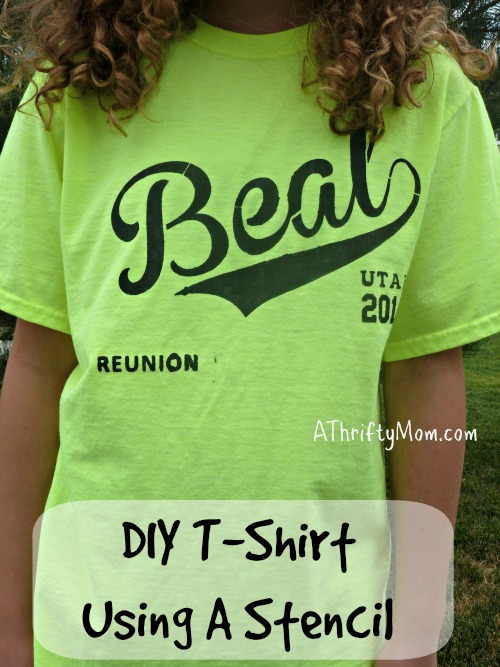
DIY T shirt Using a Stencil
This is a favorite project at our house and we have created some pretty fun shirts! It is easier than you would think, and the hardest part of the process is waiting for the paint to dry!
You will need:
A T-shirt that has been washed and dried.
Fabric paint in desired color
Sponge paint brush for applying paint
Stencil made out of clear transparency film
Spray adhesive for applying stencil
Desired picture that you are going to use as a stencil
A razor or scissors for cutting out your stencil
Piece of cardboard to put inside the shirt so that the paint doesn’t leak through the layers
We used a craft cutting machine for cutting our stencil, but if you are looking at making your own stencil, print it out of your computer, and then lay the print out under the transparency film. Trace with a sharpie onto the film and then cut out the picture, leaving the negative space. To place the stencil onto the shirt, spray with some spray adhesive. This should work for more than one application, but if you are doing more than one shirt,you may have to reapply as it loses it tack.
Place the stencil on the shirt where you want it and press it down. Make sure it is all firmly in place. Now take your piece of cardboard and place it in the middle of the t shirt so it is blocking the two layers.
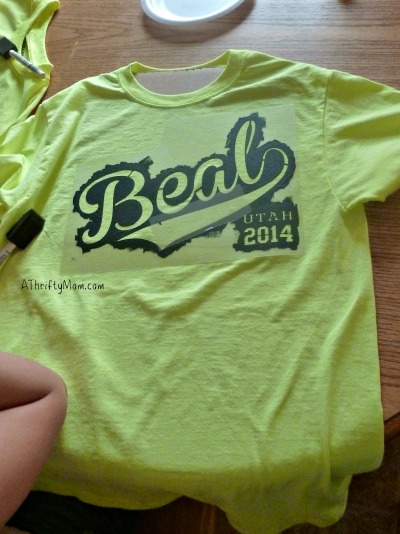
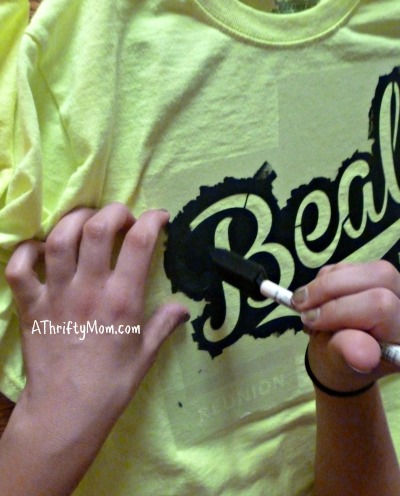
This stencil has been used already, that is why it is already outlined in black. That is just dried paint and makes it easier to see for the photos. Take your sponge paint brush and dip it in your paint. To apply it to the shirt, be sure to dab, not rub! If you rub, the paint could spread under the stencil. Dabbing will help avoid that.
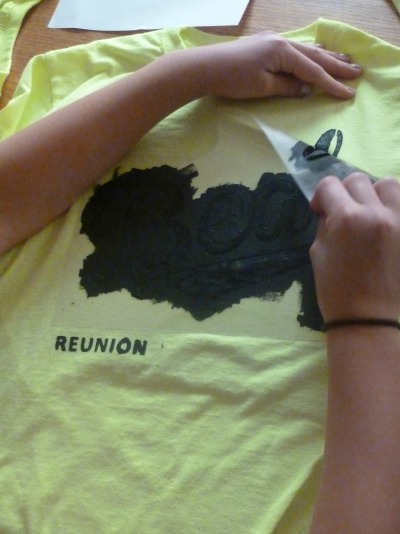
Once you have covered your area, let it dry for a few minutes before removing your stencil. It is easier to remove before the shirt has dried all the way. It will not be completely dry,but dry enough to remove the stencil and allow it to lay untouched and dry completely.
To remove the stencil, grab one corner and pull at an angle.
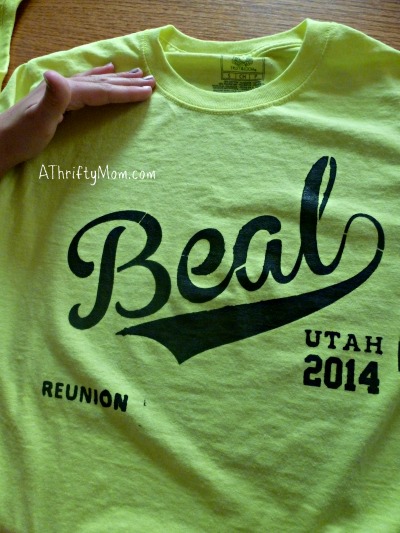
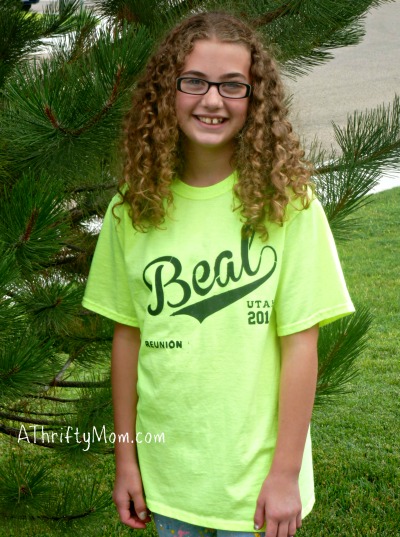
Now all that is left is to wait for it to dry before trying on your creation! Now you have a one of a kind article that is made by you! We have done this for school projects, family reunions (like the one above), and just for a fun project! My kids really enjoy creating their own designs and then painting them. It is a thrifty, fun idea for the whole family! The paint lasts for a long time and the stencils can be reused several times. Shirts are pretty inexpensive, making this a great project for the whole family!
Your shirt turned out wonderfully! I ordered a shirt off a website, and was thoroughly disappointed when I saw the printing quality was poor. I want to make one of my own now to ensure it will be the way I want it, so I’ll give this a try! I need to get fabric paint and transparency film, but would I find the two at the same store like a Michaels? Thanks!
http://www.aaduplication.com.au