Easy Fall Art Project
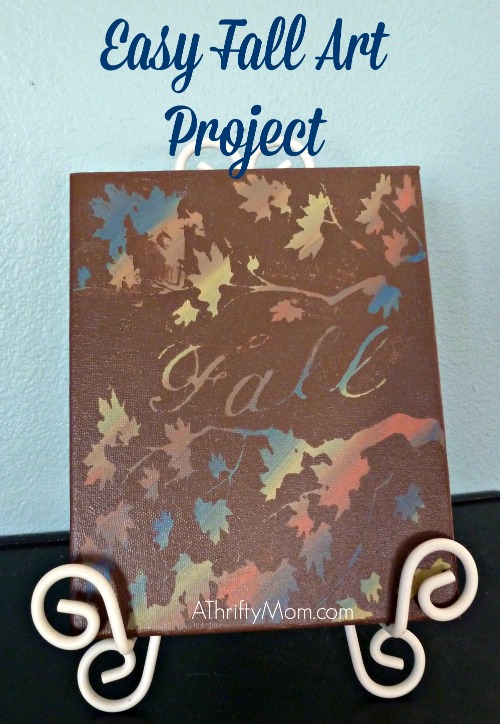
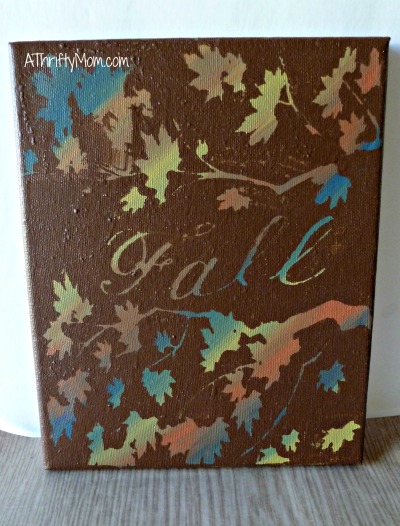
Looking for an easy decoration for fall that doesn’t cost you a lot of money? This little art project is so simple to make, completely customizable and you can add any stencil design so that it is totally one of a kind!
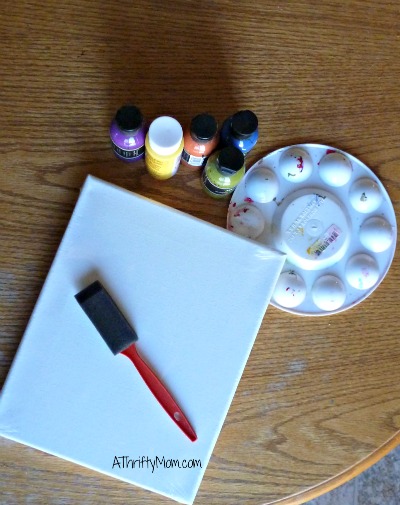
All you need
Canvas
Stencil
Paint in choice of colors as well as a dark paint for the top
paint brushes
mod podge
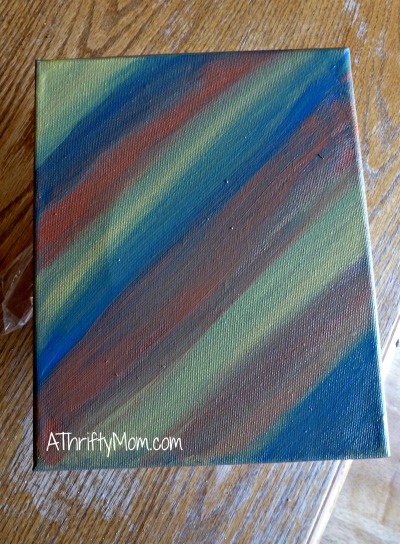
Begin by painting your canvas in your chosen colors. Now the important thing here is to be sort of random with your painting. I did stripes so that it wasn’t all one color. Now, once you have painted your stripes, blend your lines together with your paint brush. I used the same brush for all of it, and blotted it in between colors so that it wouldn’t end up being a yucky muddy color.
I used paint that I had on hand and wanted it to be fall colors. I ended up using a burnt orange, mustard yellow and a dark blue. Now, let your stripes dry good before you do anything else.
Once your paint is dry add a thin coat of mod podge. Use the matte so that it doesn’t leave streaks. Once you put on your mod podge and let it dry, your canvas will be a little tacky, which makes it easier to apply the stencil. If you are using vinyl this is especially helpful because the vinyl tends to not stick to the canvas otherwise. Peel off your stencil and apply to the canvas. Apply the vinyl as if you were going to keep it on the canvas. This way when you pull the stencil off, it will leave the colored canvas in it’s place.
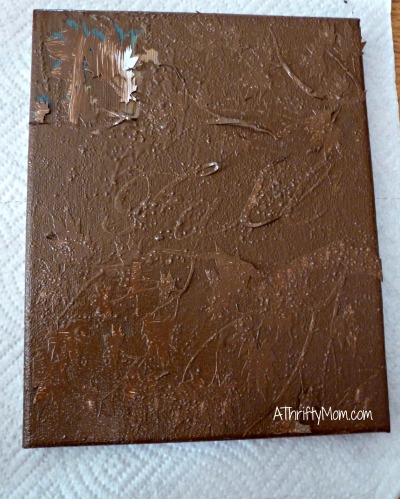
Once you get your stencil on, you are ready for a top coat in a dark color. When painting over your stencil, be sure to blot, DO NOT RUB your paintbrush like you normally would. If you do this, you will end up either getting paint under your stencil or pulling the stencil up off of the canvas. Look in the top left corner of the photo above, that is where I accidentally did that very thing. It is even more important with a canvas because it is already so hard to get the vinyl to stick!
Let the paint dry for a few minutes, and then pull off your stencil. Use tweezers or something to grab the end to avoid smearing the paint or getting paint under the stencil. Just pull it off and toss it. Once you have done that you are done! I had a couple of spots with a little bleeding, but I think it adds to it to give it a weathered effect. What do you think? This would also be a great craft for the kids. Let them paint the canvas and add a stencil for them. They will love the surprise when you pull the stencil off!
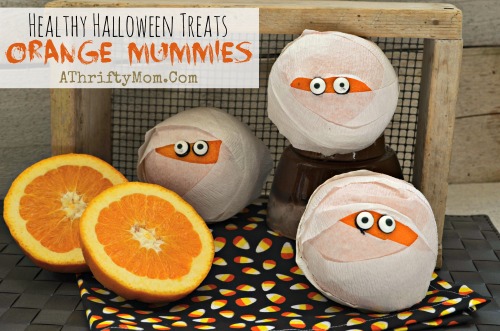 More Halloween and Fall ideas:
 Vampire Donuts
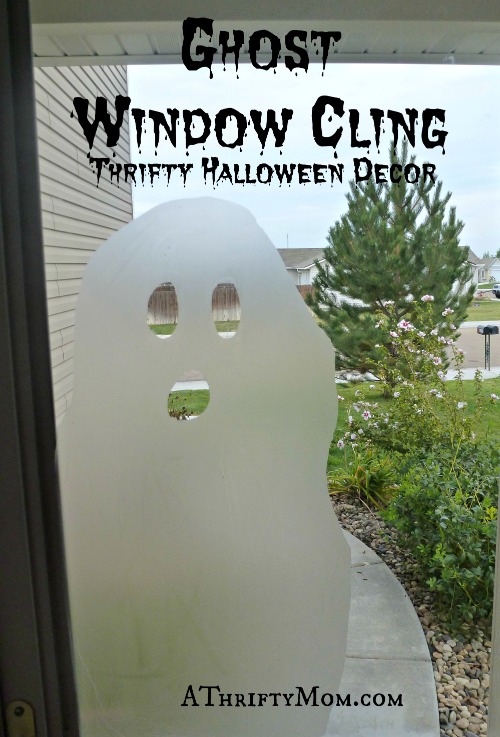 Ghost Window Cling
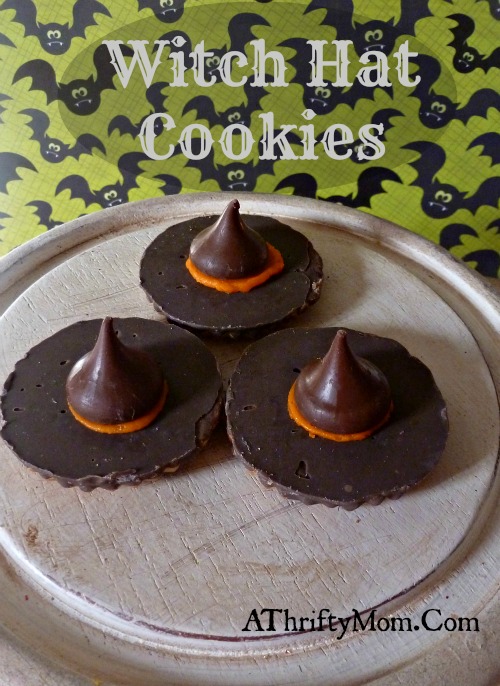 Witch Hat Cookies~ Easy Halloween Treats




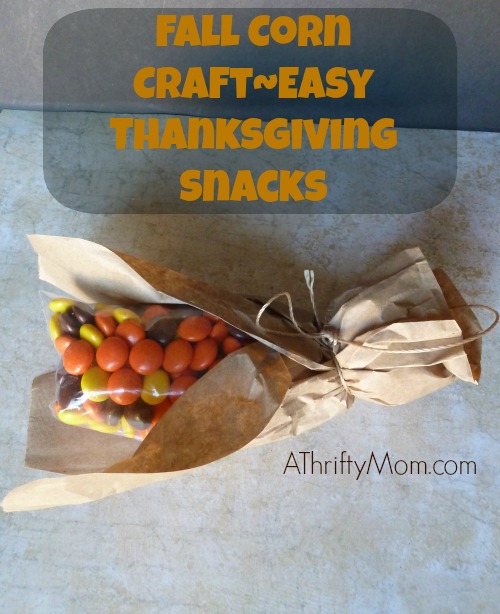 Fall Corn Craft~ Easy Thanksgiving Snacks
 Pumpkin Spice Cookies
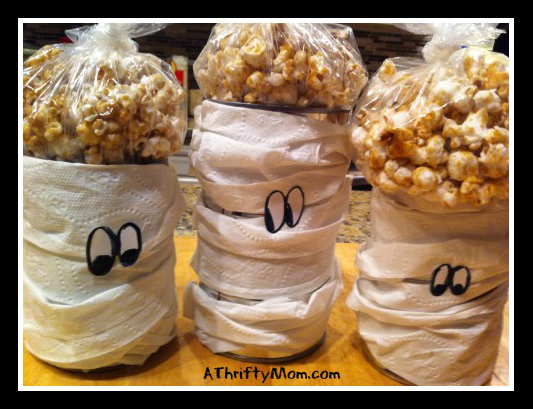 Mummy in a can ~ Low cost treat idea
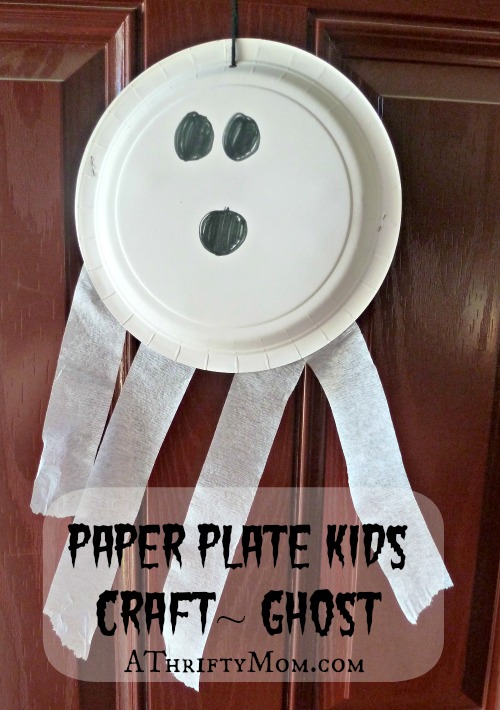 Paper Plate Kids Craft~ Ghost
 Gourmet Halloween Pretzel Rods
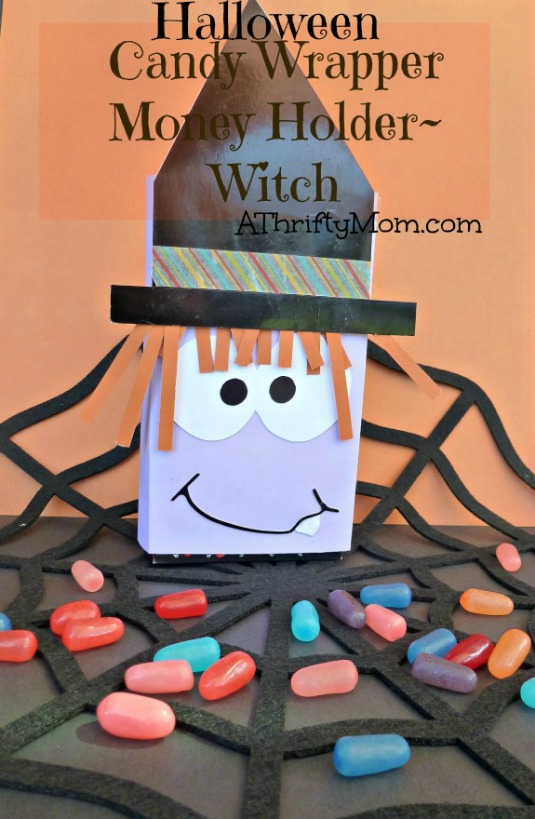 Candy Wrapper Money Holder Halloween~ Witch
Alicia Davidson